Overview
Define custom Scheduler views as zoom levels
Switch the current view easily using "Day", "Week", "Month" buttons
The Scheduler retains the current viewport date/time position (the horizontal scrollbar will be adjusted automatically)
Uses DayPilot Lite for JavaScript (open-source)
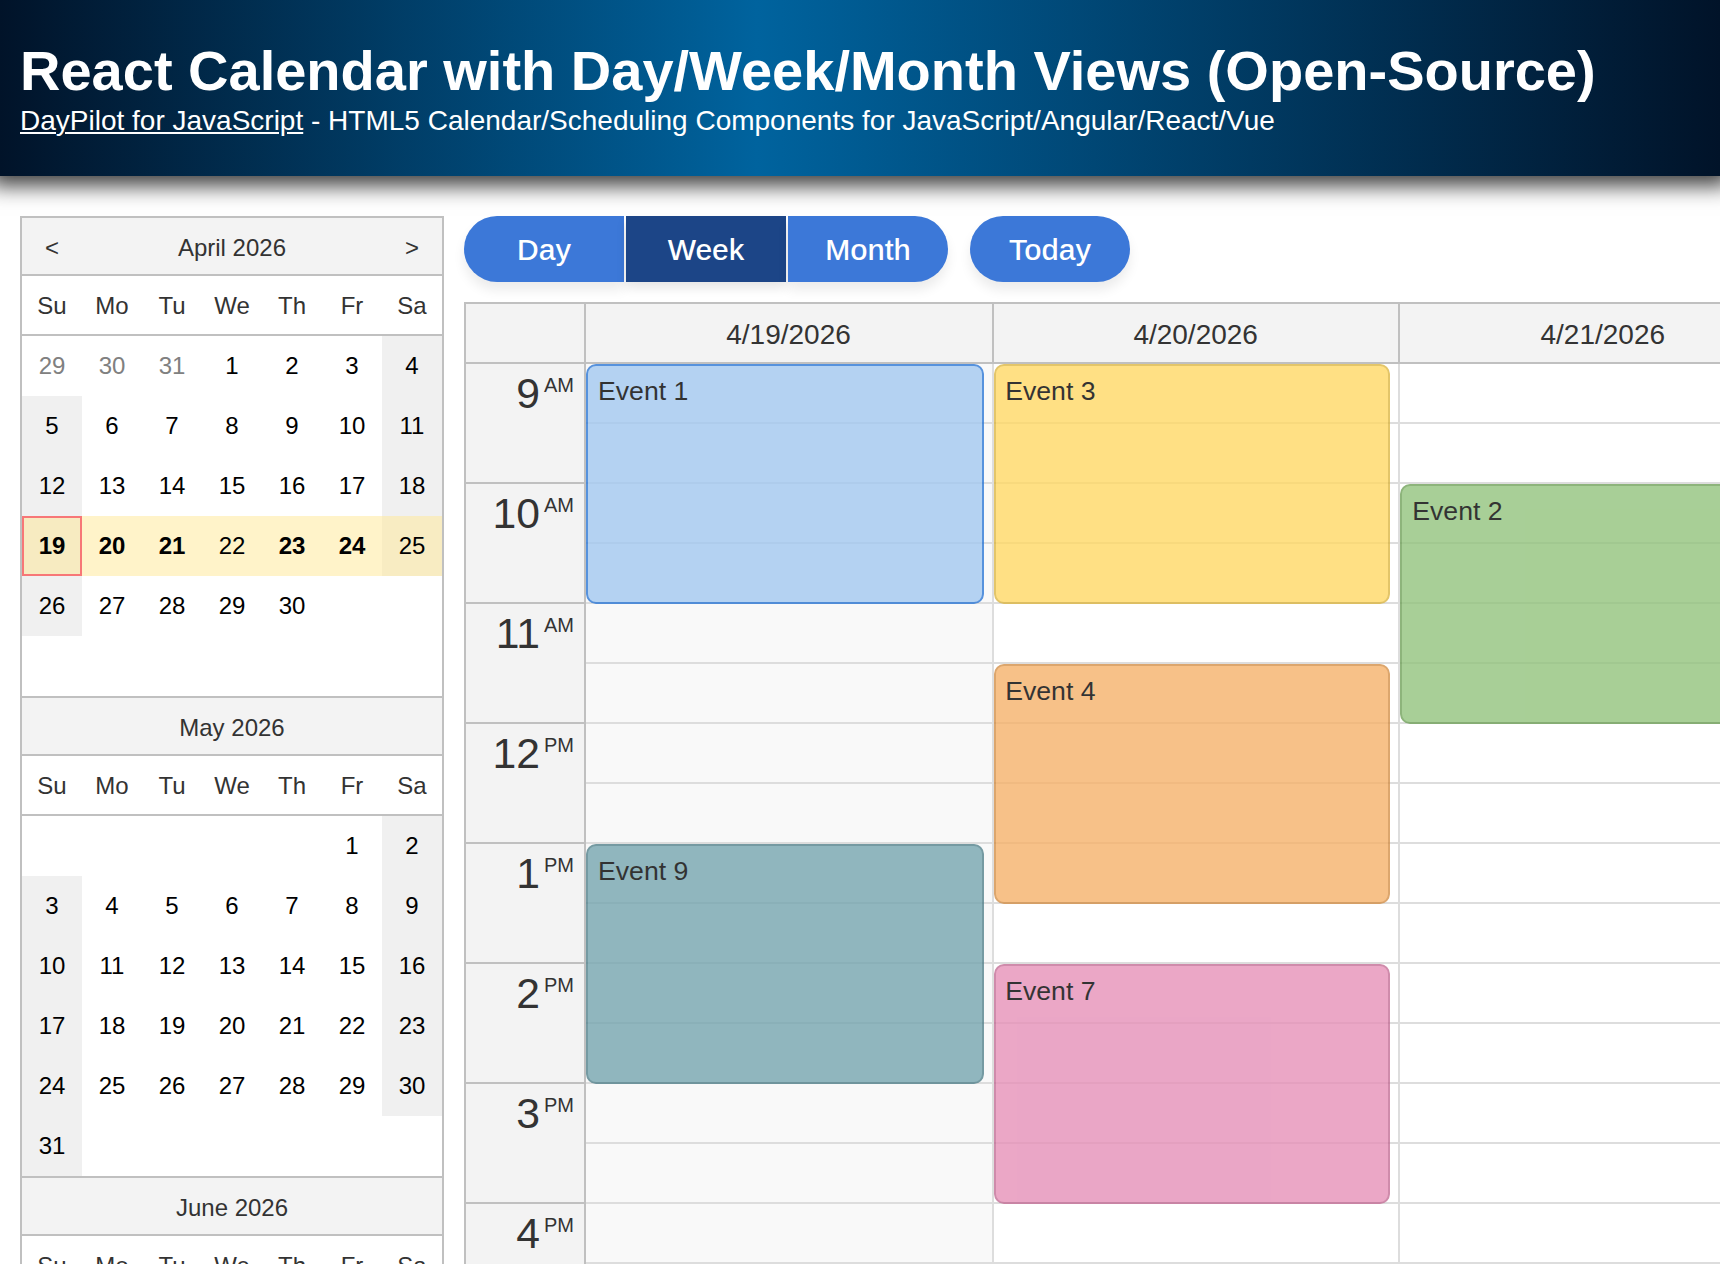
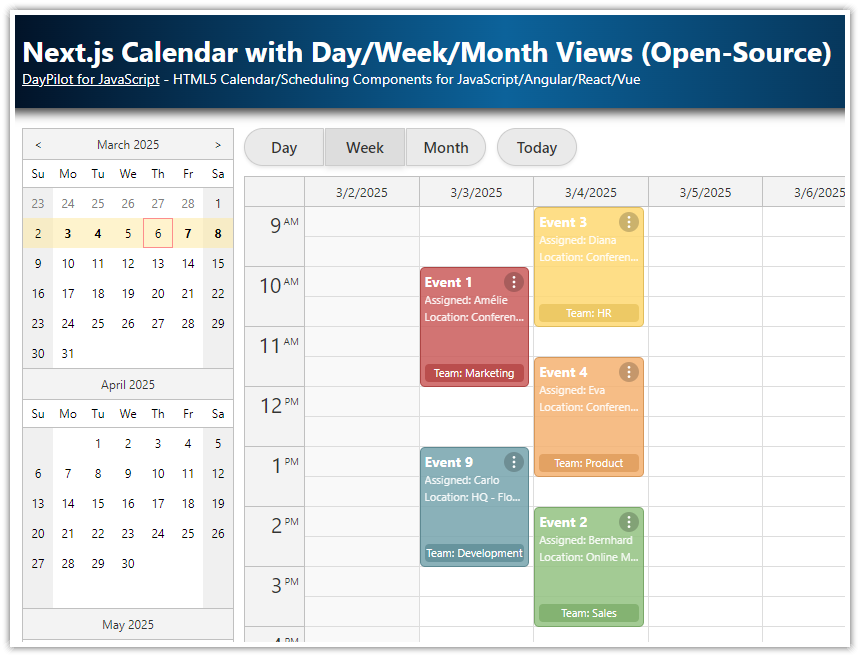
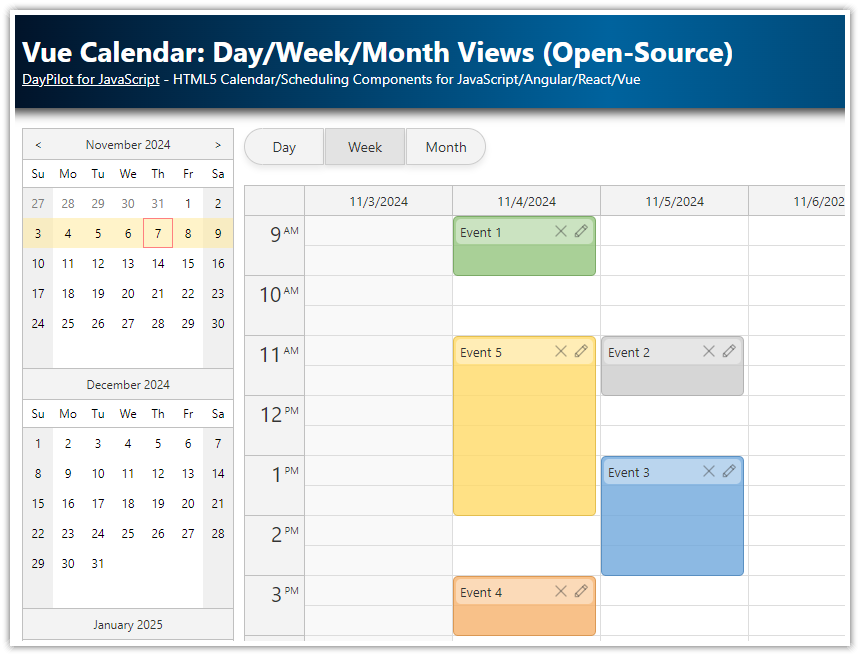
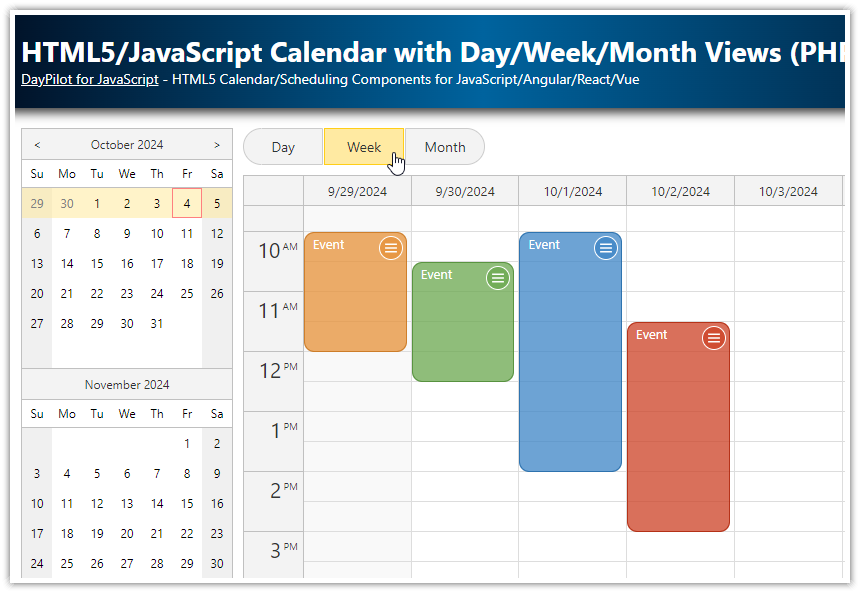
This tutorial explains how to implement day/week/month view switching in the JavaScript Scheduler component. For a traditional ("Outlook") day/week/month calendar, please see the HTML5/JavaScript Calendar with Day/Week/Month Views tutorial.
License
Licensed under the Apache License 2.0. See the license file included in the sample project for details.
Step 1: Configure and Display the JavaScript Scheduler

The easiest way to configure the JavaScript Scheduler is to use the UI Builder online application, which will generate the JavaScript project for you. Our configuration looks like this:
<div class="main">
  <div id="dp"></div>
</div>

<script>
  const dp = new DayPilot.Scheduler("dp", {
    timeHeaders: [{"groupBy":"Month"},{"groupBy":"Day","format":"d"}],
    scale: "Day",
    days: DayPilot.Date.today().daysInMonth(),
    startDate: DayPilot.Date.today().firstDayOfMonth(),
    timeRangeSelectedHandling: "Enabled",
  });
  dp.resources = [
    {name: "Resource 1", id: "R1"},
    {name: "Resource 2", id: "R2"},
    {name: "Resource 3", id: "R3"},
    {name: "Resource 4", id: "R4"},
    {name: "Resource 5", id: "R5"},
    {name: "Resource 6", id: "R6"},
    {name: "Resource 7", id: "R7"},
    {name: "Resource 8", id: "R8"},
    {name: "Resource 9", id: "R9"},
  ];
  dp.events.list = [];
  dp.init();
</script>
Step 2: Define Scheduler Views (Day, Week, Month)
Day View - displays one day on the horizontal axis, with time headers displaying days, hours, and minutes

Week View - displays one week on the horizontal axis, with time headers displaying months, days, and hours

Month View - displays one month on the horizontal axis, with time headers displaying months, days, and AM/PM

We will use the zoom feature of the Scheduler component to define the views. See also the JavaScript Scheduler: Zoom tutorial that uses a slider HTML5 control to change the zoom level.
We define three views using the zoomLevels property:
day view
week view
month view
For each view, we define the Scheduler properties that will be changed when switching to the specified view. In this example, each view defines scale, cellDuration, cellWidth, timeHeaders, startDate, and days properties. You can adjust the configuration as needed and also add more views.
The built-in zoom support also ensures that the Scheduler retains the current horizontal (time) position after changing the view. By default, the Scheduler uses the middle of the viewport as the reference point. You can change this behavior using the zoomPosition property.
const dp = new DayPilot.Scheduler("dp", {
  // ...
  zoomLevels: [
    {
      name: "Day",
      properties: {
        scale: "CellDuration",
        cellDuration: 15,
        cellWidth: 40,
        timeHeaders: [{groupBy: "Day", format: "dddd MMMM d, yyyy"}, {groupBy: "Hour"}, {groupBy: "Cell"}],
        startDate: (args) => args.date.getDatePart(),
        days: () => 1,
      }
    },
    {
      name: "Week",
      properties: {
        scale: "Hour",
        cellWidth: 40,
        timeHeaders: [{groupBy: "Month"}, {groupBy: "Day", format: "dddd d"}, {groupBy: "Hour"}],
        startDate: (args) => args.date.firstDayOfWeek(),
        days: () => 7,
      }
    },
    {
      name: "Month",
      properties: {
        scale: "CellDuration",
        cellDuration: 720,
        cellWidth: 40,
        timeHeaders: [{groupBy: "Month"}, {groupBy: "Day", format: "ddd d"}, {groupBy: "Cell", format: "tt"}],
        startDate: (args) => args.date.firstDayOfMonth(),
        days: (args) => args.date.daysInMonth(),
      }
    },
  ],
});
Don't forget to call the zoom.setActive() method to set the initial view:
<script>
  const dp = new DayPilot.Scheduler("dp", {
    // ...
  });
  // ...
  dp.zoom.setActive(0);
  dp.init();
</script>
Step 3: Add Buttons for Switching the Views

Now we can add the buttons:
<div class="toolbar">
  <button id="button-day">Day</button>
  <button id="button-week">Week</button>
  <button id="button-month">Month</button>
</div>
And define the action for each of them:
<script>
  const elements = {
    day: document.getElementById("button-day"),
    week: document.getElementById("button-week"),
    month: document.getElementById("button-month")
  };

  elements.day.addEventListener("click", () => {
    dp.zoom.setActive(0);
  });

  elements.week.addEventListener("click", () => {
    dp.zoom.setActive(1);
  });

  elements.month.addEventListener("click", () => {
    dp.zoom.setActive(2);
  });
</script>
Full Source Code
Here is the full source code of the JavaScript Scheduler configured to display three views (day, week, month):
<!DOCTYPE html>
<html>
<head>
  <meta charset="utf-8"/>
  <meta name="viewport" content="width=device-width, initial-scale=1">
  <title>JavaScript Scheduler: Switching Day/Week/Month Views</title>

  <style type="text/css">
    /* ... */
  </style>

  <!-- DayPilot library -->
  <script src="js/daypilot/daypilot-all.min.js"></script>
</head>
<body>
<div class="header">
  <h1><a href='https://code.daypilot.org/61574/javascript-scheduler-switching-day-week-month-views'>JavaScript Scheduler: Switching Day/Week/Month Views</a></h1>
  <div><a href="https://javascript.daypilot.org/">DayPilot for JavaScript</a> - HTML5 Calendar/Scheduling Components for JavaScript/Angular/React/Vue</div>
</div>

<div class="main">
  <div class="toolbar">
    <button id="button-day">Day</button>
    <button id="button-week">Week</button>
    <button id="button-month">Month</button>
  </div>
  <div id="dp"></div>
  <div class="generated">Generated using <a href="https://builder.daypilot.org/">DayPilot UI Builder</a>.</div>
</div>

<script>
  const dp = new DayPilot.Scheduler("dp", {
    timeHeaders: [{"groupBy":"Month"},{"groupBy":"Day","format":"d"}],
    scale: "Day",
    days: DayPilot.Date.today().daysInMonth(),
    startDate: DayPilot.Date.today().firstDayOfMonth(),
    timeRangeSelectedHandling: "Enabled",
    onTimeRangeSelected: async (args) => {
      const scheduler = args.control;
      const modal = await DayPilot.Modal.prompt("Create a new event:", "Event 1");
      scheduler.clearSelection();
      if (modal.canceled) { return; }
      scheduler.events.add({
        start: args.start,
        end: args.end,
        id: DayPilot.guid(),
        resource: args.resource,
        text: modal.result
      });
    },
    zoomLevels: [
      {
        name: "Day",
        properties: {
          scale: "CellDuration",
          cellDuration: 15,
          cellWidth: 40,
          timeHeaders: [{groupBy: "Day", format: "dddd MMMM d, yyyy"}, {groupBy: "Hour"}, {groupBy: "Cell"}],
          startDate: (args) => args.date.getDatePart(),
          days: () => 1,
        }
      },
      {
        name: "Week",
        properties: {
          scale: "Hour",
          cellWidth: 40,
          timeHeaders: [{groupBy: "Month"}, {groupBy: "Day", format: "dddd d"}, {groupBy: "Hour"}],
          startDate: (args) => args.date.firstDayOfWeek(),
          days: () => 7,
        }
      },
      {
        name: "Month",
        properties: {
          scale: "CellDuration",
          cellDuration: 720,
          cellWidth: 40,
          timeHeaders: [{groupBy: "Month"}, {groupBy: "Day", format: "ddd d"}, {groupBy: "Cell", format: "tt"}],
          startDate: (args) => args.date.firstDayOfMonth(),
          days: (args) => args.date.daysInMonth(),
        }
      },
    ],
  });
  dp.resources = [
    {name: "Resource 1", id: "R1"},
    {name: "Resource 2", id: "R2"},
    {name: "Resource 3", id: "R3"},
    {name: "Resource 4", id: "R4"},
    {name: "Resource 5", id: "R5"},
    {name: "Resource 6", id: "R6"},
    {name: "Resource 7", id: "R7"},
    {name: "Resource 8", id: "R8"},
    {name: "Resource 9", id: "R9"},
  ];
  dp.events.list = [];
  dp.zoom.setActive(0);
  dp.init();
</script>

<script>
  const elements = {
    day: document.getElementById("button-day"),
    week: document.getElementById("button-week"),
    month: document.getElementById("button-month")
  };

  elements.day.addEventListener("click", () => {
    dp.zoom.setActive(0);
  });

  elements.week.addEventListener("click", () => {
    dp.zoom.setActive(1);
  });

  elements.month.addEventListener("click", () => {
    dp.zoom.setActive(2);
  });
</script>

</body>
</html>
History
March 21, 2026: Switched from DayPilot Pro to DayPilot Lite (open-source); updated code to modern JavaScript (const, arrow functions, async/await)
January 31, 2021: Updated to DayPilot Pro for JavaScript 2021.1
April 12, 2020: Initial release