Overview
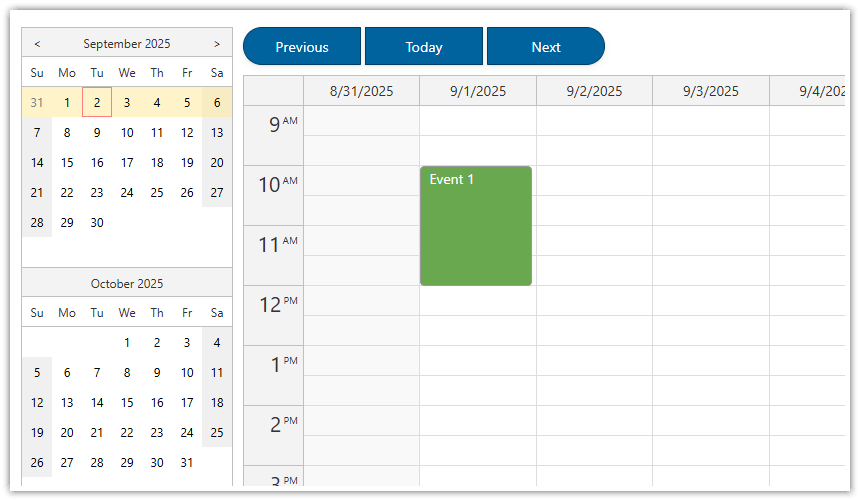
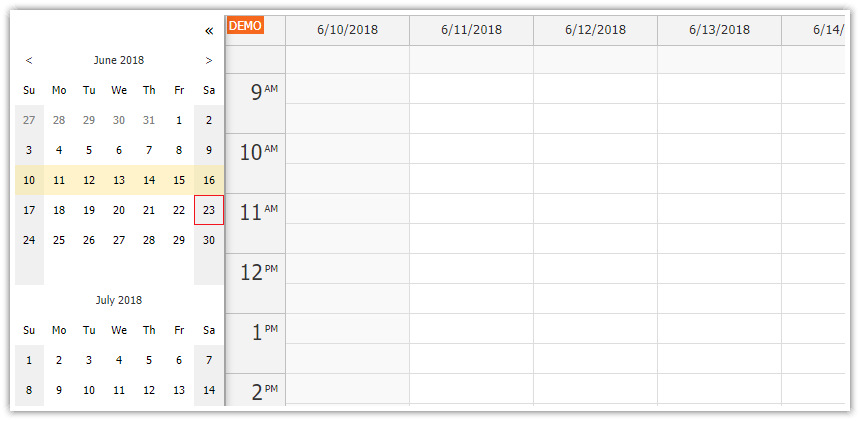
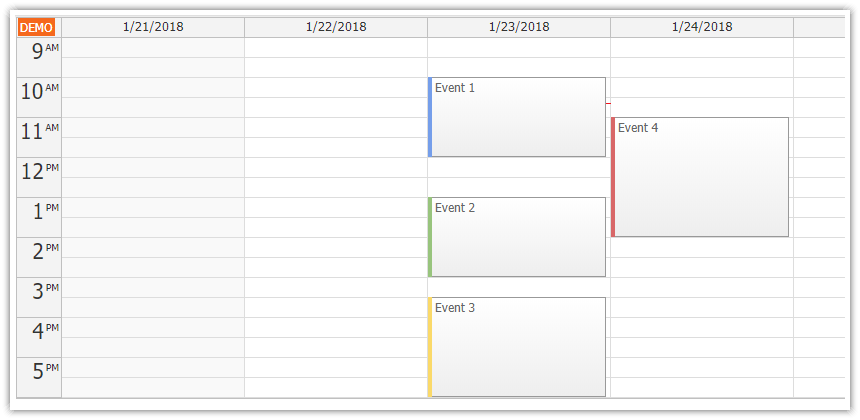
Quick start Angular 10 project with a pre-configured Calendar component.
Includes a trial version of DayPilot Pro for JavaScript (see License below)
License
Licensed for testing and evaluation purposes. Please see the license agreement included in the sample project. You can use the source code of the tutorial if you are a licensed user of DayPilot Pro for JavaScript.
Event Calendar Component
This Angular project was generated using DayPilot UI Builder - an online application that lets you configure the event calendar component and generate a project with the selected configuration and all required boilerplate.
You can find the calendar component implementation in src/app/calendar/calendar.component.ts file.
The calendar instance is create by adding <daypilot-calendar> tag to the component HTML:
@Component({
  selector: 'calendar-component',
  template: `<daypilot-calendar [config]="config" [events]="events" #calendar></daypilot-calendar>`,
  styles: [``]
})
As you can see, the <daypilot-calendar> includes two attributes: [config] and [events].
As the names suggest, [config] points to an object with the calendar component configuration (you can use all properties and events of the DayPilot.Calendar class). The config class is typed (DayPilot.CalendarConfig) - this means it will check the property names for you. If you use an IDE that supports code suggestions you will get real-time hints when adding new items to the config object.
Out config object is very simple. It specifies the default viewType (week view) and adds the onTimeRangeSelected event handler that lets users add new events using drag and drop.
config: DayPilot.CalendarConfig = {
  viewType: "Week",
  onTimeRangeSelected: function (args) {
    DayPilot.Modal.prompt("Create a new event:", "Event 1").then(function(modal) {
      var dp = args.control;
      dp.clearSelection();
      if (!modal.result) { return; }
      dp.events.add(new DayPilot.Event({
        start: args.start,
        end: args.end,
        id: DayPilot.guid(),
        text: modal.result
      }));
    });
  },
};
The underlying DayPilot.Calendar instance can be reached using DayPilotCalendarComponent.control property:
@Component({
  selector: 'calendar-component',
  template: `<daypilot-calendar [config]="config" [events]="events" #calendar></daypilot-calendar>`,
  styles: [``]
})
export class CalendarComponent implements AfterViewInit {

  @ViewChild("calendar", {static: false})
  calendar: DayPilotCalendarComponent;

  get control() {
    return this.calendar.control;
  }

  // ...

}
The DayPilot.Calendar instance lets you call the event calendar methods directly. We use the direct API to get the current date range when loading the calendar event data:
ngAfterViewInit(): void {
  var from = this.calendar.control.visibleStart();
  var to = this.calendar.control.visibleEnd();
  this.ds.getEvents(from, to).subscribe(result => {
    this.events = result;
  });
}
Full source code of calendar.component.ts:
import {Component, ViewChild, AfterViewInit} from "@angular/core";
import {DayPilot, DayPilotCalendarComponent} from "daypilot-pro-angular";
import {DataService} from "./data.service";{}

@Component({
  selector: 'calendar-component',
  template: `<daypilot-calendar [config]="config" [events]="events" #calendar></daypilot-calendar>`,
  styles: [``]
})
export class CalendarComponent implements AfterViewInit {

  @ViewChild("calendar", {static: false})
  calendar: DayPilotCalendarComponent;

  events: any[] = [];

  config: DayPilot.CalendarConfig = {
    viewType: "Week",
    onTimeRangeSelected: function (args) {
      DayPilot.Modal.prompt("Create a new event:", "Event 1").then(function(modal) {
        var dp = args.control;
        dp.clearSelection();
        if (!modal.result) { return; }
        dp.events.add(new DayPilot.Event({
          start: args.start,
          end: args.end,
          id: DayPilot.guid(),
          text: modal.result
        }));
      });
    },
  };

  constructor(private ds: DataService) {
  }

  ngAfterViewInit(): void {
    var from = this.calendar.control.visibleStart();
    var to = this.calendar.control.visibleEnd();
    this.ds.getEvents(from, to).subscribe(result => {
      this.events = result;
    });
  }

}
Data Service: Loading Calendar Data
The calendar data are loaded using DataService class which returns the events for the specified date range (see getEvents() method).
This example uses a simple array of DayPilot.EventData objects. In a real-world application, you’d load the data from the server instead. There is a special tutorial available that shows how to load the calendar events using a REST API (Angular Appointment Calendar Component - TypeScript + PHP/MySQL).
import {Injectable} from "@angular/core";
import {Observable} from "rxjs";
import {DayPilot} from "daypilot-pro-angular";
import {HttpClient} from "@angular/common/http";

@Injectable()
export class DataService {

  events: DayPilot.EventData[] = [
    {
      id: "1",
      start: "2020-07-20T10:00:00",
      end: "2020-07-20T12:00:00",
      text: "Event 1",
      barColor: "#6d9eeb"
    },
    {
      id: "2",
      start: "2020-07-20T11:30:00",
      end: "2020-07-20T13:30:00",
      text: "Event 2",
      barColor: "#93c47d"
    },
    {
      id: "3",
      start: "2020-07-20T14:00:00",
      end: "2020-07-20T16:30:00",
      text: "Event 3",
      barColor: "#ffd966"
    },
    {
      id: "4",
      start: "2020-07-21T09:30:00",
      end: "2020-07-21T15:00:00",
      text: "Event 4",
      barColor: "#e06666"
    }
  ];

  constructor(private http : HttpClient){
  }

  getEvents(from: DayPilot.Date, to: DayPilot.Date): Observable<any[]> {

    // simulating an HTTP request
    return new Observable(observer => {
      setTimeout(() => {
        observer.next(this.events);
        observer.complete();
      }, 200);
    });

    // return this.http.get("/api/events?from=" + from.toString() + "&to=" + to.toString());
  }

} DayPilot


