Features
Frontend (Angular)
Loading calendar appointments from a database
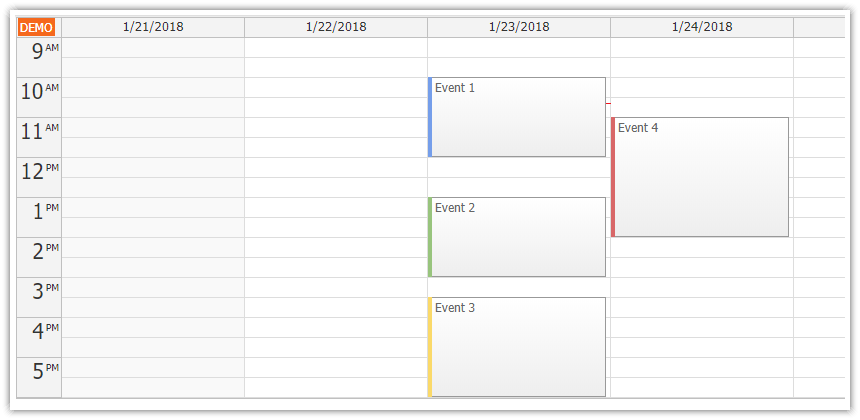
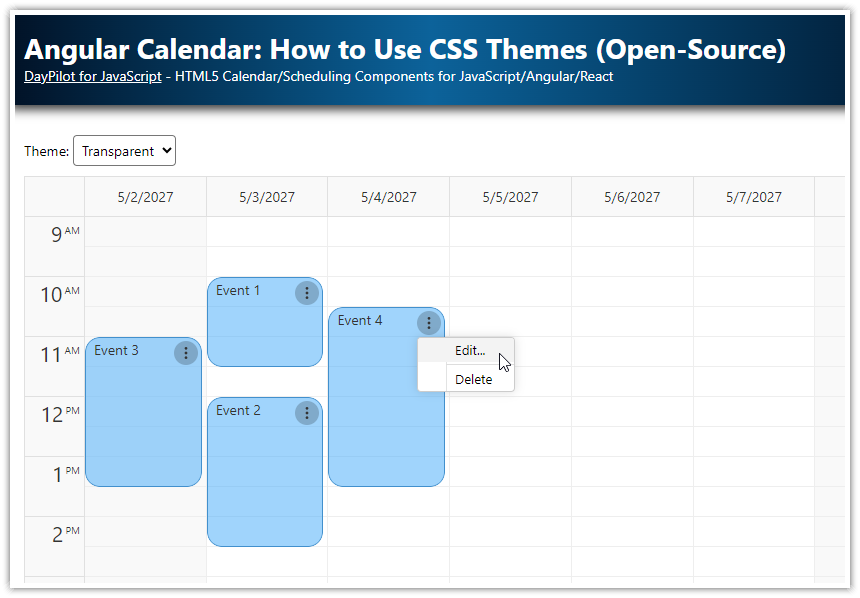
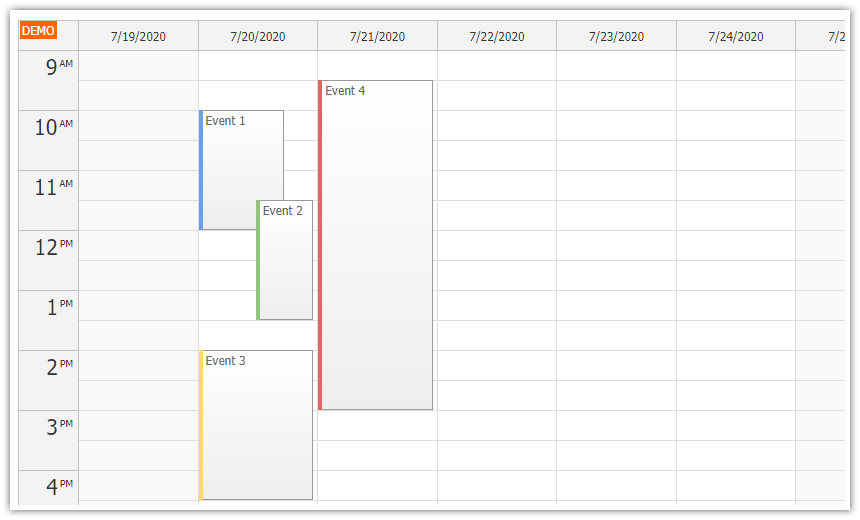
Angular 13 calendar component (week view)
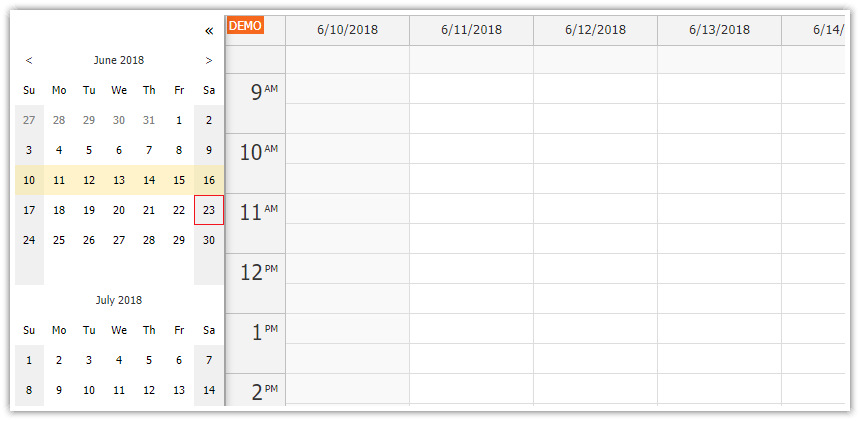
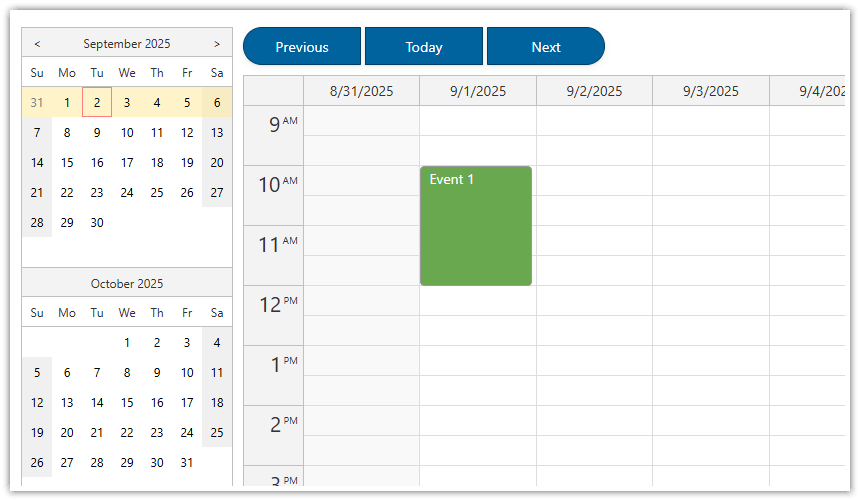
Navigator component for date switching
Drag and drop event moving
Drag and drop event resizing
Event deleting using a hover icon
Includes DayPilot Lite for JavaScript
Backend (PHP)
The appointments are stored in a local SQLite/MySQL database
JSON endpoints
License
Apache License 2.0
1. How to create a new Angular project?
This tutorial uses Angular CLI. It assumes the Angular CLI package is installed globally.
Create a new project using Angular CLI:
ng new angular-calendar-php-frontendInstall DayPilot Lite for Angular (@daypilot/daypilot-lite-angular):
npm install @daypilot/daypilot-lite-angular2. How to add the Angular appointment calendar component?

We will minimize changes made to the source code generated by Angular CLI (app.module.ts, app.component.ts, app.component.html) and create a special component for the calendar (calendar/calendar.component.ts). This way you can upgrade the project to the latest Angular CLI version easily.
We will build the calendar component (CalendarComponent class) using Angular Calendar from DayPilot Lite open-source calendar/scheduler library. The DayPilot calendar component is available as <daypilot-calendar> tag.
calendar/calendar.component.ts
import {Component, ViewChild} from '@angular/core';
import {DayPilotCalendarComponent} from "@daypilot/daypilot-lite-angular";

@Component({
  selector: 'calendar-component',
  template: `
  <daypilot-calendar #calendar></daypilot-calendar>
  `,
  styles: [``]
})
export class CalendarComponent {

  @ViewChild("calendar") calendar!: DayPilotCalendarComponent;

}
Our <calendar-component> will be wrapped in a standalone module, called CalendarModule. We need to add DayPilotModule to the "imports" section so we can use <daypilot-calendar> element in our CalendarModule.
calendar.module.ts
import {DataService} from "./data.service";
import {FormsModule, ReactiveFormsModule} from "@angular/forms";
import {BrowserModule} from "@angular/platform-browser";
import {NgModule} from "@angular/core";
import {DayPilotModule} from "@daypilot/daypilot-lite-angular";
import {CalendarComponent} from "./calendar.component";
import {CreateComponent} from "./create.component";
import {HttpClientModule} from "@angular/common/http";

@NgModule({
  imports: [
    BrowserModule,
    FormsModule,
    DayPilotModule,
    ReactiveFormsModule,
    HttpClientModule
  ],
  declarations: [
    CalendarComponent,
    CreateComponent
  ],
  exports: [CalendarComponent],
  providers: [DataService]
})
export class CalendarModule {
}
Now add the new component (<calendar-component>) to app.component.html.
app.component.html
<h1>Calendar</h1>
<calendar-component></calendar-component>
It is also necessary to import our CalendarModule in the main AppModule class:
import {BrowserModule} from '@angular/platform-browser';
import {NgModule} from '@angular/core';
import {FormsModule} from '@angular/forms';

import {AppComponent} from './app.component';
import {CalendarModule} from "./calendar/calendar.module";

@NgModule({
  declarations: [
    AppComponent
  ],
  imports: [
    BrowserModule,
    FormsModule,
    CalendarModule
  ],
  providers: [],
  bootstrap: [AppComponent]
})
export class AppModule { }
3. How to implement the PHP backend?
Our backend will be implemented in PHP. It will expose a couple of endpoints which will let us load events and also store changes to the database.
Create a new PHP project
Create a new PHP project called angular-calendar-php-backend. When completed, the backend PHP project will have the following structure:
+ angular-calendar-php-backend
  + api
    _db.php
    _db_mysql.php
    _db_sqlite.php
    backend_create.php
    backend_delete.php
    backend_events.php
    backend_move.php
    backend_update.php
Running the PHP Backend
We will run the backend using the built-in PHP server:
Linux
php -S 127.0.0.1:8090 -t /home/daypilot/tutorials/angular-calendar-php-backendWindows
php.exe -S 127.0.0.1:8090 -t C:\Users\daypilot\tutorials\angular-calendar-php-backendBackend Proxy
In order to avoid cross-origin requests from http://localhost:4200 (Angular frontend) and http://localhost:8090 (PHP backend) we will proxy the /api directory of the Angular fronted application to the backend server.
Create a new proxy.conf.json file with the following content:
proxy.conf.json
{
  "/api": {
    "target": "http://localhost:8090",
    "secure": false
  }
}
Modify the "start" script command in package.json to use the proxy configuration from proxy.conf.json.
package.json
{
  "name": "angular-calendar-php-frontend",
  // ...
  "scripts": {
    "start": "ng serve --proxy-config proxy.conf.json",
    // ...
  },
  // ...
}
When you start the Angular built-in server using npm run start it will automatically configure the proxy:
npm run start4. How to configure the appointment calendar?

You can configure the calendar using [config] attribute. It points to an object with configuration properties. This object uses the standard properties of the DayPilot.Calendar object.
We will add calendarConfig field with two properties:
viewType: "Week"startDate: DayPilot.Date.today()
This configuration switches the calendar to week view and displays the current week.
import {Component, ViewChild, OnInit, AfterViewInit} from '@angular/core';
import {DayPilot, DayPilotCalendarComponent} from "@daypilot/daypilot-lite-angular";
import {DataService, MoveEventParams} from "../backend/data.service";
import {CreateComponent} from "../dialogs/create.component";

@Component({
  selector: 'calendar-component',
  template: `
    <daypilot-calendar #calendar [config]="calendarConfig"></daypilot-calendar>
  `,
  styles: [``]
})
export class CalendarComponent {
  @ViewChild("calendar") calendar!: DayPilotCalendarComponent;

  calendarConfig: DayPilot.CalendarConfig = {
    startDate: DayPilot.Date.today(),
    viewType: "Week"
  };

  constructor(private ds: DataService) {  }

}
5. How to load calendar appointments from a MySQL database?

The calendar component will display appointment data from an array specified using [events] attribute.
calendar.component.ts
import {Component, ViewChild, OnInit, AfterViewInit} from '@angular/core';
import {DayPilot, DayPilotCalendarComponent } from "@daypilot/daypilot-lite-angular";
import {DataService, MoveEventParams} from "../backend/data.service";
import {CreateComponent} from "../dialogs/create.component";

@Component({
  selector: 'calendar-component',
  template: `
    <daypilot-calendar #calendar [events]="events" [config]="calendarConfig"></daypilot-calendar>
  `,
  styles: [``]
})
export class CalendarComponent implements OnInit, AfterViewInit {
  @ViewChild("calendar") calendar!: DayPilotCalendarComponent;

  events: any[];

  calendarConfig: DayPilot.CalendarConfig = {
    startDate: DayPilot.Date.today(),
    viewType: "Week"
  };

  constructor(private ds: DataService) {  }

  ngOnInit(): void {}

  ngAfterViewInit(): void {
    this.ds.getEvents(this.calendar.control.visibleStart(), this.calendar.control.visibleEnd()).subscribe(result => this.events = result);
  }

}
We call the backend from ngAfterViewInit because we can't get correct visibleStart() and visibleEnd() values earlier. The calendar needs to be initialized and rendered first.
We have used BackendService class to load the data from the server. It's s simple service that loads appointments in JSON format from our PHP backend.
calendar/data.service.ts:
import { Http, Response } from '@angular/http';
import { Injectable } from '@angular/core';
import { Observable } from 'rxjs';

@Injectable()
export class DataService {

  constructor(private http : HttpClient){
  }

  getEvents(start: DayPilot.Date, end: DayPilot.Date): Observable<EventData[]> {
    return this.http.post("/api/backend_events.php", {start: start, end: end}) as Observable<EventData[]>;
  }

}
Add a DataService reference to calendar/calendar.module.ts (providers section of @NgModule):
import { DataService } from "./backend/data.service";
// ...

@NgModule({
  // ...
  providers: [
    DataService
  ],
  // ...
})
export class CalendarModule { }
The PHP backend_events.php script returns an array of appointment data in JSON format:
<?php
require_once '_db.php';

$json = file_get_contents('php://input');
$params = json_decode($json);

$stmt = $db->prepare("SELECT * FROM events WHERE NOT ((end <= :start) OR (start >= :end))");
$stmt->bindParam(':start', $params->start);
$stmt->bindParam(':end', $params->end);
$stmt->execute();
$result = $stmt->fetchAll();

class Event {}
$events = array();

date_default_timezone_set("UTC");
$now = new DateTime("now");
$today = $now->setTime(0, 0, 0);

foreach($result as $row) {
    $e = new Event();
    $e->id = $row['id'];
    $e->text = $row['text'];
    $e->start = $row['start'];
    $e->end = $row['end'];
    $e->barColor = $row['color'];
    $events[] = $e;
}

header('Content-Type: application/json');
echo json_encode($events);
Sample JSON response:
[
  {
    "text":"Meeting",
    "start":"2022-09-09T10:00:00",
    "end":"2022-09-09T12:00:00",
    "id":"lid2lwibsna37ltimymvlivsyq"
  }
]
For the appointment object format please see DayPilot.Event.data in the API docs.
6. How to create new calendar appointments?

The Angular Calendar component supports creating appointments using drag and drop. Time range selecting is enabled by default and it fires onTimeRangeSelected event handler whenever the user selects a time range.
Our onTimeRangeSelected event handler is specified using the calendarConfig object and it opens a modal dialog for entering appointment details.
import {Component, ViewChild, OnInit, AfterViewInit} from '@angular/core';
import {DayPilot, DayPilotCalendarComponent} from "@daypilot/daypilot-lite-angular";
import {DataService, MoveEventParams} from "../backend/data.service";

@Component({
  selector: 'calendar-component',
  template: `
    <daypilot-navigator [config]="navigatorConfig" [(date)]="calendarConfig.startDate"></daypilot-navigator>
  `,
  styles: [``]
})
export class CalendarComponent implements OnInit, AfterViewInit {
  @ViewChild("calendar") calendar!: DayPilotCalendarComponent;

  events: any[];

  calendarConfig: DayPilot.CalendarConfig = {
    startDate: DayPilot.Date.today(),
    viewType: "Week",
    // ...
    onTimeRangeSelected: async args => {

      const colors = [
        {name: "Blue", id: "#3c78d8"},
        {name: "Green", id: "#6aa84f"},
        {name: "Yellow", id: "#f1c232"},
        {name: "Red", id: "#cc0000"},
      ];

      const form = [
        {name: "Name", id: "text"},
        {name: "Start", id: "start", type: "datetime"},
        {name: "End", id: "end", type: "datetime"},
        {name: "Color", id: "barColor", type: "select", options: colors},
      ];

      const data = {
        start: args.start,
        end: args.end,
        barColor: "#3c78d8"
      };

      const modal = await DayPilot.Modal.form(form, data);

      this.calendar.control.clearSelection();

      if (modal.canceled) {
        return;
      }

      const result = await firstValueFrom(this.ds.createEvent(modal.result));

      this.events.push(modal.result);
    }
  };

  // ...

  createClosed(result) {
    if (result) {
      this.events.push(args.result);
    }
    this.calendar.control.clearSelection();
  }

}
The modal dialog for entering new appointment details is implemented using DayPilot.Modal.form() programmatic modal dialog.
7. How to delete appointments?

The Angular Calendar component has built-in support for event deleting. If you enable deleting using eventDeleteHandling property, the appointments will display "x" icon in the upper-right corner. Clicking the icon will fire onEventDeleted event handler which you can use to make changes in the database. In the UI, the event is removed from the calendar component automatically.
  calendarConfig: DayPilot.CalendarConfig = {

    // ...

    eventDeleteHandling: "Update",

    onEventDeleted: args => {
      this.ds.deleteEvent(args.e.id()).subscribe(result => this.calendar.control.message("Deleted"));
    },

    // ...

  };
The event handler calls backend_delete.php server-side script which deletes the appointment record:
backend_delete.php
<?php
require_once '_db.php';

class Result
{
}

$json = file_get_contents('php://input');
$params = json_decode($json);

$stmt = $db->prepare("DELETE FROM events WHERE id = :id");
$stmt->bindParam(':id', $params->id);
$stmt->execute();

$response = new Result();
$response->result = 'OK';

header('Content-Type: application/json');
echo json_encode($response);
8. How to change the calendar date using a date picker?

In the last step, we will add a date picker (implemented using the Navigator component) that will let users select a week to be displayed in the appointment calendar.
<daypilot-navigator [config]="navigatorConfig" [(date)]="date"></daypilot-navigator>The [(date)] attribute specifies a property that will be updated when the user selects a new day in the date picker:
get date(): DayPilot.Date {
  return this.calendarConfig.startDate as DayPilot.Date;
}

set date(val: DayPilot.Date) {
  this.calendarConfig.startDate = val;
}
In the date() setter, we change the startDate property of the config object. The Angular Calendar component will detect the change and update the view automatically. When the calendar detects a view change it can notify you using the method specified in the (viewChange) attribute:
<daypilot-calendar #calendar [events]="events" [config]="calendarConfig"
                             (viewChange)="viewChange()"></daypilot-calendar>
We will use the viewChange() method to load the appointments for the new date range:
viewChange() {
  this.ds.getEvents(this.calendar.control.visibleStart(), this.calendar.control.visibleEnd()).subscribe(result => this.events = result);
}
For more details on using the date picker, please see the Angular Calendar: Date Switching tutorial.
History
February 15, 2022: Upgraded to Angular 13, switched to the open-source DayPilot Lite for Angular (version 2022.1.362), colors added
August 22, 2021: Upgraded to Angular 12, DayPilot Pro for JavaScript 2021.3.5046, using DayPilot.Modal.form() for modal dialogs
December 10, 2020: Upgraded to Angular 11, DayPilot Pro for JavaScript 2020.4.4788
July 19, 2020: Upgraded to Angular 10, DayPilot Pro for JavaScript 2020.3.4547
September 13, 2019: Upgraded to Angular 8, DayPilot Pro for JavaScript 2019.2.3871, appointment deleting section added.
June 5, 2018: Upgraded to Angular 6, DayPilot Pro for JavaScript 2018.2.3297
October 25, 2017: Latest Daypilot Pro (8.4), event creating fixed
April 11, 2017: Upgraded to Angular 4, Angular CLI 1.0, AOT support, standalone CalendarModule
January 5, 2017: Initial release
 DayPilot
