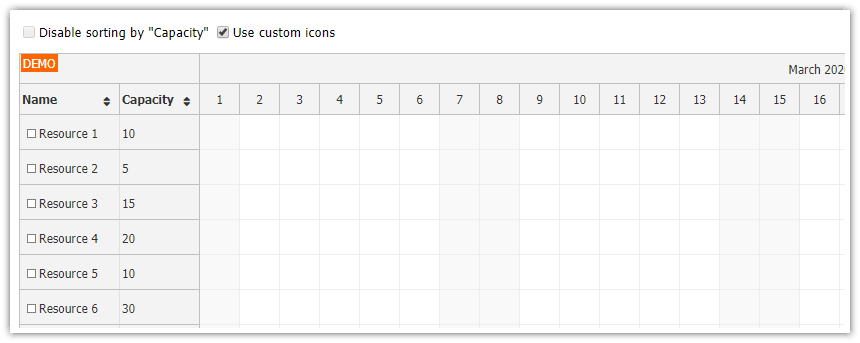
Overview
The row sorting feature allows the JavaScript Scheduler to sort rows using the specified row field.
The sorting icons in the column headers are activated automatically for columns that have the
sortfield set.You can also use the Scheduler API to change the sort order.
This Scheduler can automatically enable sorting support if there are multiple row header columns defined. It builds upon the new Tabular mode, which allows specifying the column content using a property of the resource object.
The Tabular mode (see rowHeaderColumnsMode) and the row sorting are supported since version 2019.4.4064.
License
Licensed for testing and evaluation purposes. Please see the license agreement included in the sample project. You can use the source code of the tutorial if you are a licensed user of DayPilot Pro for JavaScript.
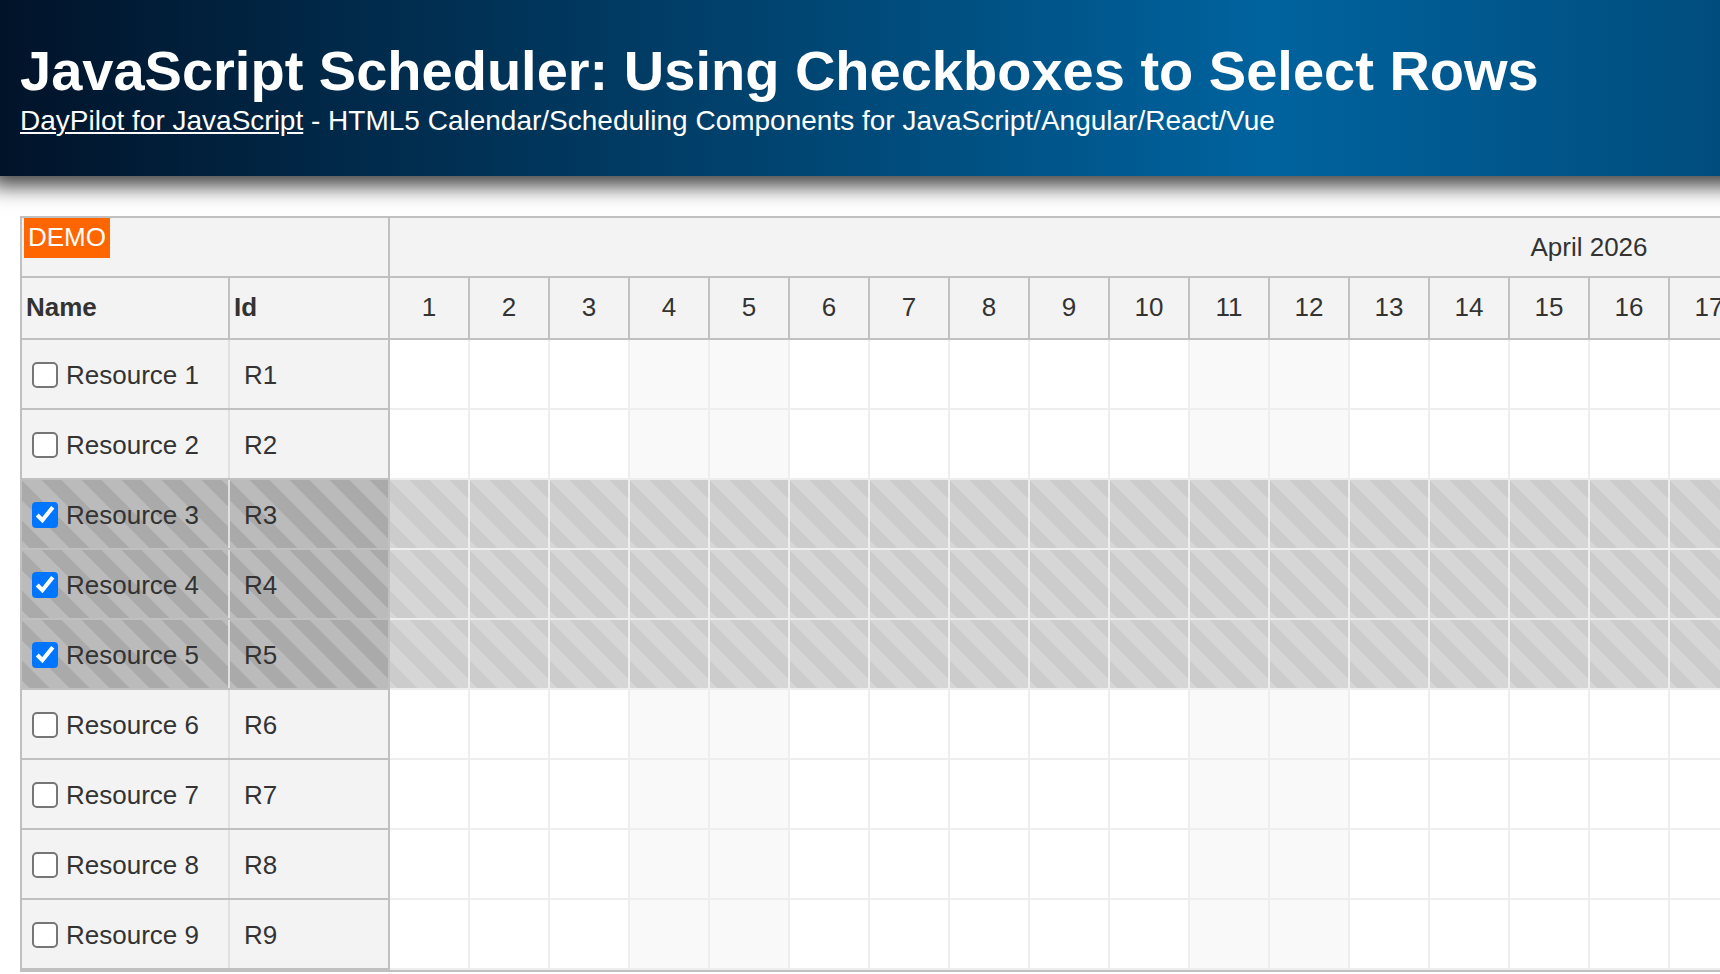
Scheduler Rows
Let's say we want to display a schedule for multiple storage locations. These locations will be displayed as rows in the Scheduler:

The rows are defined using the resources array:
const resources = [
  {id: "R1", name: "Storage Location #1"},
  {id: "R2", name: "Storage Location #2"},
  {id: "R3", name: "Storage Location #3"},
  {id: "R4", name: "Storage Location #4"},
  {id: "R5", name: "Storage Location #5"},
  {id: "R6", name: "Storage Location #6"}
];
scheduler.update({resources});
The id and name properties are required. The id specifies a unique value that is used to find matching events/reservations and the name defines the text to be displayed in the row header.
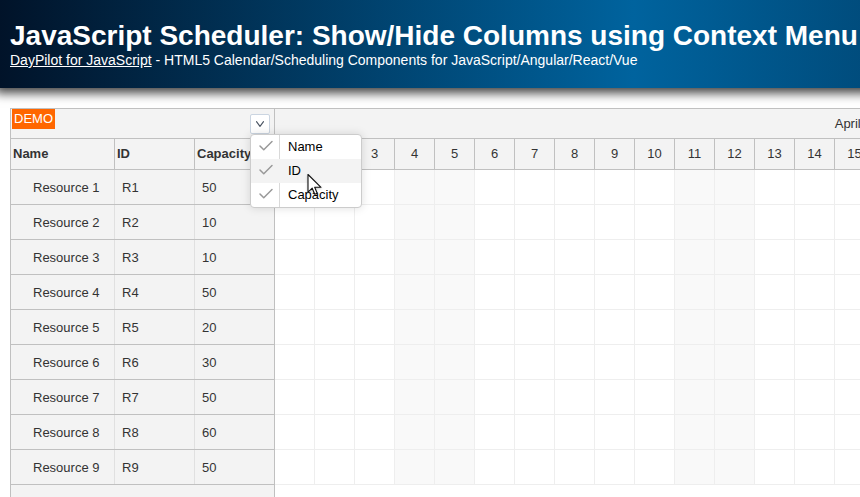
Row Header Columns with Additional Details
Each of the location has additional properties (capacity, distance) which we want to display in the Scheduler as well.

We will define the columns using the rowHeaderColumns property:
const scheduler = new DayPilot.Scheduler("scheduler", {
  rowHeaderColumns: [
    { name: "Name"},
    { name: "Capacity"},
    { name: "Distance"}
  ],
  // ...
});
Extended Row Data

In order to display the data for the additional columns, we need to add them to the source data in the resources array.
Note that these properties are not predefined. You can use any name that doesn't have a special meaning (see resources). We will use capacity and distance:
const resources = [
  {id: "R1", name: "Storage Location #1", capacity: 40, distance: 100},
  {id: "R2", name: "Storage Location #2", capacity: 15, distance: 20},
  {id: "R3", name: "Storage Location #3", capacity: 5, distance: 20},
  {id: "R4", name: "Storage Location #4", capacity: 20, distance: 100},
  {id: "R5", name: "Storage Location #5", capacity: 20, distance: 200},
  {id: "R6", name: "Storage Location #6", capacity: 25, distance: 300}
];
scheduler.update({resources});
We tell the Scheduler to load the data from these properties using the display property of the rowHeaderColumns items:
const scheduler = new DayPilot.Scheduler("scheduler", {
    rowHeaderColumns: [
      { name: "Name", display: "name"},
      { name: "Capacity", display: "capacity"},
      { name: "Distance", display: "distance"}
    ],
  // ...
});
You can see that we have used our new properties (capacity, distance) but also the predefined name property - both will work fine.
Automatic Row Sorting

In order to activate the built-in row sorting support, we just need to define the field that will be used for each column using the sort property or the rowHeaderColumns array:
const scheduler = new DayPilot.Scheduler("scheduler", {
  rowHeaderColumns: [
    { name: "Name", width: 150, display: "name", sort: "name"},
    { name: "Capacity", display: "capacity", sort: "capacity"},
    { name: "Distance", display: "distance", sort: "distance"}
  ],
  // ...
});
You can see that the Scheduler display the sorting icon (▲) in every row header column title.
Sorting using Scheduler API

You can also sort the Scheduler row manually using the rows.sort() method. The rows.sort() method accepts an object with the following structure:
{
  field: "capacity",
  order: "asc"
}
We will add three buttons to our project that will sort the rows using the specified rule:
HTML
<button class="sort-button" data-field="name">Name</button>
<button class="sort-button" data-field="capacity">Capacity</button>
<button class="sort-button" data-field="distance" data-order="desc">Distance (Desc)</button>
JavaScript
const app = {
  addEventHandlers() {
    const buttons = document.querySelectorAll(".sort-button");
    buttons.forEach(button => {
      button.addEventListener("click", (ev) => {
        const sorting = {
          field: button.dataset.field,
          order: button.dataset.order || "asc"
        };
        scheduler.rows.sort(sorting);
      });
    });
  },
  // ...
};
Full Source Code
And here is the full source code of our Scheduler view with row sorting support:
<!DOCTYPE html>
<html lang="en">
<head>
<meta charset="utf-8"/>
<title>JavaScript Scheduler: Row Sorting Tutorial</title>
<!-- DayPilot library -->
<script src="js/daypilot/daypilot-all.min.js"></script>
<link rel="stylesheet" type="text/css" href="css/toolbar.css" />
</head>
<body>
<div class="header">
<h1><a href='https://code.daypilot.org/78411/javascript-scheduler-row-sorting-tutorial'>JavaScript Scheduler: Row Sorting Tutorial</a></h1>
<div><a href="https://javascript.daypilot.org/">DayPilot for JavaScript</a> - HTML5 Calendar/Scheduling Components for JavaScript/Angular/React/Vue</div>
</div>
<div class="main">
<div class="toolbar">
Sort using API:
<button class="sort-button" data-field="name">Name</button>
<button class="sort-button" data-field="capacity">Capacity</button>
<button class="sort-button" data-field="distance" data-order="desc">Distance ▼</button>
</div>
<div id="scheduler"></div>
<div class="generated">Generated using <a href="https://builder.daypilot.org/">DayPilot UI Builder</a>.</div>
</div>
<script>
const scheduler = new DayPilot.Scheduler("scheduler", {
timeHeaders: [{groupBy: "Month"}, {groupBy: "Day",format: "d"}],
scale: "Day",
days: DayPilot.Date.today().daysInYear(),
startDate: DayPilot.Date.today().firstDayOfYear(),
rowHeaderColumns: [
{ name: "Name", width: 150, display: "name", sort: "name"},
{ name: "Capacity", display: "capacity", sort: "capacity"},
{ name: "Distance", display: "distance", sort: "distance"}
],
onTimeRangeSelected: async (args) =>{
const modal = await DayPilot.Modal.prompt("Create a new event:", "Event 1");
scheduler.clearSelection();
if (modal.canceled) { return; }
scheduler.events.add({
start: args.start,
end: args.end,
id: DayPilot.guid(),
resource: args.resource,
text: modal.result
});
},
});
scheduler.init();
const app = {
addEventHandlers() {
const buttons = document.querySelectorAll(".sort-button");
buttons.forEach(button => {
button.addEventListener("click", (ev) => {
const sorting = {
field: button.dataset.field,
order: button.dataset.order || "asc"
};
scheduler.rows.sort(sorting);
});
});
},
loadData() {
const resources = [
{id: "R1", name: "Storage Location #1", capacity: 40, distance: 100},
{id: "R2", name: "Storage Location #2", capacity: 15, distance: 20},
{id: "R3", name: "Storage Location #3", capacity: 5, distance: 20},
{id: "R4", name: "Storage Location #4", capacity: 20, distance: 100},
{id: "R5", name: "Storage Location #5", capacity: 20, distance: 200},
{id: "R6", name: "Storage Location #6", capacity: 25, distance: 300}
];
scheduler.update({resources});
},
init() {
this.addEventHandlers();
this.loadData();
}
};
app.init();
</script>
</body>
</html>