Overview
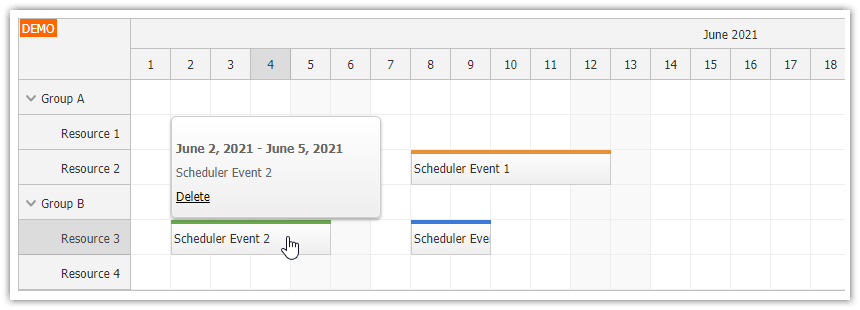
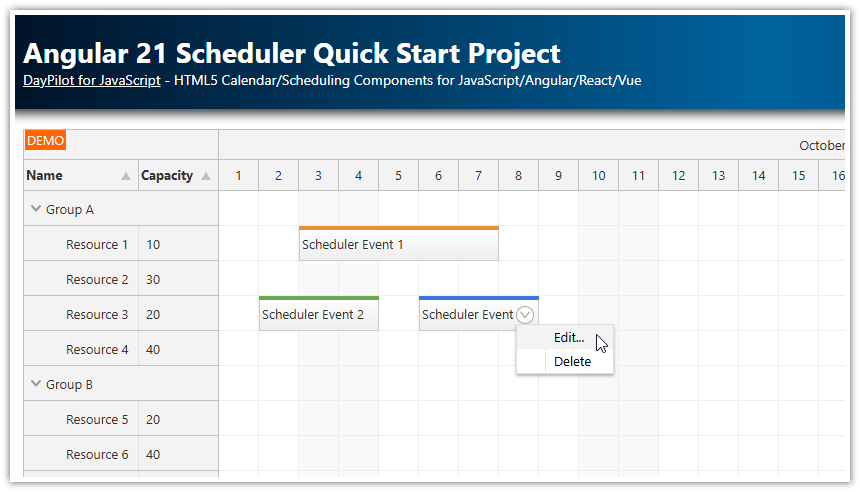
How to customize the Angular Scheduler row headers using Angular components.
You can use on
onBeforeRowHeaderDomAddevent to dynamically instantiate a custom Angular component and insert it into a row header cell.Includes a trial version of DayPilot Pro for JavaScript (see License below)
License
Licensed for testing and evaluation purposes. Please see the license agreement included in the sample project. You can use the source code of the tutorial if you are a licensed user of DayPilot Pro for JavaScript. Buy a license.
Angular Scheduler Configuration
Let’s start with a simple Angular 15 project generated using the online UI Builder tool.
This is the config object that initializes the Angular Scheduler component:
config: DayPilot.SchedulerConfig = {
  timeHeaders: [{"groupBy":"Month"},{"groupBy":"Day","format":"d"}],
  scale: "Day",
  days: DayPilot.Date.today().daysInMonth(),
  startDate: DayPilot.Date.today().firstDayOfMonth(),
  timeRangeSelectedHandling: "Enabled",
  onTimeRangeSelected: async (args) => {
    const dp = args.control;
    const modal = await DayPilot.Modal.prompt("Create a new event:", "Event 1");
    dp.clearSelection();
    if (modal.canceled) { return; }
    dp.events.add({
      start: args.start,
      end: args.end,
      id: DayPilot.guid(),
      resource: args.resource,
      text: modal.result
    });
  },
}
We load the resource data in ngAfterViewInit(). The resources will be displayed as rows:
ngAfterViewInit(): void {
  this.ds.getResources().subscribe(result => this.config.resources = result);
}
The DataService class generates a sample set of 7 resources:
import {Injectable} from '@angular/core';
import {DayPilot} from 'daypilot-pro-angular';
import {HttpClient} from '@angular/common/http';
import {Observable} from 'rxjs';

@Injectable()
export class DataService {

  resources: any[] = [
      { name: 'Resource 1', id: 'R1' },
      { name: 'Resource 2', id: 'R2' },
      { name: 'Resource 3', id: 'R3' },
      { name: 'Resource 4', id: 'R4' },
      { name: 'Resource 5', id: 'R5' },
      { name: 'Resource 6', id: 'R6' },
      { name: 'Resource 7', id: 'R7' }
  ];

  constructor(private http: HttpClient) {
  }

  getResources(): Observable<any[]> {

    // simulating an HTTP request
    return new Observable(observer => {
      setTimeout(() => {
        observer.next(this.resources);
      }, 200);
    });

  }

}
Custom Component: ResourceComponent
Now we can create a new Angular component that displays a button with the specified name.
It also handles two events (click and dblclick).
The text property specifies the button text.
import {Component, ViewChild, AfterViewInit, Input} from '@angular/core';
import {DayPilot} from "daypilot-pro-angular";

@Component({
  selector: 'scheduler-component',
  template: `<button (click)="click()" (dblclick)="doubleClick()">{{text}}</button>`,
  styles: [`
  button {
    background-color: #3c78d8;
    border: 1px solid #1155cc;
    color: #fff;
  }
  `]

})
export class ResourceComponent {

  @Input()
  text: string = "";

  click() {
    console.log("button clicked");
  }

  doubleClick() {
    console.log("button double-clicked");
    DayPilot.Modal.alert("Button double clicked");
  }
}
Add ResourceComponent to the Scheduler Row Header
To add the ResourceComponent to the Angular Scheduler row header, we need to add an onBeforeRowHeaderDomAdd event handler to the config object.
This event is fired when the row header is about to be added to the Scheduler DOM.
If you set the
args.elementproperty, the provided element will be used instead of the default row header content.You can use it to add an element with custom event handlers.
This example uses
args.elementto add a new instance of a custom Angular component.After creating the
ResourceComponentinstance dynamically, we set the value of thetextproperty and request a change detection usingchangeDetectorRef.detectChanges().The
onBeforeRowHeaderDomAddevent is fired repeatedly, before the row is actually rendered. When progressive row rendering is enabled (and it is by default) this can happen several times during vertical scrolling.
config: DayPilot.SchedulerConfig = {

  // ...

  onBeforeRowHeaderDomAdd: args => {
    const component: ComponentRef<ResourceComponent> = this.viewContainerRef.createComponent(ResourceComponent);

    component.instance.text = args.row.name;
    component.changeDetectorRef.detectChanges();

    args.element = component.location.nativeElement;
    (<any>args).component = component;
  },

}
Destroy the ResourceComponent
As we created the component dynamically we need to destroy it when it is no longer needed.
The onBeforeRowHeaderDomRemove event handler is called when the Scheduler row is removed from DOM.
config: DayPilot.SchedulerConfig = {

  // ...

  onBeforeRowHeaderDomRemove: args => {
    const component = (<any>args).component;
    component.destroy();
  }

} DayPilot


