Features
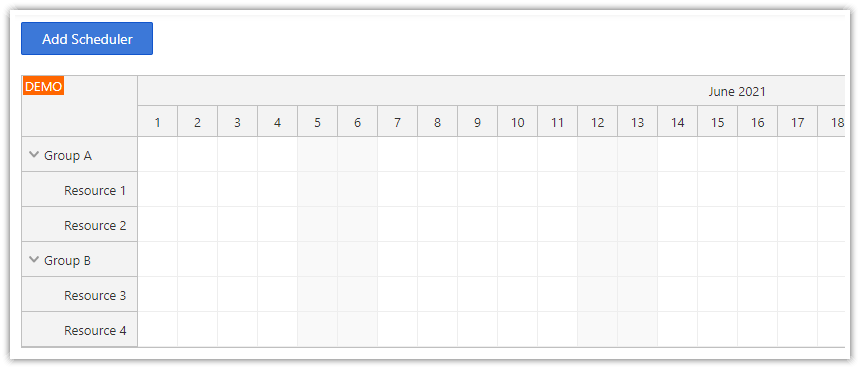
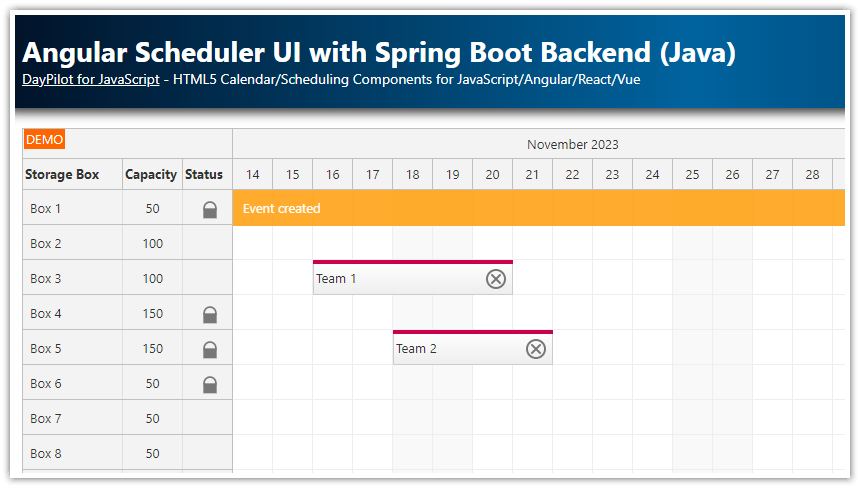
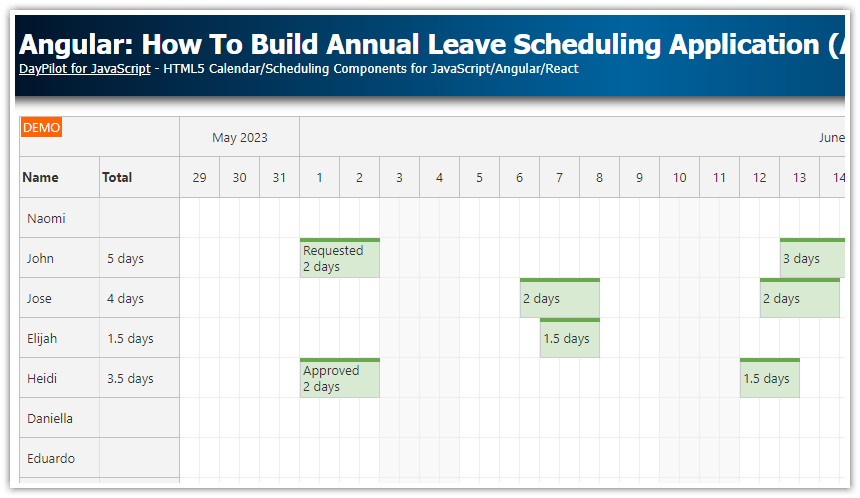
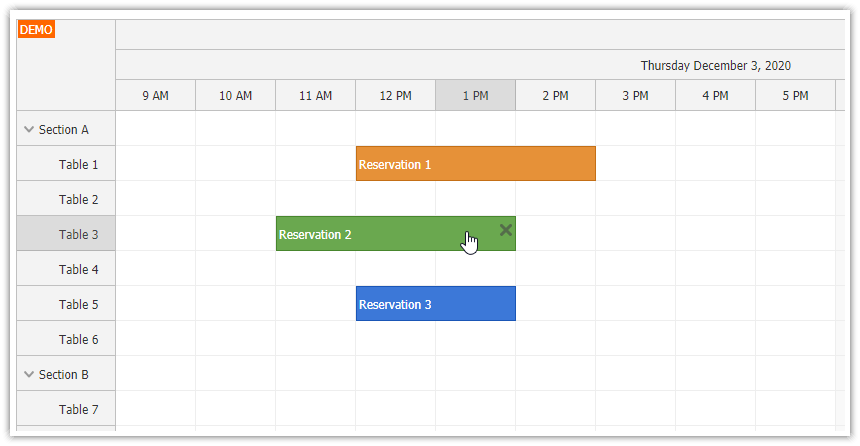
This is an Angular 18 project that shows how to use Angular Scheduler component from DayPilot Pro for JavaScript.
See the list of Scheduler component features. You can test the features in the online demos.
In the tutorial, you will find the steps required to create the Angular project from scratch. You will learn how to install and configure the component and load the data (resources and events) using a HTTP service (REST interface).
You can also skip the configuration steps and download the attached project and see the Scheduler in action.
The project uses PHP to provide the REST API. You can use the Angular Scheduler with any other language and/or framework (see also a tutorial that uses Spring Boot/Java to implement the REST API).
The Angular version of DayPilot Pro is available as a special NPM module published at npm.daypilot.org.
License
Licensed for testing and evaluation purposes. Please see the license agreement included in the sample project. You can use the source code of the tutorial if you are a licensed user of DayPilot Pro for JavaScript.
Scheduler Configurator
Instead of creating a new Angular project and configuring the component manually, you can also use the online Scheduler UI Builder. This configurator lets you customize the Scheduler properties and test the behavior using a live preview.
It can also generate a downloadable Angular project for you (including the selected configuration and all dependencies).
1. How to Create an Angular Application with the Scheduler Component
Node.js
You'll need npm package manager to resolve the dependencies (Angular, DayPilot). You can install NPM as part of node.js.
Install Angular CLI
Install Angular CLI as a global package:
npm install -g @angular/cliCreate a New Angular Project
Create a new Angular project using Angular CLI:
ng new angular-scheduler-php-frontendAdd DayPilot NPM Module
Install daypilot-pro-angular module using the link from npm.daypilot.org:
npm install https://npm.daypilot.org/daypilot-pro-angular/trial/2024.4.6182.tar.gzThe updated package.json file will look like this:
{
  "name": "angular-scheduler-php-frontend",
  "version": "0.0.0",
  "license": "SEE LICENSE IN license/LicenseAgreementTrial.pdf",
  "scripts": {
    "ng": "ng",
    "start": "ng serve --proxy-config proxy.conf.json",
    "build": "ng build",
    "watch": "ng build --watch --configuration development",
    "test": "ng test"
  },
  "private": true,
  "dependencies": {
    "@angular/animations": "^18.0.0",
    "@angular/common": "^18.0.0",
    "@angular/compiler": "^18.0.0",
    "@angular/core": "^18.0.0",
    "@angular/forms": "^18.0.0",
    "@angular/platform-browser": "^18.0.0",
    "@angular/platform-browser-dynamic": "^18.0.0",
    "@angular/router": "^18.0.0",
    "daypilot-pro-angular": "https://npm.daypilot.org/daypilot-pro-angular/trial/2024.4.6182.tar.gz",
    "rxjs": "~7.8.0",
    "tslib": "^2.3.0",
    "zone.js": "~0.14.3"
  },
  "devDependencies": {
    "@angular-devkit/build-angular": "^18.0.1",
    "@angular/cli": "^18.0.1",
    "@angular/compiler-cli": "^18.0.0",
    "@types/jasmine": "~5.1.0",
    "jasmine-core": "~5.1.0",
    "karma": "~6.4.0",
    "karma-chrome-launcher": "~3.2.0",
    "karma-coverage": "~2.2.0",
    "karma-jasmine": "~5.1.0",
    "karma-jasmine-html-reporter": "~2.1.0",
    "typescript": "~5.4.2"
  }
}
Note that the DayPilot Angular module (daypilot-pro-angular) is not loaded from npmjs.org registry but it is served from npm.daypilot.org.
Create a Scheduler Module
Create a new directory called scheduler in src/app directory.
In this new directory, create a scheduler.module.ts file with SchedulerModule class:
import {DataService} from './data.service';
import {FormsModule} from '@angular/forms';
import {NgModule} from '@angular/core';
import {SchedulerComponent} from './scheduler.component';
import {DayPilotModule} from 'daypilot-pro-angular';
import {CommonModule} from "@angular/common";

@NgModule({
  imports:      [
    CommonModule,
    FormsModule,
    DayPilotModule
  ],
  declarations: [
    SchedulerComponent
  ],
  exports:      [ SchedulerComponent ],
  providers:    [ DataService ]
})
export class SchedulerModule { }
The SchedulerModule will declare two classes necessary for our scheduler application:
scheduler.component.ts(component class with Scheduler configuration)data.service.ts(service class which provides HTTP services)
Add the Scheduler Component

The scheduler.component.ts file defines the main component that will display the Scheduler.
Here is the complete source code of our Angular Scheduler component. In the following chapters, we will go through the key parts.
import {Component, ViewChild, AfterViewInit} from '@angular/core';
import {DayPilot, DayPilotSchedulerComponent} from 'daypilot-pro-angular';
import {DataService} from './data.service';
import ModalFormItem = DayPilot.ModalFormItem;
import ModalFormOption = DayPilot.ModalFormOption;
import {firstValueFrom, forkJoin} from "rxjs";

@Component({
  selector: 'scheduler-component',
  template: `<daypilot-scheduler [config]="config" #scheduler></daypilot-scheduler>`,
  styles: [``]
})
export class SchedulerComponent implements AfterViewInit {

  @ViewChild('scheduler')
  scheduler!: DayPilotSchedulerComponent;

  config: DayPilot.SchedulerConfig = {
    scale: "Day",
    startDate: DayPilot.Date.today().firstDayOfYear(),
    days: DayPilot.Date.today().daysInYear(),
    timeHeaders: [
      {groupBy: "Month"},
      {groupBy: "Day", format: "d"}
    ],
    rowHeaderColumns: [
      { text: "Name" },
      { text: "Location", display: "location" },
      { text: "Status" },
    ],
    treeEnabled: true,
    treePreventParentUsage: true,
    rowMarginTop: 5,
    rowMarginBottom: 5,
    eventBorderRadius: 25,
    eventPadding: 8,
    durationBarVisible: false,
    contextMenu: new DayPilot.Menu({
      items: [
        {
          text: "Delete",
          onClick: args => {
            this.ds.deleteEvent({id: args.source.id()}).subscribe(result => {
              this.scheduler.control.events.remove(args.source);
              this.scheduler.control.message("Deleted");
            });
          }
        }
      ]
    }),
    onBeforeEventRender: args => {
      args.data.backColor = "#6fa8dc";
      args.data.borderColor = "darker";
      args.data.fontColor = "#ffffff";

      args.data.areas = [
        {
          top: 6,
          right: 6,
          width: 24,
          height: 24,
          padding: 2,
          symbol: "/icons/daypilot.svg#threedots-v",
          borderRadius: "50%",
          backColor: "#1a67ac",
          fontColor: "#ffffff",
          style: "cursor: pointer",
          action: "ContextMenu",
          visibility: "Visible",
        }
      ];
    },
    onBeforeRowHeaderRender: args => {
      if (args.row.columns[2] && args.row.data.status) {
        let icon = "";
        let color = "";
        switch (args.row.data.status) {
          case "available":
            icon = "/icons/daypilot.svg#checkmark-2";
            color = "#93c47d";
            break;
          case "locked":
            icon = "/icons/daypilot.svg#padlock";
            color = "#e69138";
            break;
          case "unavailable":
            icon = "/icons/daypilot.svg#x-2";
            color = "#cc4125";
            break;
        }

        args.row.columns[2].areas = [
          {
            top: "calc(50% - 10px)",
            left: "calc(50% - 10px)",
            width: 20,
            height: 20,
            borderRadius: 10,
            padding: 3,
            symbol: icon,
            backColor: color,
            fontColor: "#ffffff",
            visibility: "Visible",
          }
        ];
      }

    },
    onBeforeCellRender: args => {
      if (args.cell.isParent) {
        args.cell.properties.backColor = "#f9f9f9";
        args.cell.properties.areas = [
          {
            top: "calc(50% - 12px)",
            right: "calc(50% - 12px)",
            width: 24,
            height: 24,
            padding: 2,
            symbol: "/icons/daypilot.svg#x-2",
            fontColor: "#e0e0e0",
          }
        ];
      }
    },
    onEventMove: args => {
      const data = {
        id: args.e.id(),
        newStart: args.newStart.toString(),
        newEnd: args.newEnd.toString(),
        newResource: args.newResource
      };

      this.ds.moveEvent(data).subscribe(result => {
        this.scheduler.control.message("Updated");
      });
    },
    onEventResize: args => {
      const data = {
        id: args.e.id(),
        newStart: args.newStart.toString(),
        newEnd: args.newEnd.toString(),
        newResource: args.e.resource()  // existing resource id
      };

      this.ds.moveEvent(data).subscribe(result => {
        this.scheduler.control.message("Updated");
      });
    },
    onTimeRangeSelect: async args => {

      const data = {
        text: "New event",
        start: args.start,
        end: args.end.addDays(-1),
        resource: args.resource
      };

      const form = await this.form();
      const modal = await DayPilot.Modal.form(form, data);

      this.scheduler.control.clearSelection();

      if (modal.canceled) {
        return;
      }

      const e: any = {
        id: null,
        start: args.start,
        end: args.end,
        resource: args.resource,
        text: modal.result.text
      };

      this.ds.createEvent(e).subscribe(result => {
        e.id = result.id;
        this.scheduler.control.events.add(e);
        this.scheduler.control.message("Created");
      });
    },
    onEventClick: async args => {
      const form = await this.form();
      const data = args.e.data;
      const modal = await DayPilot.Modal.form(form, data);
      if (modal.canceled) {
        return;
      }

      const params = {
        id: args.e.id(),
        text: modal.result.text
      };

      this.ds.editEvent(params).subscribe(result => {
        args.e.data.text = modal.result.text;
        this.scheduler.control.events.update(args.e);
        this.scheduler.control.message("Updated");
      });

    }
  };

  async form(): Promise<ModalFormItem[]> {
    const resources: ModalFormOption[] = await firstValueFrom(this.ds.getResources());

    const options: ModalFormOption[] = [];
    resources.forEach((item) => {
      if (item.children) {
        item.children.forEach((child:any) => {
          options.push(child);
        });
      }
    });

    return [
      { name: "Text", id: "text", type: "text" },
      { name: "Start", id: "start", type: "date", disabled: true },
      { name: "End", id: "end", type: "date", disabled: true },
      {
        name: "Resource",
        id: "resource",
        type: "select",
        options: options,
        disabled: true
      }
    ];
  }

  constructor(private ds: DataService) {
  }

  ngAfterViewInit(): void {

    this.scheduler.control.scrollTo(DayPilot.Date.today().firstDayOfMonth());

    const from = this.scheduler.control.visibleStart();
    const to = this.scheduler.control.visibleEnd();

    forkJoin({
      resources: this.ds.getResources(),
      events: this.ds.getEvents(from, to)
    }).subscribe(result => {
      this.scheduler.control.update(result);
      this.scheduler.control.message("Data loaded");
    });
  }

}
This component uses <daypilot-scheduler> element to load the Scheduler:
The
configattribute specifies the object with Scheduler properties.We also use the
#schedulerattribute to get the component reference.
Overview of the Angular Application
All Scheduler-related code is now in the src/app/scheduler directory. Now we need to modify the main Angular application classes to display the Scheduler:
Add <scheduler-component> tag to app.component.html file:
<scheduler-component></scheduler-component>Import SchedulerModule in app.module.ts file:
import {BrowserModule} from '@angular/platform-browser';
import {NgModule} from '@angular/core';
import {AppComponent} from './app.component';
import {SchedulerModule} from "./scheduler/scheduler.module";

@NgModule({
  declarations: [
    AppComponent
  ],
  imports: [
    BrowserModule,
    SchedulerModule
  ],
  providers: [],
  bootstrap: [AppComponent]
})
export class AppModule { }
Application Source Code Structure
This is the final structure of the Angular project (src/app directory):
angular-scheduler-php-frontend/src/app
+ scheduler
  - data.service.ts
  - scheduler.component.ts
  - scheduler.module.ts
- app.component.css
- app.component.html
- app.component.spec.ts
- app.component.ts
- app.module.ts
How to Run the Angular Scheduler Project
You can download the sample project as a .zip file (see the download link at the top of the article). The download includes two separate projects:
angular-scheduler-php-frontend: Angular application that displays the Schedulerangular-scheduler-php-backend: PHP application that provides a REST API to access a MySQL database
How to Run the PHP Backend Project
Run the PHP project using the built-in web server at port 8090:
Linux
php -S 127.0.0.1:8090 -t /home/daypilot/tutorials/angular-scheduler-php-backendWindows
php.exe -S 127.0.0.1:8090 -t C:\Users\daypilot\tutorials\angular-scheduler-php-backendHow to Run the Angular Frontend Project
If you want to run the downloaded project, you need to install the dependencies (node_modules) first:
npm installTo run the Angular project, execute this command:
ng serve --proxy-config proxy.conf.jsonThe Angular project uses a proxy to forward requests to /api/* URL to the backend PHP project that is running at port 8090.
proxy-conf.json
{
  "/api": {
    "target": "http://localhost:8090",
    "secure": false
  }
}
2. How to Configure the Angular Scheduler Component

You can configure the Scheduler component by modifying the config object of SchedulerComponent class.
Here is an example of an empty Scheduler configuration:
import {Component, ViewChild, AfterViewInit} from '@angular/core';
import {DayPilot, DayPilotSchedulerComponent} from 'daypilot-pro-angular';

@Component({
  selector: 'scheduler-component',
  template: `<daypilot-scheduler [config]="config" #scheduler></daypilot-scheduler>`,
  styles: [``]
})
export class SchedulerComponent {

  @ViewChild('scheduler')
  scheduler!: DayPilotSchedulerComponent;

  config: DayPilot.SchedulerConfig = {};

}
You can use the config attribute to specify the Scheduler properties and event handlers. The properties will let you customize the Scheduler appearance and behavior.
To define the date range, you can use the startDate and days properties:
import {Component, ViewChild, AfterViewInit} from '@angular/core';
import {DayPilot, DayPilotSchedulerComponent} from 'daypilot-pro-angular';

@Component({
  selector: 'scheduler-component',
  template: `<daypilot-scheduler [config]="config" #scheduler></daypilot-scheduler>`,
  styles: [``]
})
export class SchedulerComponent {

  @ViewChild('scheduler')
  scheduler!: DayPilotSchedulerComponent;

  config: DayPilot.SchedulerConfig = {
    startDate: DayPilot.Date.today().firstDayOfYear(),
    days: DayPilot.Date.today().daysInYear(),
  };

}
Use the scale property to set the duration of grid cells:
import {Component, ViewChild, AfterViewInit} from '@angular/core';
import {DayPilot, DayPilotSchedulerComponent} from 'daypilot-pro-angular';

@Component({
  selector: 'scheduler-component',
  template: `<daypilot-scheduler [config]="config" #scheduler></daypilot-scheduler>`,
  styles: [``]
})
export class SchedulerComponent {

  @ViewChild('scheduler')
  scheduler!: DayPilotSchedulerComponent;

  config: DayPilot.SchedulerConfig = {
    scale: "Day",
    startDate: DayPilot.Date.today().firstDayOfYear(),
    days: DayPilot.Date.today().daysInYear(),
  };

}
Customize the time headers using timeHeaders property:
import {Component, ViewChild, AfterViewInit} from '@angular/core';
import {DayPilot, DayPilotSchedulerComponent} from 'daypilot-pro-angular';

@Component({
  selector: 'scheduler-component',
  template: `<daypilot-scheduler [config]="config" #scheduler></daypilot-scheduler>`,
  styles: [``]
})
export class SchedulerComponent {

  @ViewChild('scheduler')
  scheduler!: DayPilotSchedulerComponent;

  config: DayPilot.SchedulerConfig = {
    scale: "Day",
    startDate: DayPilot.Date.today().firstDayOfYear(),
    days: DayPilot.Date.today().daysInYear(),
    timeHeaders: [
      {groupBy: "Month"},
      {groupBy: "Day", format: "d"}
    ],
  };

}
3. How to Load Row Data

The rows can be defined using the resources property of the Scheduler config object:
import {Component, ViewChild, AfterViewInit} from '@angular/core';
import {DayPilot, DayPilotSchedulerComponent} from 'daypilot-pro-angular';

@Component({
  selector: 'scheduler-component',
  template: `<daypilot-scheduler [config]="config" #scheduler></daypilot-scheduler>`,
  styles: [``]
})
export class SchedulerComponent {

  @ViewChild('scheduler')
  scheduler!: DayPilotSchedulerComponent;

  config: DayPilot.SchedulerConfig = {
    scale: "Day",
    startDate: DayPilot.Date.today().firstDayOfYear(),
    days: DayPilot.Date.today().daysInYear(),
    timeHeaders: [
      {groupBy: "Month"},
      {groupBy: "Day", format: "d"}
    ],
    [
      {
        id: "group_1",
        name: "People",
        expanded: true,
        children: [
          { id: 1, name: "Person 1", location: "Location 1", status: "available" },
          { id: 2, name: "Person 2", location: "Location 2", status: "available" },
          { id: 3, name: "Person 3", location: "Location 3", status: "locked" }
        ]
      },
      {
        id: "group_2",
        name: "Tools",
        expanded: true,
        children: [
          { id: 4, name: "Tool 1", location: "Location 4", status: "unavailable" },
          { id: 5, name: "Tool 2", location: "Location 5", status: "available" },
          { id: 6, name: "Tool 3", location: "Location 6", status: "available" }
        ]
      }
    ]
  };
}
Because we want to load the row data from the database, we need to replace the static definition with an HTTP call.
We will use the direct API (the update() method) to load the resources, instead of adding the resources to the config (this will improve performance).
import {Component, ViewChild, AfterViewInit} from '@angular/core';
import {DayPilot, DayPilotSchedulerComponent} from 'daypilot-pro-angular';
import {DataService} from './data.service';

@Component({
  selector: 'scheduler-component',
  template: `<daypilot-scheduler [config]="config" #scheduler></daypilot-scheduler>`,
  styles: [``]
})
export class SchedulerComponent implements AfterViewInit {

  @ViewChild('scheduler')
  scheduler!: DayPilotSchedulerComponent;

  config: DayPilot.SchedulerConfig = {
    scale: "Day",
    startDate: DayPilot.Date.today().firstDayOfYear(),
    days: DayPilot.Date.today().daysInYear(),
    timeHeaders: [
      {groupBy: "Month"},
      {groupBy: "Day", format: "d"}
    ],
  };

  constructor(private ds: DataService) {
  }

  ngAfterViewInit(): void {

    this.ds.getResources().subscribe(resources => {
      this.scheduler.control.update({resources});
    });

  }
}
The DataService class makes the HTTP call and returns an array with resource data:
import {Injectable} from '@angular/core';
import {DayPilot} from 'daypilot-pro-angular';
import {HttpClient} from '@angular/common/http';
import {Observable} from 'rxjs';

@Injectable()
export class DataService {

  constructor(private http: HttpClient) {
  }

  getResources(): Observable<any[]> {
    return this.http.get("/api/backend_resources.php") as Observable<any>;
  }

}
The PHP implementation of the backend_resources.php endpoint looks like this:
<?php
require_once '_db.php';

$scheduler_groups = $db->query('SELECT * FROM resource_groups ORDER BY name');

class Group {
  public $id;
  public $name;
  public $expanded;
  public $children;
}

class Resource {
  public $id;
  public $name;
  public $location;
  public $status;
}

$groups = array();

foreach($scheduler_groups as $group) {
  $g = new Group();
  $g->id = "group_".$group['id'];
  $g->name = $group['name'];
  $g->expanded = true;
  $g->children = array();
  $groups[] = $g;

  $stmt = $db->prepare('SELECT * FROM resources WHERE group_id = :group ORDER BY name');
  $stmt->bindParam(':group', $group['id']);
  $stmt->execute();
  $scheduler_resources = $stmt->fetchAll();

  foreach($scheduler_resources as $resource) {
    $r = new Resource();
    $r->id = (int) $resource['id'];
    $r->name = $resource['name'];
    $r->location = $resource['location'];
    $r->status = $resource['resource_status'];
    $g->children[] = $r;
  }
}

header('Content-Type: application/json');
echo json_encode($groups);
The structure of the JSON response corresponds to the structure required by DayPilot.Scheduler.resources array.
Example response:
[
    {
        "id": "group_1",
        "name": "People",
        "expanded": true,
        "children": [
            {
                "id": 1,
                "name": "Person 1",
                "location": "Location 1",
                "status": "available"
            },
            {
                "id": 2,
                "name": "Person 2",
                "location": "Location 2",
                "status": "available"
            },
            {
                "id": 3,
                "name": "Person 3",
                "location": "Location 3",
                "status": "locked"
            }
        ]
    },
    {
        "id": "group_2",
        "name": "Tools",
        "expanded": true,
        "children": [
            {
                "id": 4,
                "name": "Tool 1",
                "location": "Location 4",
                "status": "unavailable"
            },
            {
                "id": 5,
                "name": "Tool 2",
                "location": "Location 5",
                "status": "available"
            },
            {
                "id": 6,
                "name": "Tool 3",
                "location": "Location 6",
                "status": "available"
            }
        ]
    }
]
To show additional information in the row header, we will define custom row header columns.
config: DayPilot.SchedulerConfig = {

  // ...

  rowHeaderColumns: [
    { text: "Name" },
    { text: "Location", display: "location" },
    { text: "Status" },
  ],

  // ...

};
In our application, we define the following row header columns:
The “Name” column uses the default resource text (
nameproperty of the resource object).The “Location” columns displays the value of the
locationproperty of each resources.The “Status” column shows an icon, depending on the
statusproperty value. To customize the column content and display the status icon, you can use the onBeforeRowHeaderRender event handler:
config: DayPilot.SchedulerConfig = {

  // ...

  onBeforeRowHeaderRender: args => {
    if (args.row.columns[2] && args.row.data.status) {
      let icon = "";
      let color = "";
      switch (args.row.data.status) {
        case "available":
          icon = "/icons/daypilot.svg#checkmark-2";
          color = "#93c47d";
          break;
        case "locked":
          icon = "/icons/daypilot.svg#padlock";
          color = "#e69138";
          break;
        case "unavailable":
          icon = "/icons/daypilot.svg#x-2";
          color = "#cc4125";
          break;
      }

      args.row.columns[2].areas = [
        {
          top: "calc(50% - 10px)",
          left: "calc(50% - 10px)",
          width: 20,
          height: 20,
          borderRadius: 10,
          padding: 3,
          symbol: icon,
          backColor: color,
          fontColor: "#ffffff",
          visibility: "Visible",
        }
      ];
    }

  },

  // ...

};
4. How to Load Event Data

The next step will be loading the Scheduler events. We will use the same approach that we used for loading resources:
Subscribe to
DataService.getEvents()inngAfterViewInit()and save the result to theeventsobject.The
DataService.getEvents()method makes an HTTP call to the backend PHP project to get the event data.
The Angular Scheduler will load the events using the update() method, specifying the events in the options parameter.
import {Component, ViewChild, AfterViewInit} from '@angular/core';
import {DayPilot, DayPilotSchedulerComponent} from 'daypilot-pro-angular';
import {DataService} from './data.service';

@Component({
  selector: 'scheduler-component',
  template: `<daypilot-scheduler [config]="config" #scheduler></daypilot-scheduler>`,
  styles: [``]
})
export class SchedulerComponent implements AfterViewInit {

  @ViewChild('scheduler')
  scheduler!: DayPilotSchedulerComponent;

  config: DayPilot.SchedulerConfig = {
    scale: "Day",
    startDate: DayPilot.Date.today().firstDayOfYear(),
    days: DayPilot.Date.today().daysInYear(),
    timeHeaders: [
      {groupBy: "Month"},
      {groupBy: "Day", format: "d"}
    ],
  };

  constructor(private ds: DataService) {
  }

  ngAfterViewInit(): void {

    const from = this.scheduler.control.visibleStart();
    const to = this.scheduler.control.visibleEnd();

    this.ds.getEvents(from, to).subscribe(events => {
      this.scheduler.control.update({events});
    });

  }
}
data.service.ts
import {Injectable} from '@angular/core';
import {DayPilot} from 'daypilot-pro-angular';
import {HttpClient} from '@angular/common/http';
import {Observable} from 'rxjs';

@Injectable()
export class DataService {

  constructor(private http: HttpClient) {
  }

  getEvents(from: DayPilot.Date, to: DayPilot.Date): Observable<any[]> {
    return this.http.get("/api/backend_events.php?from=" + from + "&to=" + to) as Observable<any>;
  }

  // ...

}
The REST endpoint (backend_events.php) is defined in the PHP project. It queries the database and returns the event data for the selected date range.
<?php
require_once '_db.php';

$stmt = $db->prepare('SELECT * FROM events WHERE NOT ((end <= :start) OR (start >= :end))');
$stmt->bindParam(':start', $_GET["from"]);
$stmt->bindParam(':end', $_GET["to"]);
$stmt->execute();
$result = $stmt->fetchAll();

class Event {
  public $id;
  public $text;
  public $start;
  public $end;
  public $resource;
}

$events = array();

foreach($result as $row) {
  $e = new Event();
  $e->id = (int) $row['id'];
  $e->text = $row['name'];
  $e->start = $row['start'];
  $e->end = $row['end'];
  $e->resource = (int) $row['resource_id'];
  $events[] = $e;
}

header('Content-Type: application/json');
echo json_encode($events);
Sample JSON response:
[{"id":1,"text":"Activity","start":"2025-06-04T00:00:00","end":"2025-06-07T00:00:00","resource": 1}]Change History
October 3, 2024: Upgraded to Angular 18, DayPilot Pro for JavaScript 2024.3.6182. PHP 8 and MySQL 8 compatibility. Added row header columns with icons, improved event styling.
August 22, 2021: Upgraded to Angular 12, DayPilot Pro for JavaScript 2021.3.5055
December 20, 2020: Upgraded to Angular 11, DayPilot Pro for JavaScript 2020.4.2807
June 3, 2020: Upgraded to Angular 9, DayPilot Pro for JavaScript 2020.2.4481
September 4, 2019: Upgraded to Angular 8, DayPilot Pro for JavaScript 2019.2.3871
June 5, 2018: Upgraded to Angular 6, DayPilot Pro for JavaScript 2018.2.3297, Angular CLI 6.0
September 19, 2016: PHP backend added.
September 17, 2016: Build 8.2.2384 includes complete TypeScript definitions for DayPilot.Scheduler and related classes (DayPilot.Date, DayPilot.Event, DayPilot.Bubble, DayPilot.Menu, DayPilot.Locale, DayPilot.Row).
September 15, 2016: Build 8.2.2381 includes TypeScript definitions of all event handlers. A generic EventHandler interface is used.
September 15, 2016: Initial release, based on DayPilot Pro for JavaScript 8.2.2380, Angular 2.0.0
 DayPilot


