Overview
Vue templates are a flexible way of defining content of Vue Calendar events:
Add an SVG icon at the specified position.
Display a button with a custom event handler.
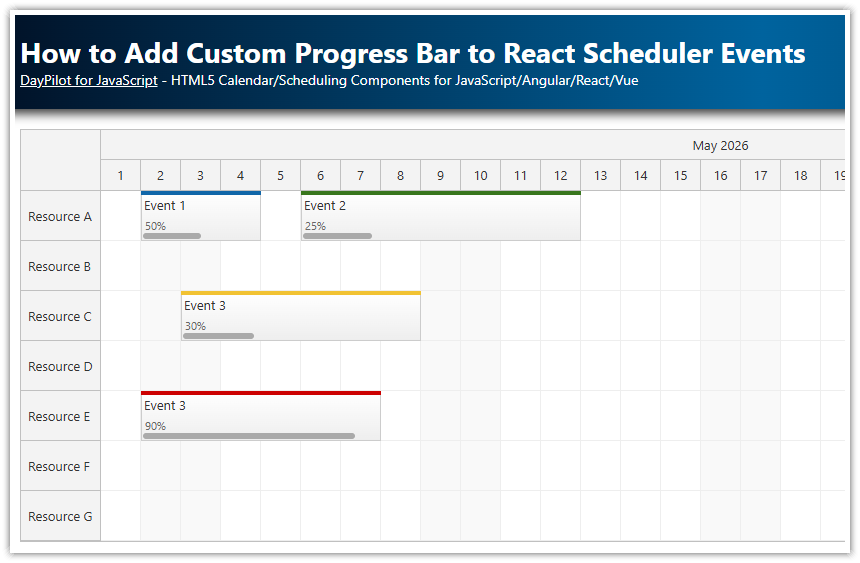
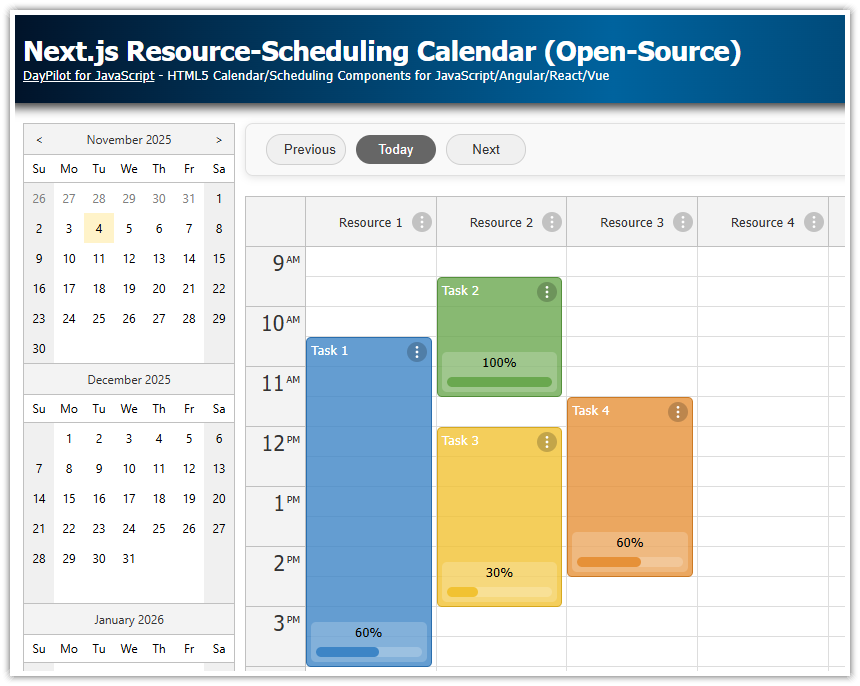
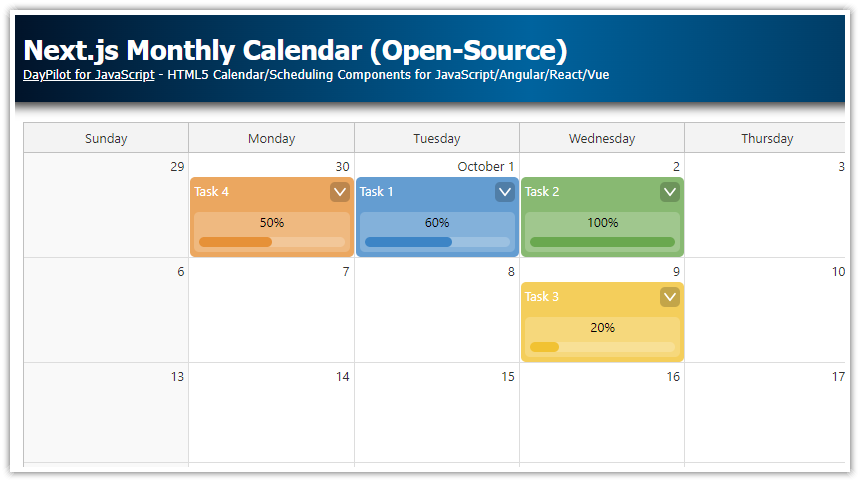
Show a progress bar that visually displays the completion percentage.
Customize event appearance with styles and classes.
Conditionally render event content based on event data.
Includes the open-source DayPilot Lite for JavaScript scheduling library.
Vue Calendar Event Templates
The DayPilot Vue Calendar component allows you to customize events using the onBeforeEventRender event handler.
This event handler lets you modify event properties before the event is rendered on the calendar:
make the event read-only by disabling drag-and-drop operations
add custom drag handles for moving and resizing
define a context menu
change the color of the duration bar and the event itself
add active elements (icons, links) using active areas
Starting from version 2024.4.609, you can also use Vue templates to define the content of Calendar events.
To create custom content for Calendar events, define a <template> with the #event slot name as a child of the <DayPilotCalendar> component. This template receives an event prop, which is a DayPilot.Event object representing the event data.
<DayPilotCalendar viewType="Week">
  <template #event="{event}">
    <span style="font-weight: bold;">{{ event.text() }}</span>
  </template>
</DayPilotCalendar>
Adding SVG Icons to Calendar Events using Vue Templates
![]()
This example shows how to add a SVG icon using a Vue template that defines Calendar events:
<template>
  <DayPilotCalendar
      viewType="Week"
      :events="events">
    <template #event="{event}">
      <span class="event-icon">
        <svg class="icon">
          <use href="/icons/daypilot.svg#padlock"></use>
        </svg>
      </span>
    </template>
  </DayPilotCalendar>
</template>
We set the SVG icon dimensions explicitly using CSS:
.event-icon .icon {
  width: 16px;
  height: 16px;
  color: #ffba11;
}
Adding Buttons to Calendar Events using Vue Templates

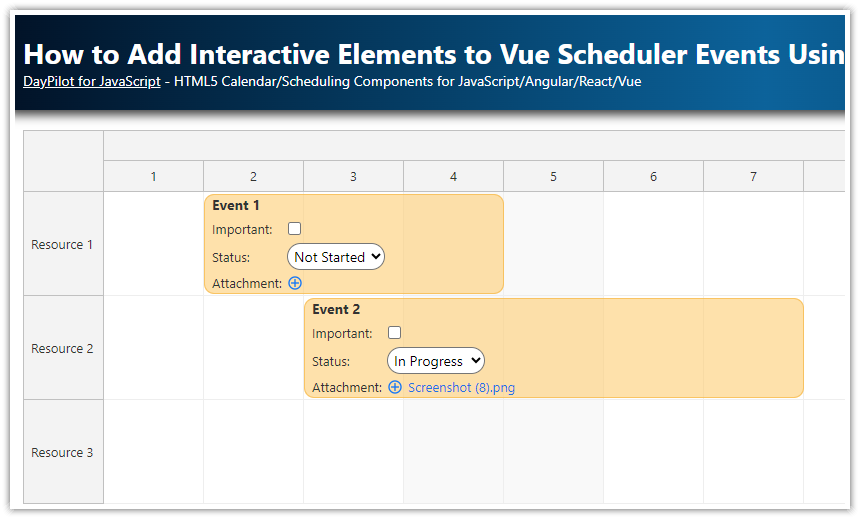
You can also add interactive elements using templates, such as buttons, input fields, dropdown lists, toggles, and sliders.
Here is a simple <button> example with a custom @click event handler.
<template>
  <DayPilotCalendar
      viewType="Week"
      :events="events">
    <template #event="{event}">
      <span>{{event.text()}}</span>
      <button class="event-button" @click="onEventButtonClick(event)">Details</button>
    </template>
  </DayPilotCalendar>
</template>
Event handler:
const onEventButtonClick = (event) => {
  DayPilot.Modal.alert(`Button clicked for event: ${event.text()}`);
};
Adding Progress Bars to Events using Vue Templates

This example demonstrates how to insert a dynamic progress bar into the Calendar events using a Vue template.
The progress bar represents the completion status of each event, which is defined by a custom progress property.
<template>
  <DayPilotCalendar
      viewType="Week"
      :events="events">
    <template #event="{event}">

        <div class="event-progress">
          <div class="event-progress-bar" :style="{ width: event.data.progress + '%' }"></div>
        </div>
        <div class="event-progress-text">
          Progress: {{ event.data.progress }}%
        </div>

    </template>
  </DayPilotCalendar>
</template>
Event data:
const events = ref([]);

// ...

const loadEvents = () => {
  events.value = [
    {
      id: 1,
      start: DayPilot.Date.today().firstDayOfWeek().addDays(2).addHours(10),
      end: DayPilot.Date.today().firstDayOfWeek().addDays(2).addHours(13),
      text: 'Event 1',
      progress: 50,
    },
    {
      id: 2,
      start: DayPilot.Date.today().firstDayOfWeek().addDays(1).addHours(11),
      end: DayPilot.Date.today().firstDayOfWeek().addDays(1).addHours(14),
      text: 'Event 2',
      progress: 75,
    },
  ];
};
Full Source Code
Here is the full source code of our Vue Calendar component that uses templates to add an icon, a button, and a progress bar to each Calendar event.
<template>
  <DayPilotCalendar
      viewType="Week"
      :events="events"
      :eventBorderRadius="5"
      @timeRangeSelected="onTimeRangeSelected"
      @beforeEventRender="onBeforeEventRender"
      ref="calendarRef">
    <template #event="{event}">
      <div class="event">
        <div class="event-header">
          <!-- SVG Icon -->
          <span class="event-icon">
            <svg class="icon">
              <use href="/icons/daypilot.svg#padlock"></use>
            </svg>
          </span>
          <!-- Event Text -->
          <span class="event-text">{{ event.text() }}</span>
          <!-- Button -->
          <button class="event-button" @click="onEventButtonClick(event)">Details</button>
        </div>
        <!-- Progress Bar -->
        <div class="event-progress">
          <div class="event-progress-bar" :style="{ width: event.data.progress + '%' }"></div>
        </div>
        <div class="event-progress-text">
          Progress: {{ event.data.progress }}%
        </div>
      </div>
    </template>
  </DayPilotCalendar>
</template>

<script setup>
import { DayPilot, DayPilotCalendar } from '@daypilot/daypilot-lite-vue';
import { ref, onMounted } from 'vue';

const events = ref([]);

const onTimeRangeSelected = async (args) => {
  const modal = await DayPilot.Modal.prompt('Create a new event:', 'Event 1');
  const calendar = args.control;
  calendar.clearSelection();
  if (modal.canceled) {
    return;
  }
  calendar.events.add({
    start: args.start,
    end: args.end,
    id: DayPilot.guid(),
    text: modal.result,
    progress: 0,
  });
};

const onBeforeEventRender = (args) => {
  args.data.barColor = '#249de1';
};

const calendarRef = ref(null);

const loadEvents = () => {
  events.value = [
    {
      id: 1,
      start: DayPilot.Date.today().firstDayOfWeek().addDays(2).addHours(10),
      end: DayPilot.Date.today().firstDayOfWeek().addDays(2).addHours(13),
      text: 'Event 1',
      progress: 50,
    },
    {
      id: 2,
      start: DayPilot.Date.today().firstDayOfWeek().addDays(1).addHours(11),
      end: DayPilot.Date.today().firstDayOfWeek().addDays(1).addHours(14),
      text: 'Event 2',
      progress: 75,
    },
  ];
};

const onEventButtonClick = (event) => {
  DayPilot.Modal.alert(`Button clicked for event: ${event.text()}`);
};

onMounted(() => {
  loadEvents();
});
</script>

<style scoped>
.event {
  position: absolute;
  inset: 0 0 0 5px;
  padding: 5px;
}

.event-header {
  display: flex;
  align-items: center;
}

.event-icon {
  margin-right: 5px;
}

.event-icon .icon {
  width: 16px;
  height: 16px;
  color: #ffba11;
  vertical-align: middle;
}

.event-text {
  flex-grow: 1;
}

.event-progress {
  margin-top: 10px;
  width: 100%;
  height: 4px;
  background-color: #e9ecef;
}

.event-progress-bar {
  height: 100%;
  background-color: #28a745;
}

.event-progress-text {
  font-size: 10px;
  color: #6c757d;
}

.event-button {
  margin-left: auto;
  padding: 5px 10px;
  font-size: 12px;
  background-color: #6c757d;
  color: #fff;
  border: none;
  border-radius: 4px;
  cursor: pointer;
  transition: background-color 0.3s ease, box-shadow 0.3s ease;
}

.event-button:hover {
  background-color: #5a6268;
  box-shadow: 0 4px 8px rgba(0, 0, 0, 0.1);
}

</style>
You can download the Vue 3 project using the link at the top of the tutorial.
 DayPilot