DayPilot
| Demo | |
|---|---|
| Downloads | |
| Languages | JavaScript |
Overview
-
Use a queue of unscheduled events and a row with unassigned events to provide a place for events that are not scheduled for a specific time and resource.
-
You can use the built-in drag and drop support or a context menu to move events to another place.
-
These features can support a more advanced scheduling workflow.
-
Includes a trial version of DayPilot Pro for JavaScript (see License below).
License
Licensed for testing and evaluation purposes. Please see the license agreement included in the sample project. You can use the source code of the tutorial if you are a licensed user of DayPilot Pro for JavaScript.
How to Remove Events from the Schedule
If you want to remove an event from the JavaScript Scheduler component, you can simply delete it using the built-in delete icon or a context menu item.
However, in some cases you may not want to remove the event completely. It may be necessary to keep the event in the application in an unscheduled state.
This tutorial shows how you can display events that are either not scheduled at all or are partially scheduled (time only, without a resource):
-
a queue of events/tasks that are not scheduled
-
a special row displayed at the top of the Scheduler grid for unassigned tasks
We will also discuss how to implement the UI that lets users unschedule an event:
-
drag and drop
-
context menu
-
delete icon
How to Unschedule an Event
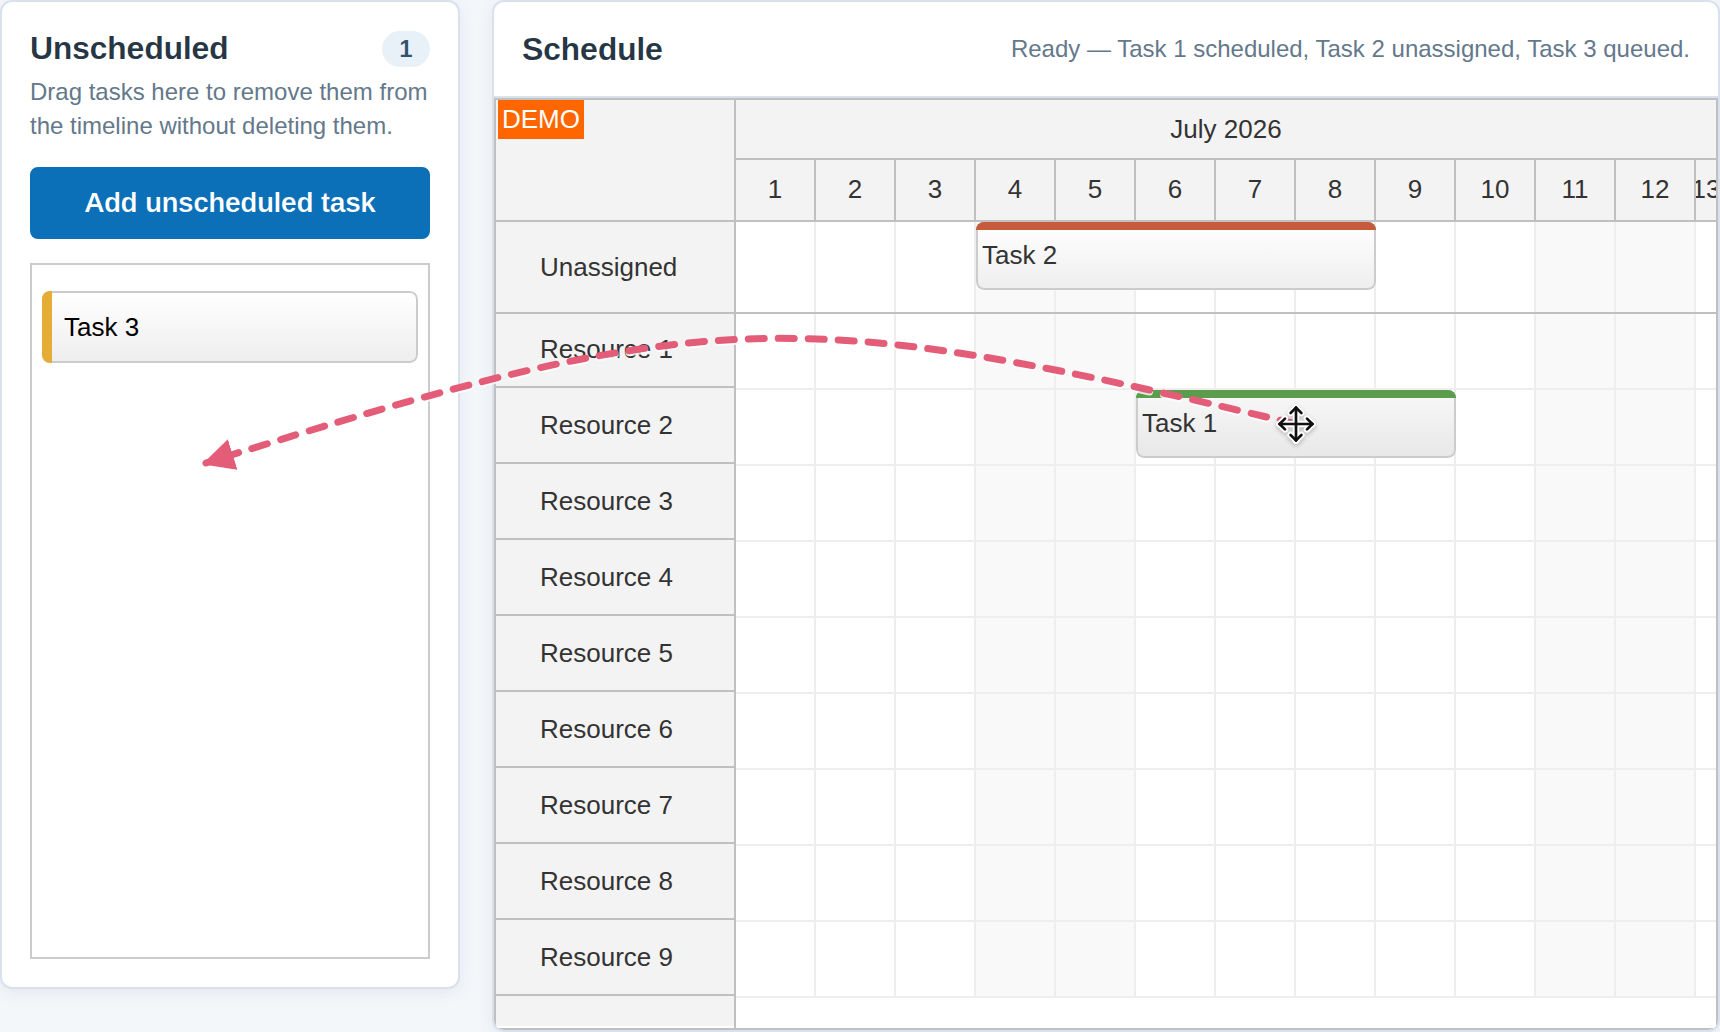
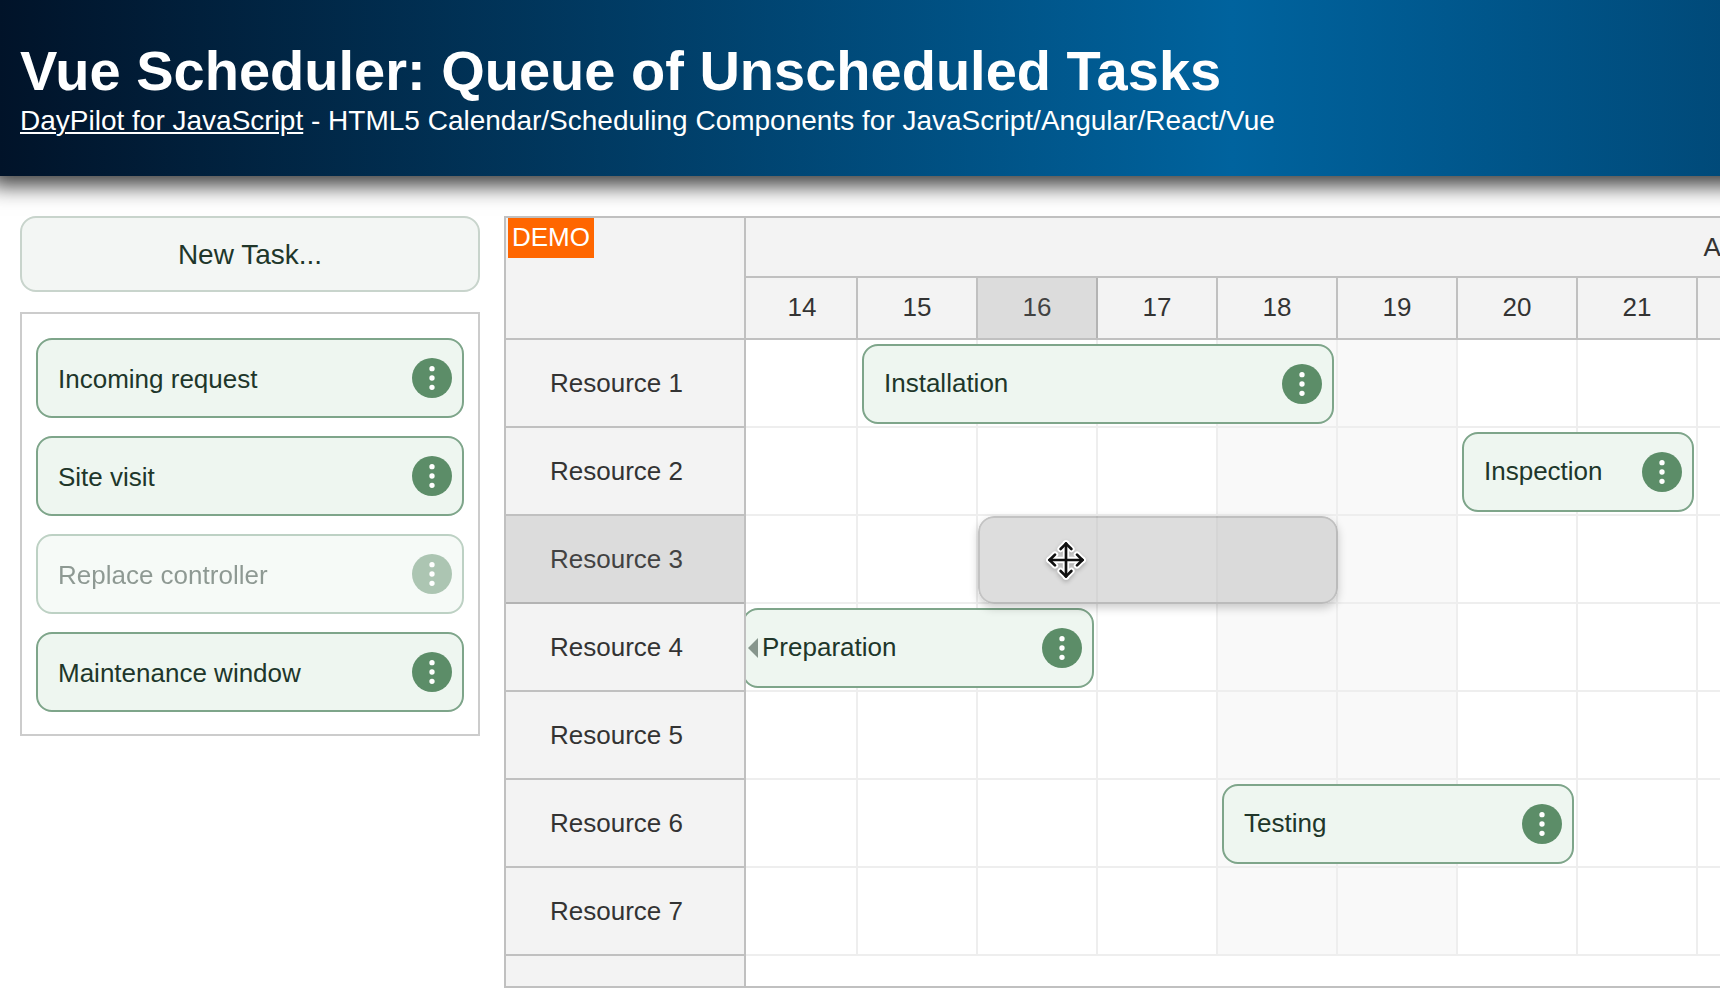
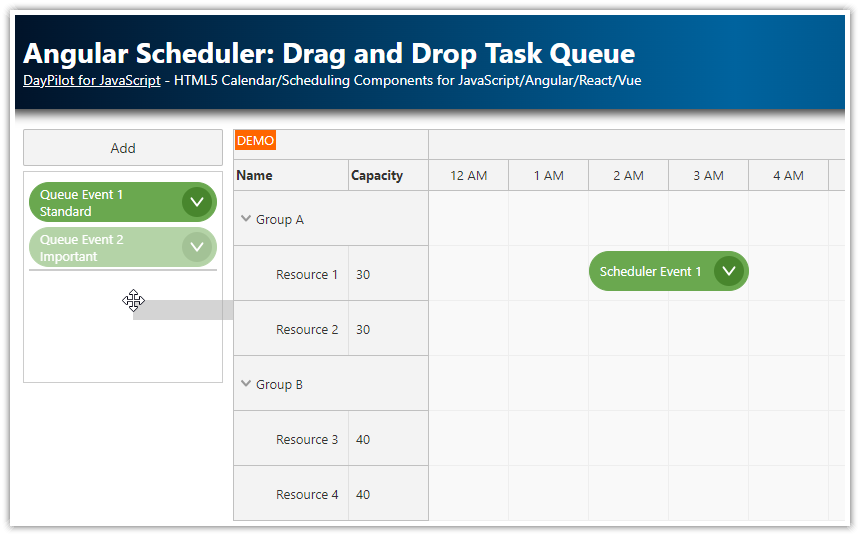
DayPilot includes a special DayPilot.Queue component that can display a list of events that are waiting to be scheduled. The component supports bidirectional drag and drop—you can drag events between the Scheduler and Queue components freely.
Queue component:
const queue = new DayPilot.Queue("queue", {
  emptyText: "No unscheduled tasks",
  eventHeight: 36,
  lineSpace: 8,
  onEventMoved: (args) => {
    if (args.external) {
      dp.events.remove(args.e.data.id);
      app.updateQueueCount(app.queueCount + 1);
      app.announce(`${args.e.text()} moved to the unscheduled queue.`);
    }
  },
  onBeforeEventRender: (args) => {
    args.data.barColor = "#e5ad35";
  }
});
queue.init();

// ...

const queueEvents = [
  {
    id: 3,
    text: "Task 3",
    duration: DayPilot.Duration.ofDays(4)
  }
];

// ...

queue.update({events: queueEvents});
It’s necessary to allow moving events outside of the Scheduler using the dragOutAllowed property:
const dp = new DayPilot.Scheduler("dp", {
  // ...
  dragOutAllowed: true,
  // ...
  onEventMoved: (args) => {
    if (args.external) {
      queue.events.remove(args.e.data.id);
      app.updateQueueCount(app.queueCount - 1);
      app.announce(`${args.e.text()} scheduled for ${args.e.resource()}.`);
    }
  },
  // ...
});
The onEventMoved event handlers of both components detect the source and remove the event from there.
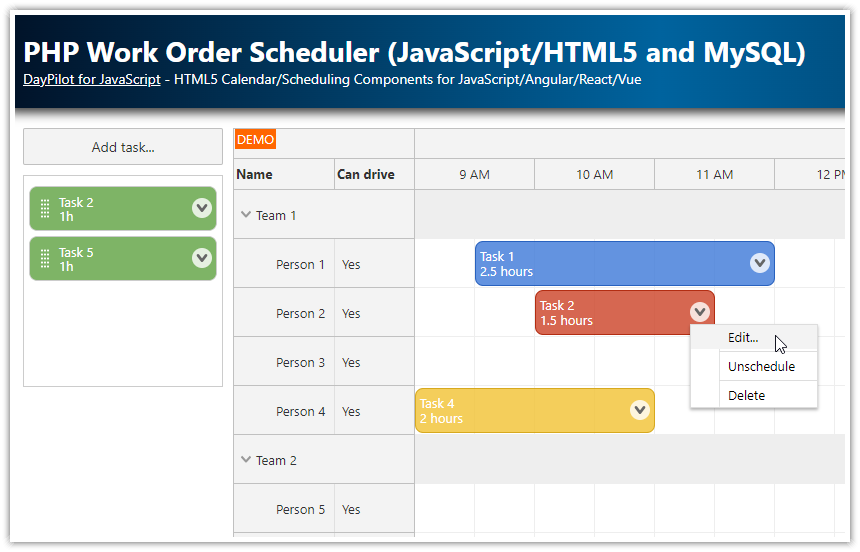
For a complete example, see also the Work Order Scheduler tutorial, where the Queue component is used to implement a drag-and-drop queue of incoming work orders.
How to Unassign an Event
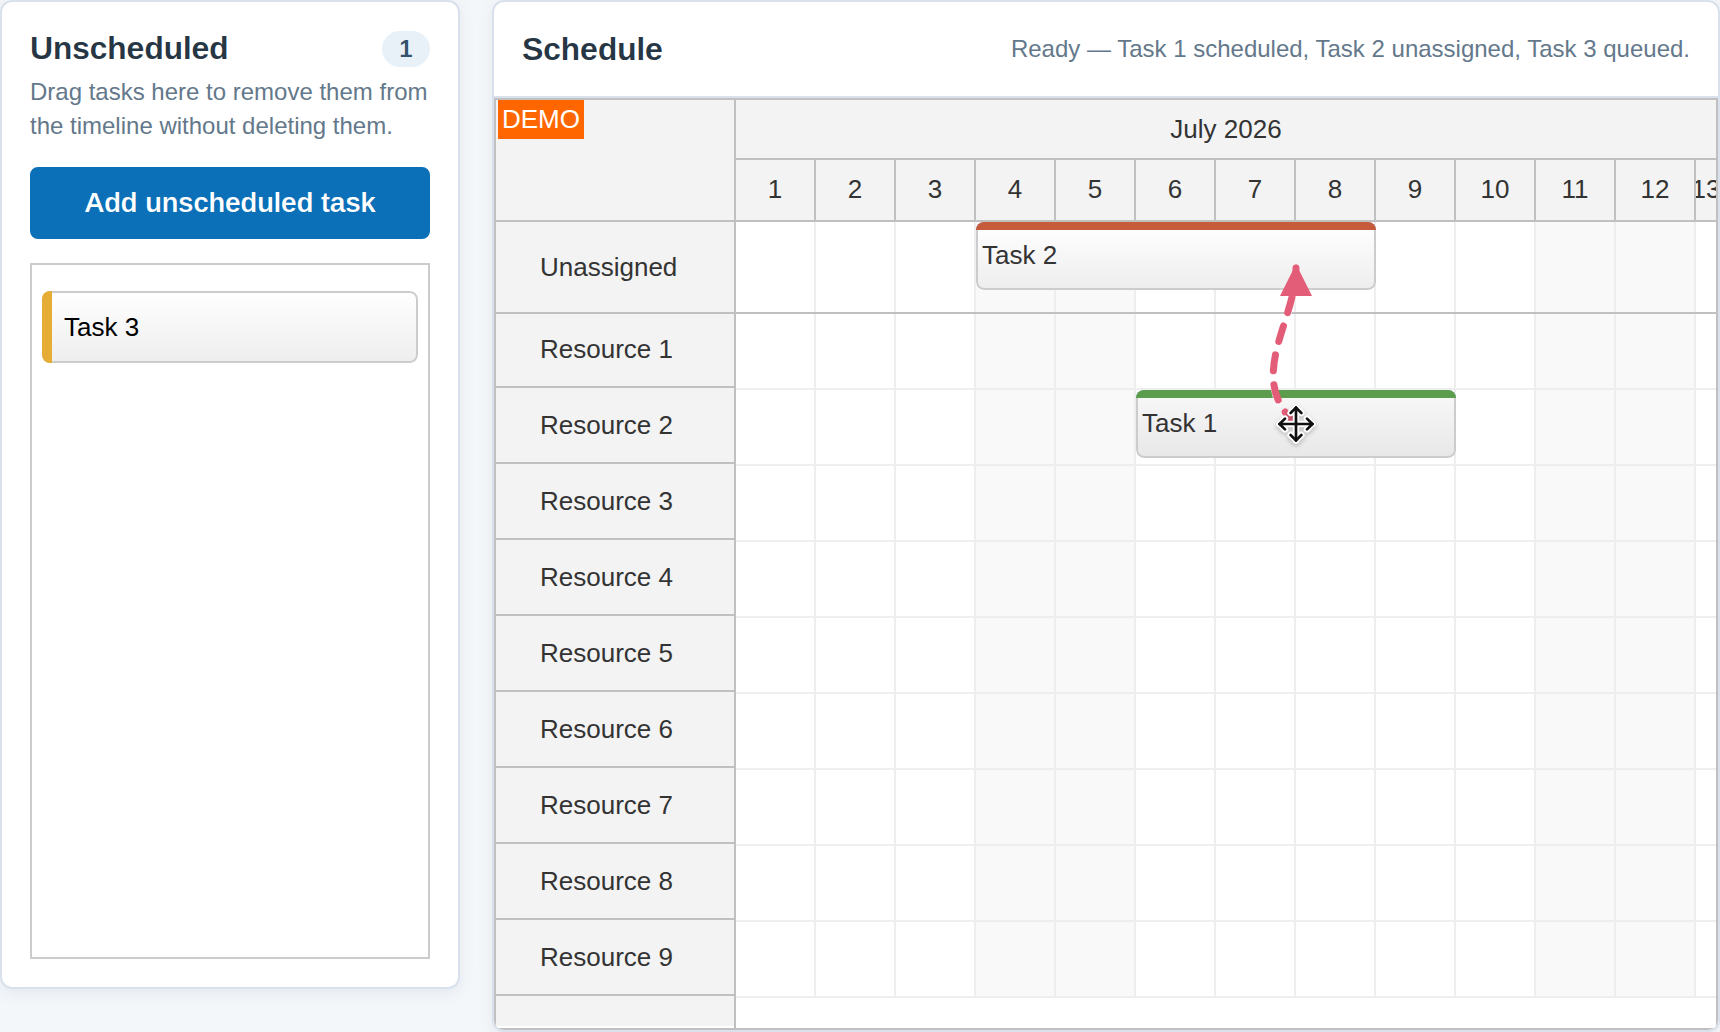
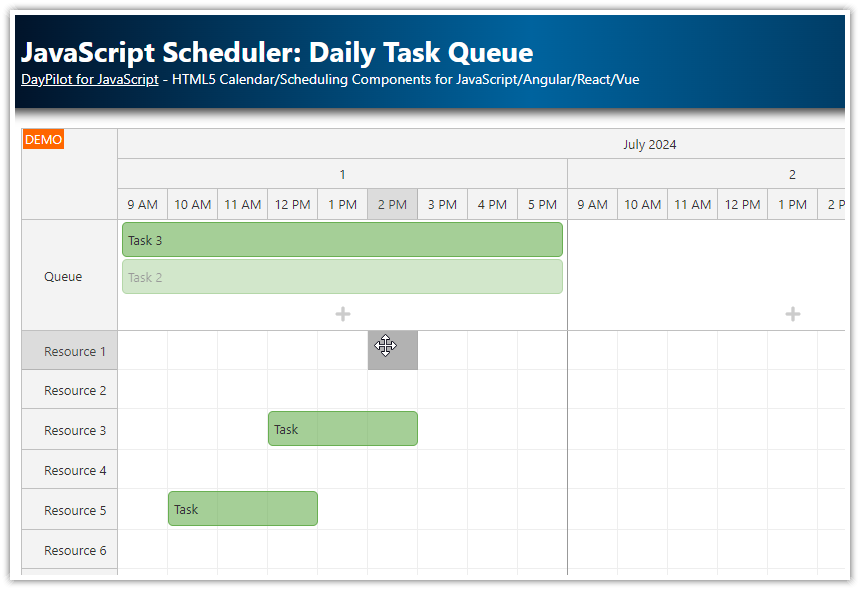
The Scheduler displays events at a position specified by time and assigned resource. If you want to keep the scheduled time but remove the resource temporarily, you can move the event to an Unassigned row.
The “Unassigned” row is displayed at the top of the Scheduler component as a frozen row. This way, it always stays visible and you can use it to unassign events from any resource without scrolling.
Frozen row:
const resources = [
  {name: "Unassigned", id: "U", frozen: "top", marginBottom: 8},
  {name: "Resource 1", id: "R1"},
  {name: "Resource 2", id: "R2"},
  {name: "Resource 3", id: "R3"},
  {name: "Resource 4", id: "R4"},
  {name: "Resource 5", id: "R5"},
  {name: "Resource 6", id: "R6"},
  {name: "Resource 7", id: "R7"},
  {name: "Resource 8", id: "R8"},
  {name: "Resource 9", id: "R9"}
];
No special event handling is necessary. The event data will be updated automatically (the “Unassigned” row uses "U" as the row id).
See also the JavaScript Scheduler: Daily Task Queue tutorial, which uses a special frozen row to store daily tasks that are not assigned to a specific resource.
Context menu
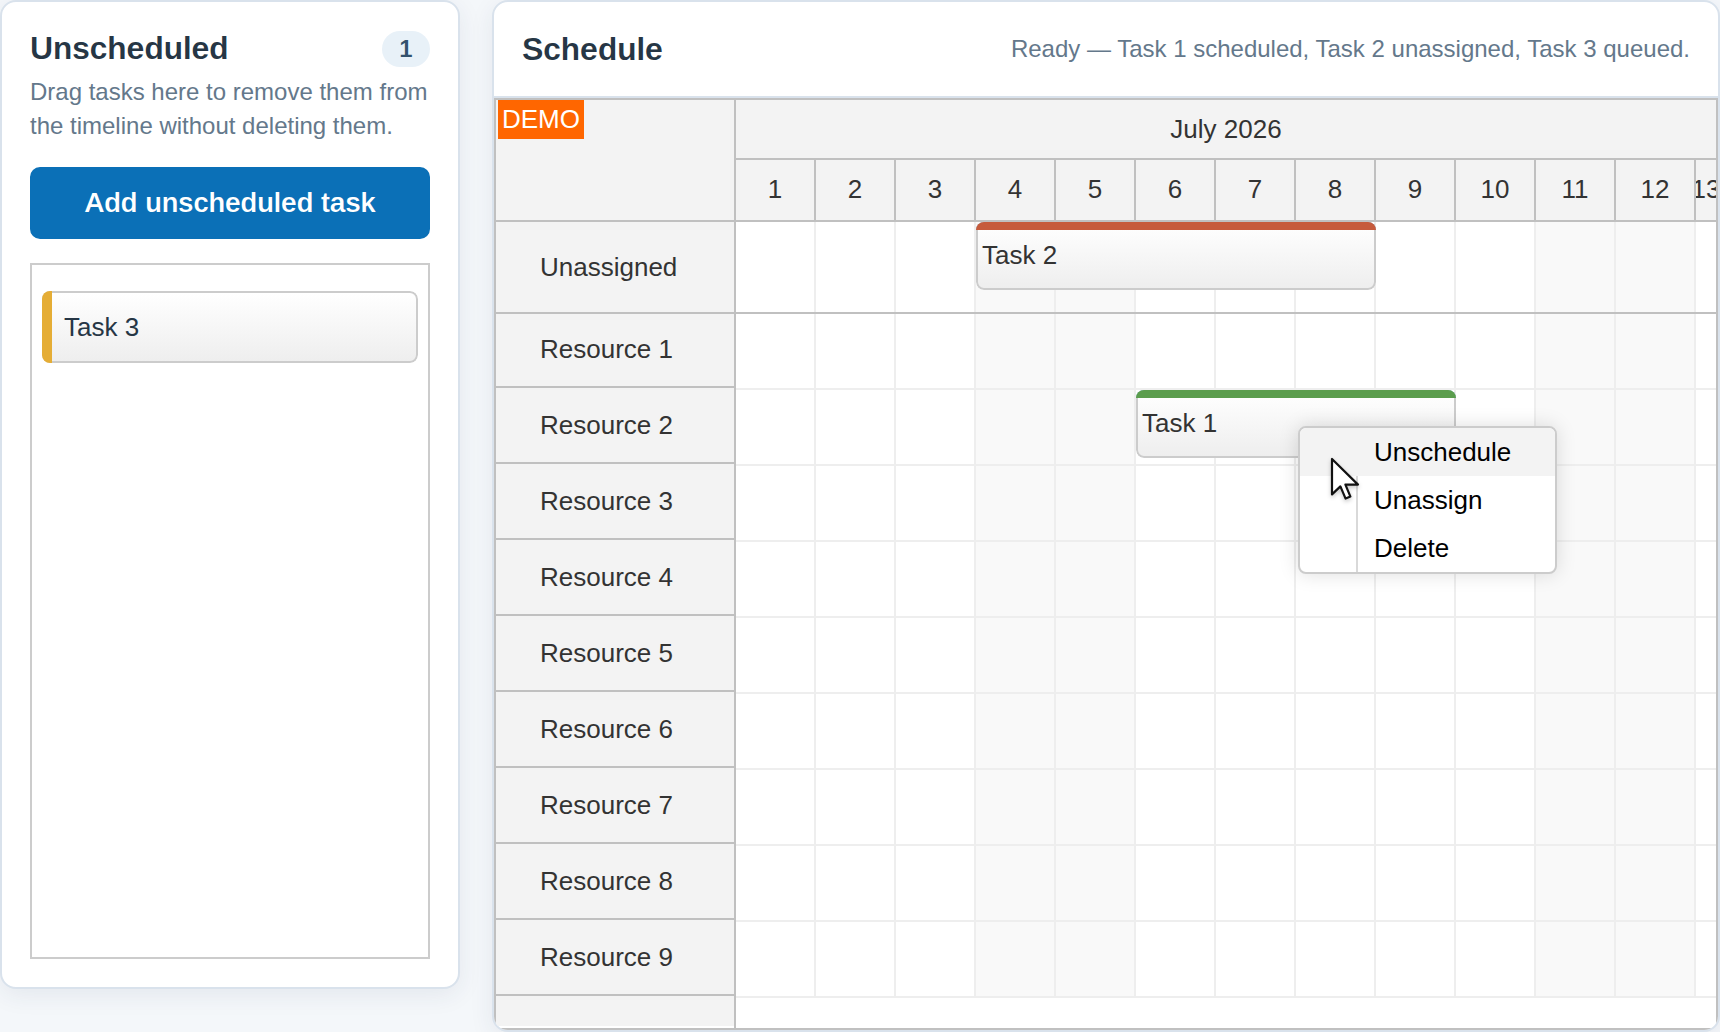
You can remove events from the Scheduler grid using a context menu.
The following example uses a context menu with three different actions:
-
“Unschedule” - remove the event from the main schedule and add it to the queue
-
“Unassign” - move the event to the “Unassigned” row
-
“Delete” - remove the event completely
contextMenu: new DayPilot.Menu({
  items: [
    {
      text: "Unschedule",
      onClick: (args) => {
        queue.events.add(args.source.data);
        dp.events.remove(args.source.data.id);
        app.updateQueueCount(app.queueCount + 1);
        app.announce(`${args.source.text()} moved to the unscheduled queue.`);
      }
    },
    {
      text: "Unassign",
      onClick: (args) => {
        args.source.data.resource = "U";
        dp.events.update(args.source);
        app.announce(`${args.source.text()} moved to the Unassigned row.`);
      }
    },
    {
      text: "Delete",
      onClick: (args) => {
        const text = args.source.text();
        dp.events.remove(args.source);
        app.announce(`${text} deleted.`);
      }
    }
  ]
})
The Unschedule command transfers the event data before removing the Scheduler event. The Unassign command changes only the resource and calls dp.events.update(), while Delete removes the event without preserving it elsewhere.
How to Override the “Delete” Icon Action
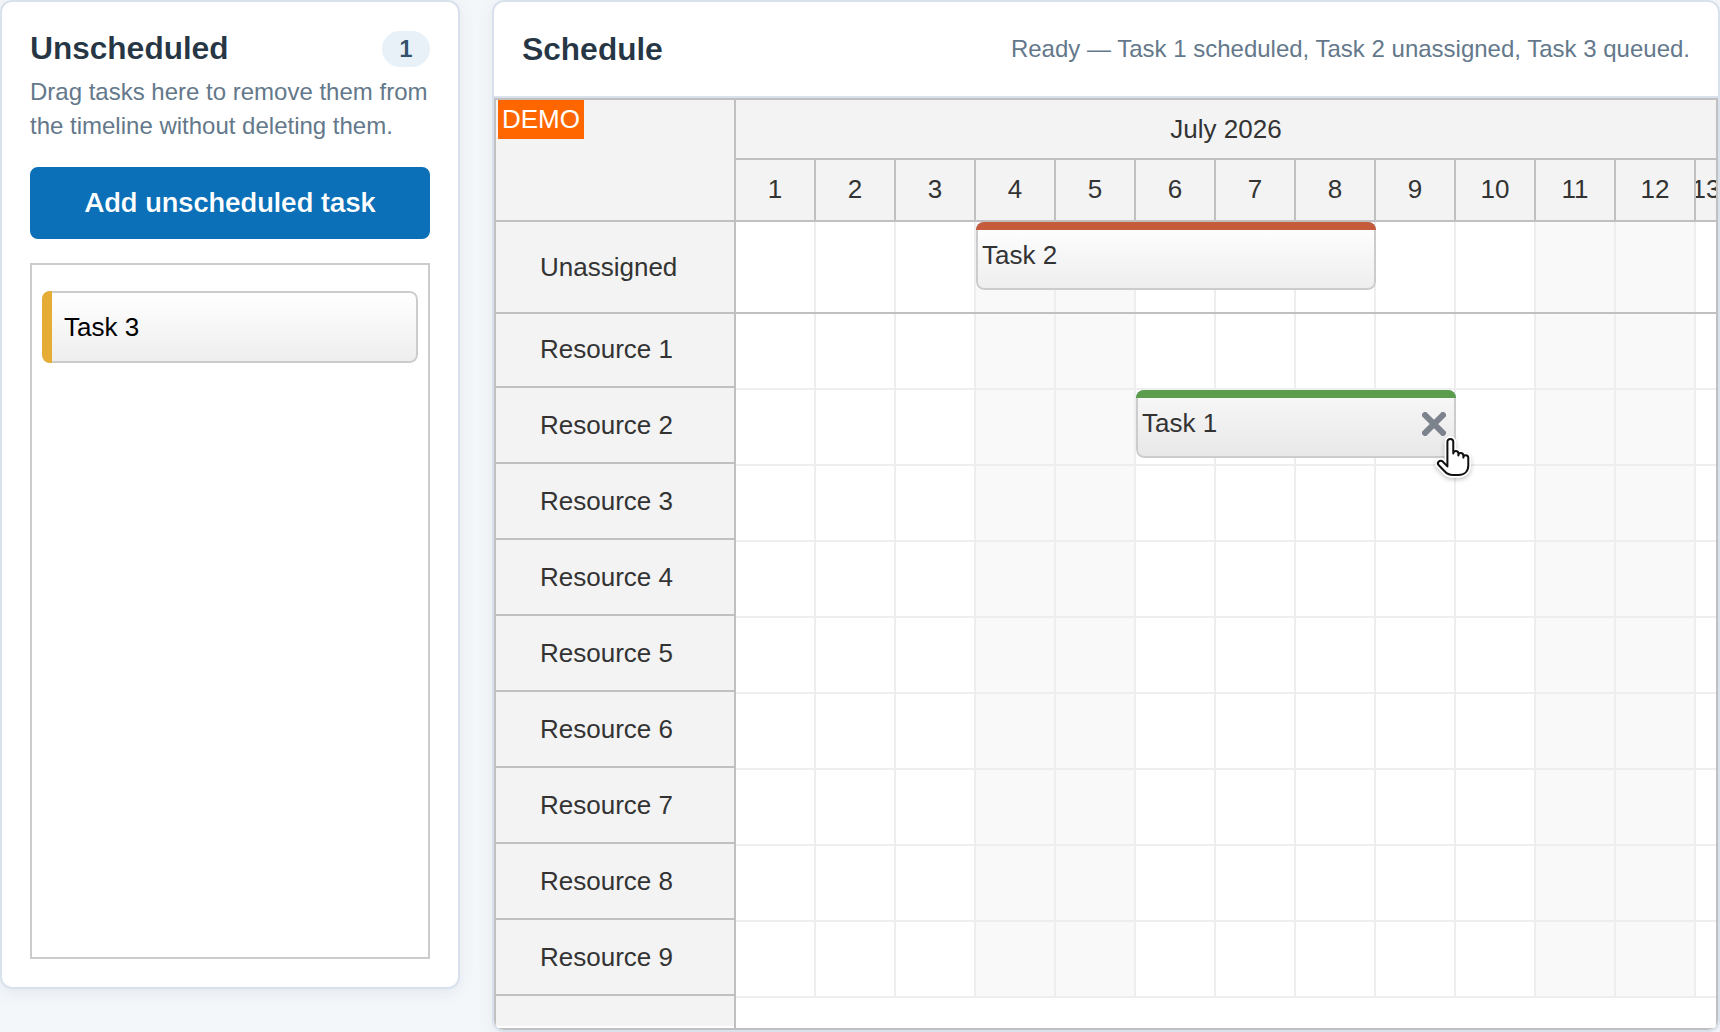
The Scheduler has built-in support for deleting events using an “X” icon. It removes the event from the Scheduler grid and fires the onEventDelete and onEventDeleted events.
You can use the onEventDelete event handler to override the behavior. In this example, we change the delete icon behavior—the event will be moved to the queue before the default "Update" action removes it from the Scheduler.
const dp = new DayPilot.Scheduler("dp", {
  // ...
  eventDeleteHandling: "Update",
  onEventDelete: (args) => {
    queue.events.add(args.e.data);
    app.updateQueueCount(app.queueCount + 1);
    app.announce(`${args.e.text()} moved to the unscheduled queue.`);
  },
  // ...
});
This gives the delete icon an “unschedule” meaning while the context menu still provides a separate permanent Delete command.
History
-
July 2026: Updated the sample to use the current DayPilot JavaScript package and current-month timeline data.