Overview
Learn how to use the Navigator date picker component from the open-source DayPilot Lite for JavaScript scheduling library to highlight full or partial occupancy for each day.
Each day will show one of the following states:
Free for the whole day
Fully occupied
Only partially occupied (visually indicated using a diagonal split)
We’ll do this by assigning a CSS class to each day in onBeforeCellRender and then drawing a diagonal overlay using clip-path.
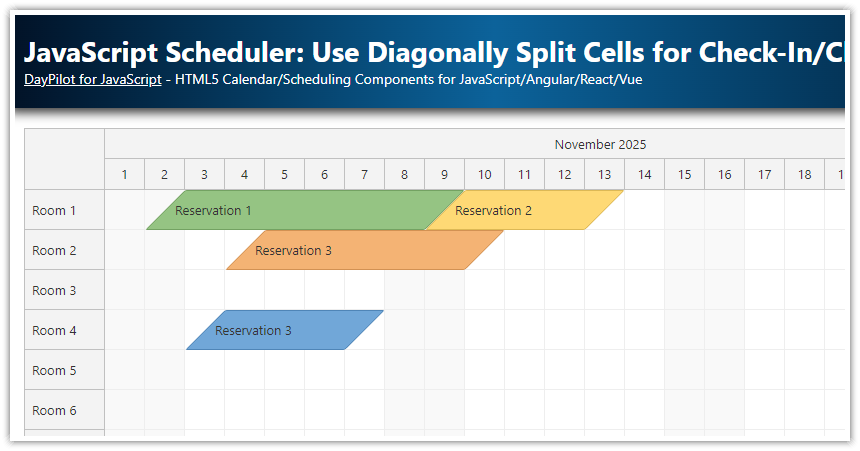
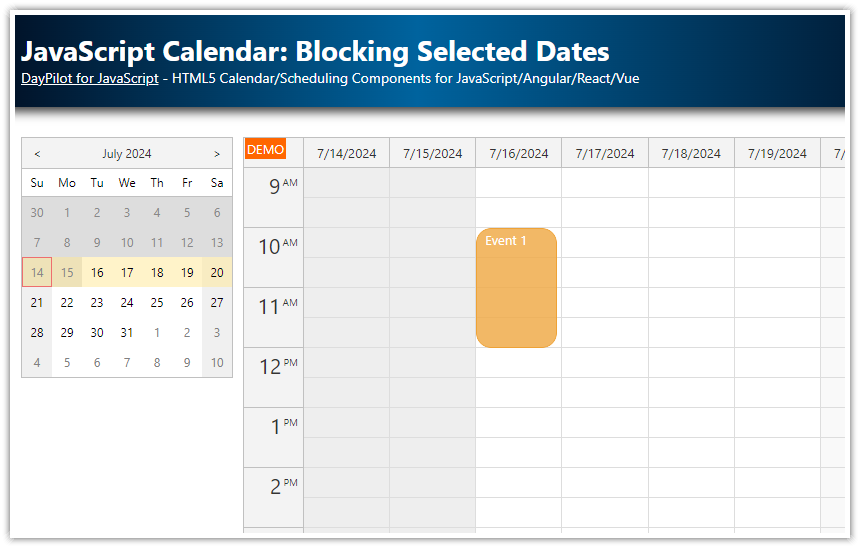
See also how to configue the diagonal cell split for the Scheduler component (for multiple resources):
Initializing the Date Picker (Navigator Component)
First, we create the DayPilot.Navigator component and configure handling of the reservation end date:
import {DayPilot} from "@daypilot/daypilot-lite-javascript";

const dp = new DayPilot.Navigator("dp", {
  eventEndSpec: "Date",
});

dp.init();
The eventEndSpec: "Date" config option makes sure the event start/end values match the Navigator’s per-day cells correctly (end is treated as a day boundary, not a time).
Detecting Partial / Full Occupancy per Day
Now we will customize the date picker cells using the onBeforeCellRender event handler.
onBeforeCellRender: (args) => {
  const list = args.cell.events.all();
  const day = args.cell.day;

  const startHere = list.some(e => e.start() === day);
  const endHere = list.some(e => e.end() === day);
  const full = list.some(e => e.start() !== day && e.end() !== day);

  // ...

}
We check the events that itersect the current day, returned by the args.cell.events.all() method:
startHereistrueif at least one event starts on this day.endHereistrueif at least one event ends on this day.fullistrueif an event covers the day completely (the day lies between the start and end).
Sincelistalready contains only events overlapping this day, the conditione.start() !== day && e.end() !== dayeffectively says: “this day is neither the start nor the end → it must be fully occupied.”
The free/busy highlighting is applied using a CSS class based on the calculated cell status:
args.cell.cssClass =
  full || (startHere && endHere) ? "full" :
    startHere ? "start" :
      endHere ? "end" :
        null;
The following CSS classes can be applied:
Cells with the
fullCSS class are fully occupied — either by a multi-day reservation or by two separate reservations that start and end on this day.Cells with a single reservation starting on this day are given the
startCSS class.Cells with a single reservation ending on this day are given the
endCSS class.
Drawing the Diagonal Overlay with CSS
We use a pseudo-element on the default Navigator cell:
<style>
  .navigator_default_cell::before {
    content: "";
    position: absolute;
    inset: 0;
    background: #93c47d;
    pointer-events: none;
    display: none;
  }

  .navigator_default_cell.start::before {
    display: block;
    clip-path: polygon(0 100%, 100% 0, 100% 100%);
  }

  .navigator_default_cell.end::before {
    display: block;
    clip-path: polygon(0 0, 100% 0, 0 100%);
  }

  .navigator_default_cell.full::before {
    display: block;
    clip-path: none;
  }
</style>
These CSS classes define a full rectangle overlay for the full class, and triangles for the start and end classes.
The triangles are created by clipping the pseudo-element content (clip-path).
The overlays use #93c47d as the background color - you can modify it as needed.
Loading the Reservation Data
Our app defines two sample reservations and loads them using the update() method:
const app = {
  init() {
    const events = [
      {
        start: DayPilot.Date.today().firstDayOfWeek().addDays(1),
        end: DayPilot.Date.today().firstDayOfWeek().addDays(2),
        resource: "A",
        id: 1,
        text: "Reservation 1"
      },
      {
        start: DayPilot.Date.today().firstDayOfWeek().addDays(4),
        end: DayPilot.Date.today().firstDayOfWeek().addDays(11),
        resource: "A",
        id: 2,
        text: "Reservation 2"
      },
    ];
    dp.update({events});
  }
};

app.init();