Overview
How to change the date displayed by the React Scheduler component using “next” and “previous” buttons.
Load the new event data set before changing the view.
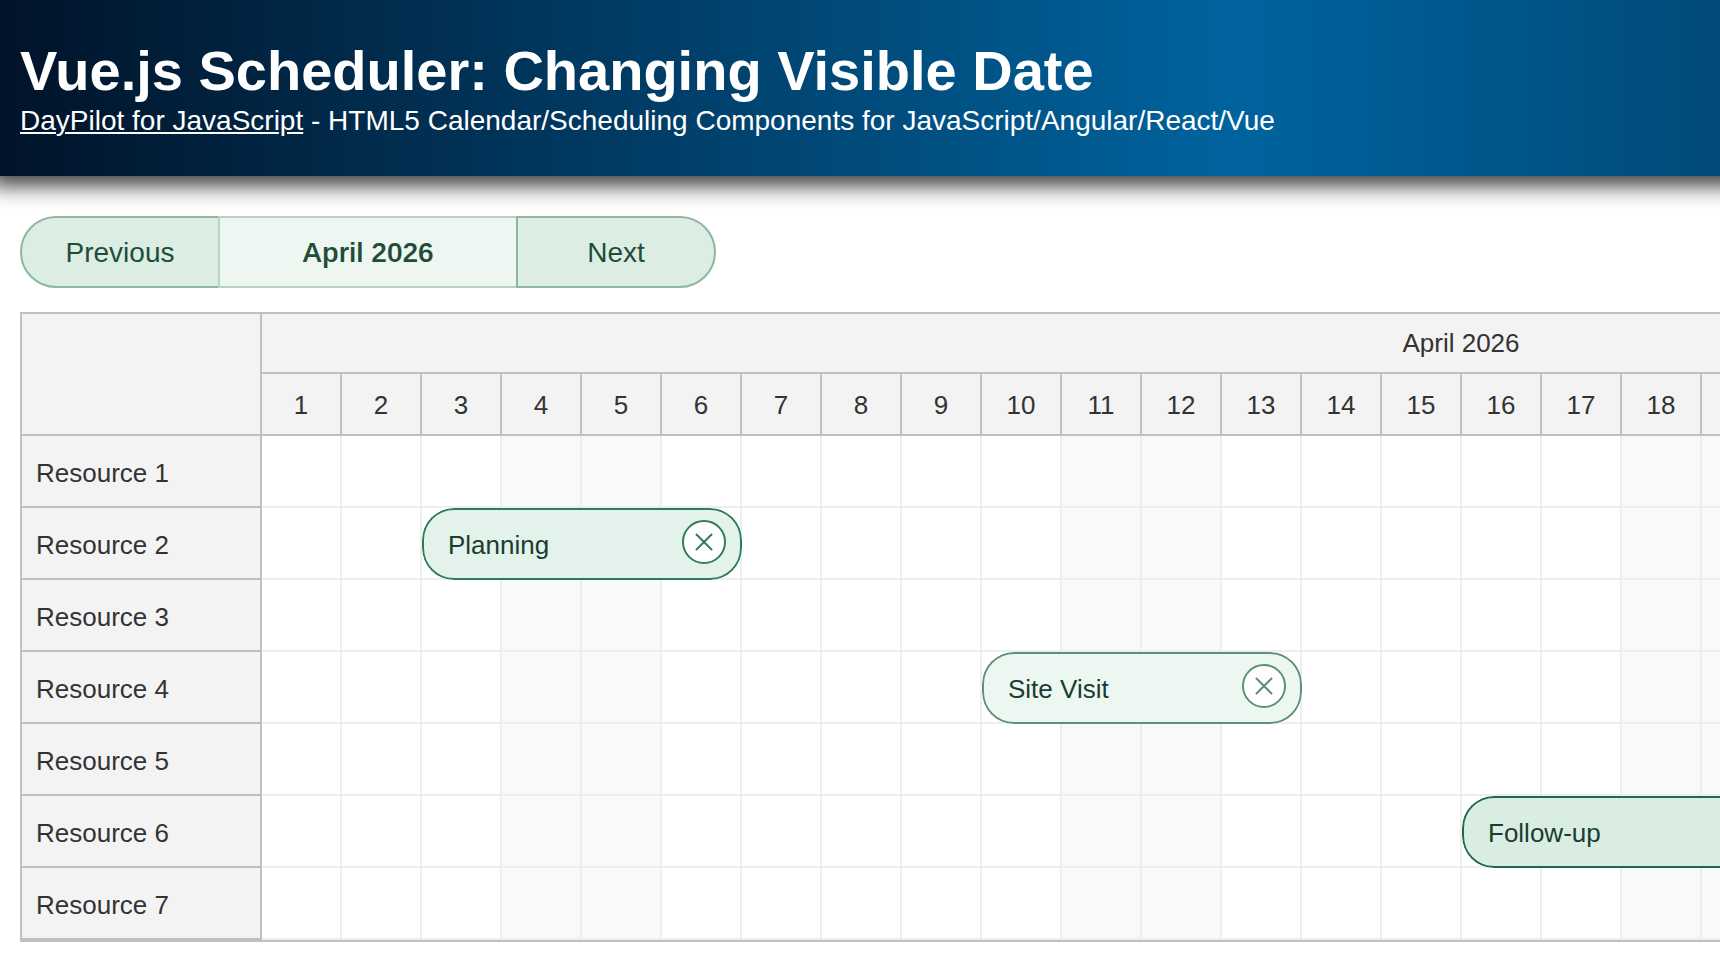
Date Range Displayed by the React Scheduler
The React scheduler component lets you specify the visible range using a combination of startDate and days properties.
In the following example, the properties are set using props of the <DayPilotScheduler> component.
The startDate property sets the first day to be displayed. The days property defines the number of visible days.
import React, { useMemo, useRef, useState } from "react";
import { DayPilot, DayPilotScheduler } from "@daypilot/daypilot-lite-react";

const Scheduler = () => {
  const schedulerRef = useRef(null);

  return (
    <DayPilotScheduler
      ref={schedulerRef}
      startDate={"2026-02-01"}
      days={30}
      scale="Day"
      timeHeaders={[{ groupBy: "Month" }, { groupBy: "Day", format: "d" }]}
    />
  );
};

export default Scheduler;
To make the values dynamic, we switch to a startDate state variable and a days memo:
import React, { useMemo, useRef, useState } from "react";
import { DayPilot, DayPilotScheduler } from "@daypilot/daypilot-lite-react";

const Scheduler = () => {
  const schedulerRef = useRef(null);
  const [startDate, setStartDate] = useState(DayPilot.Date.today().firstDayOfMonth());
  const days = useMemo(() => startDate.daysInMonth(), [startDate]);

  // ...

  return (
    <DayPilotScheduler
      ref={schedulerRef}
      startDate={startDate}
      days={days}
      scale="Day"
      timeHeaders={[{ groupBy: "Month" }, { groupBy: "Day", format: "d" }]}
    />
  );
};

export default Scheduler;
To display the current month, we use DayPilot.Date helper methods which calculate the right values using firstDayOfMonth() and daysInMonth() methods.
In order to change the date, you can simply change the startDate value:
setStartDate(DayPilot.Date.today().addMonths(1));“Previous” Button
First, you need to add the <button> element to JSX:
<button onClick={previous}>Previous</button>The previous() function subtracts one month from the current value:
Event handler:
const previous = () => setStartDate(prev => prev.addMonths(-1));In a typical React application, it will be necessary to load the event data for the new range. Here is an example that loads events using an HTTP call and updates the Scheduler events as well.
const [events, setEvents] = useState([]);

// ...

const previous = async () => {
  const newStart = startDate.addMonths(-1);
  const newDays = newStart.daysInMonth();

  setStartDate(newStart);

  const from = newStart;
  const to = newStart.addDays(newDays);

  const { data } = await DayPilot.Http.get(`/events?from=${from}&to=${to}`);

  setEvents(data);
};
“Next” Button
The implementation of the “next” button is very similar. When calculating the newStart value, we add one month instead of subtracting it.
JSX:
<button onClick={next}>Next</button>This is a simplified next() event that only changes the visible range, without loading events:
const next = () => setStartDate(prev => prev.addMonths(1));And here is a full implementation that loads events from a remote URL using DayPilot.Http.get(), waits for the result and updates the React scheduler:
const [events, setEvents] = useState([]);

// ...

const next = async () => {
  const newStart = startDate.addMonths(1);
  const newDays = newStart.daysInMonth();

  setStartDate(newStart);

  const from = newStart;
  const to = newStart.addDays(newDays);

  const { data } = await DayPilot.Http.get(`/events?from=${from}&to=${to}`);

  setEvents(data);
};
Full Source Code
This is the full source code of a simple React application that changes the Scheduler dates using custom “next” and “previous” buttons.
import React, { useMemo, useRef, useState } from "react";
import { DayPilot, DayPilotScheduler } from "@daypilot/daypilot-lite-react";
const Scheduler = () => {
const schedulerRef = useRef(null);
const [startDate, setStartDate] = useState(new DayPilot.Date("2026-06-01"));
const [resources] = useState([
{ name: "Resource A", id: "A" },
{ name: "Resource B", id: "B" },
{ name: "Resource C", id: "C" },
{ name: "Resource D", id: "D" },
{ name: "Resource E", id: "E" },
{ name: "Resource F", id: "F" },
{ name: "Resource G", id: "G" },
]);
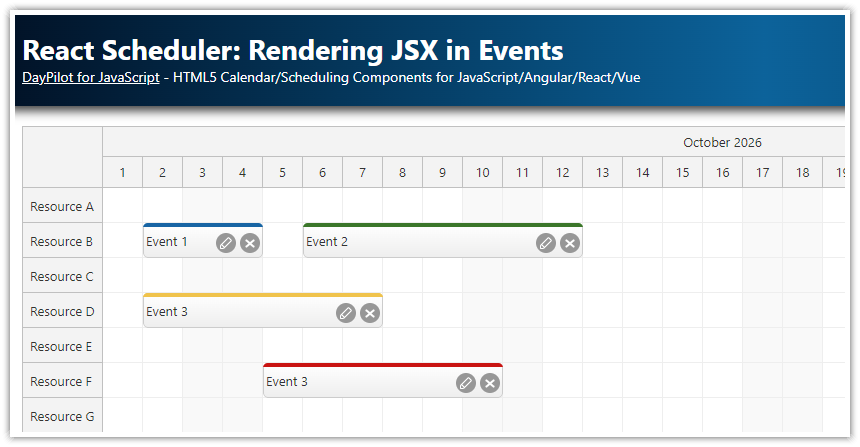
const [events, setEvents] = useState([
{
id: 1,
text: "Event 1",
start: "2026-06-02T00:00:00",
end: "2026-06-05T00:00:00",
resource: "A",
},
{
id: 2,
text: "Event 2",
start: "2026-06-03T00:00:00",
end: "2026-06-10T00:00:00",
resource: "C",
barColor: "#38761d",
barBackColor: "#93c47d",
},
{
id: 3,
text: "Event 3",
start: "2026-06-02T00:00:00",
end: "2026-06-08T00:00:00",
resource: "D",
barColor: "#f1c232",
barBackColor: "#f1c232",
},
{
id: 4,
text: "Event 3",
start: "2026-06-02T00:00:00",
end: "2026-06-08T00:00:00",
resource: "E",
barColor: "#cc0000",
barBackColor: "#ea9999",
},
]);
const days = useMemo(() => startDate.daysInMonth(), [startDate]);
const previous = () => setStartDate(prev => prev.addMonths(-1));
const next = () => setStartDate(prev => prev.addMonths(1));
return (
<div>
<div className="toolbar">
<button onClick={previous}>Previous</button>
<button onClick={next}>Next</button>
</div>
<DayPilotScheduler
ref={schedulerRef}
startDate={startDate}
days={days}
scale="Day"
timeHeaders={[{ groupBy: "Month" }, { groupBy: "Day", format: "d" }]}
timeRangeSelectedHandling="Enabled"
resources={resources}
events={events}
rowMarginTop={2}
rowMarginBottom={2}
eventBorderRadius={6}
onTimeRangeSelected={async args => {
const modal = await DayPilot.Modal.prompt("Create a new event:", "Event 1");
schedulerRef.current.control.clearSelection();
if (modal.canceled) return;
const e = {
id: DayPilot.guid(),
text: modal.result,
start: args.start,
end: args.end,
resource: args.resource,
};
schedulerRef.current.control.events.add(e);
}}
/>
</div>
);
};
export default Scheduler;