DayPilot
| Demo | |
|---|---|
| Downloads | |
| Languages | JavaScript |
Overview
-
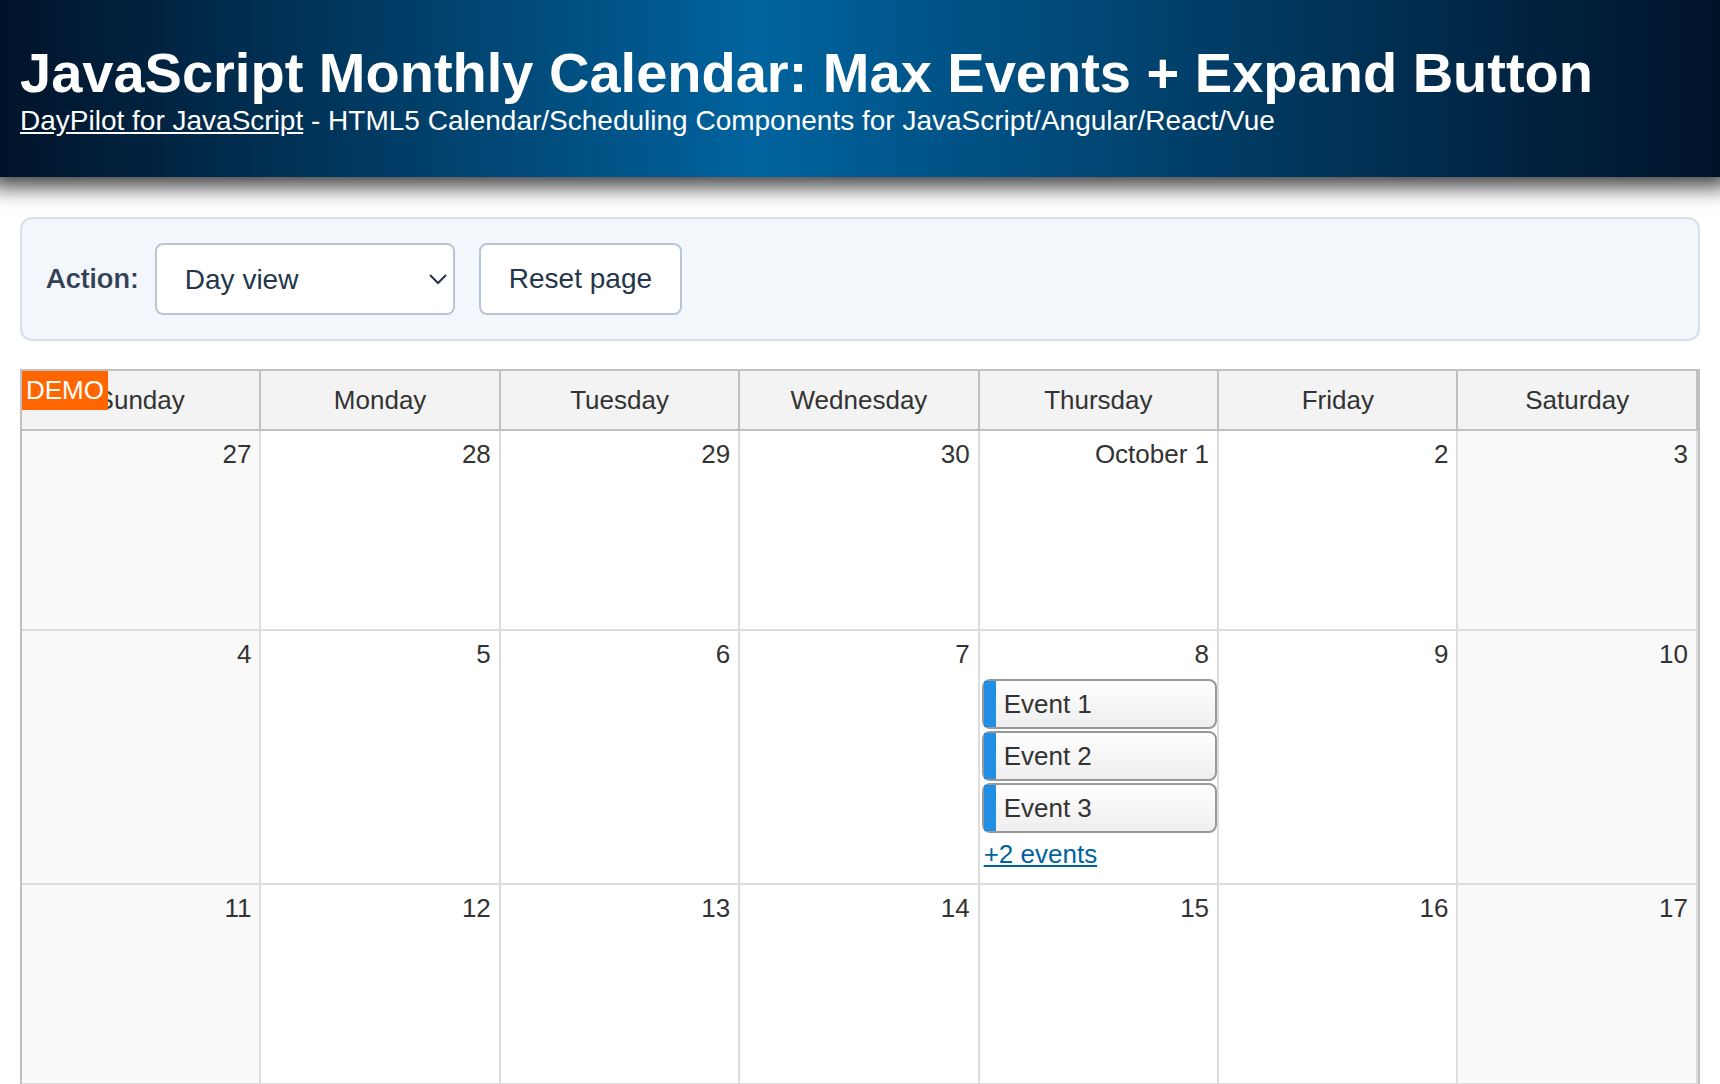
You can limit the number of events displayed by the JavaScript monthly calendar.
-
Customize the day cell to display a button with additional options.
-
You can switch to a daily calendar, display the list of all events in a modal dialog, or expand the monthly view to display all events.
In the sample, choose an action from the drop-down list and click the +2 events link. Use Reset page to return to the initial view and try another action. The five sample events use today’s date and are held in memory; reloading the page restores the original data.
License
Licensed for testing and evaluation purposes. Please see the license agreement included in the sample project. You can use the source code of the tutorial if you are a licensed user of DayPilot Pro for JavaScript.
How to Limit the Number of Events Visible in the Monthly Calendar
You can use the maxEvents property to limit the number of concurrent events displayed by the JavaScript monthly calendar from DayPilot Pro for JavaScript.
The default value is "All", and it displays all events without limitation:
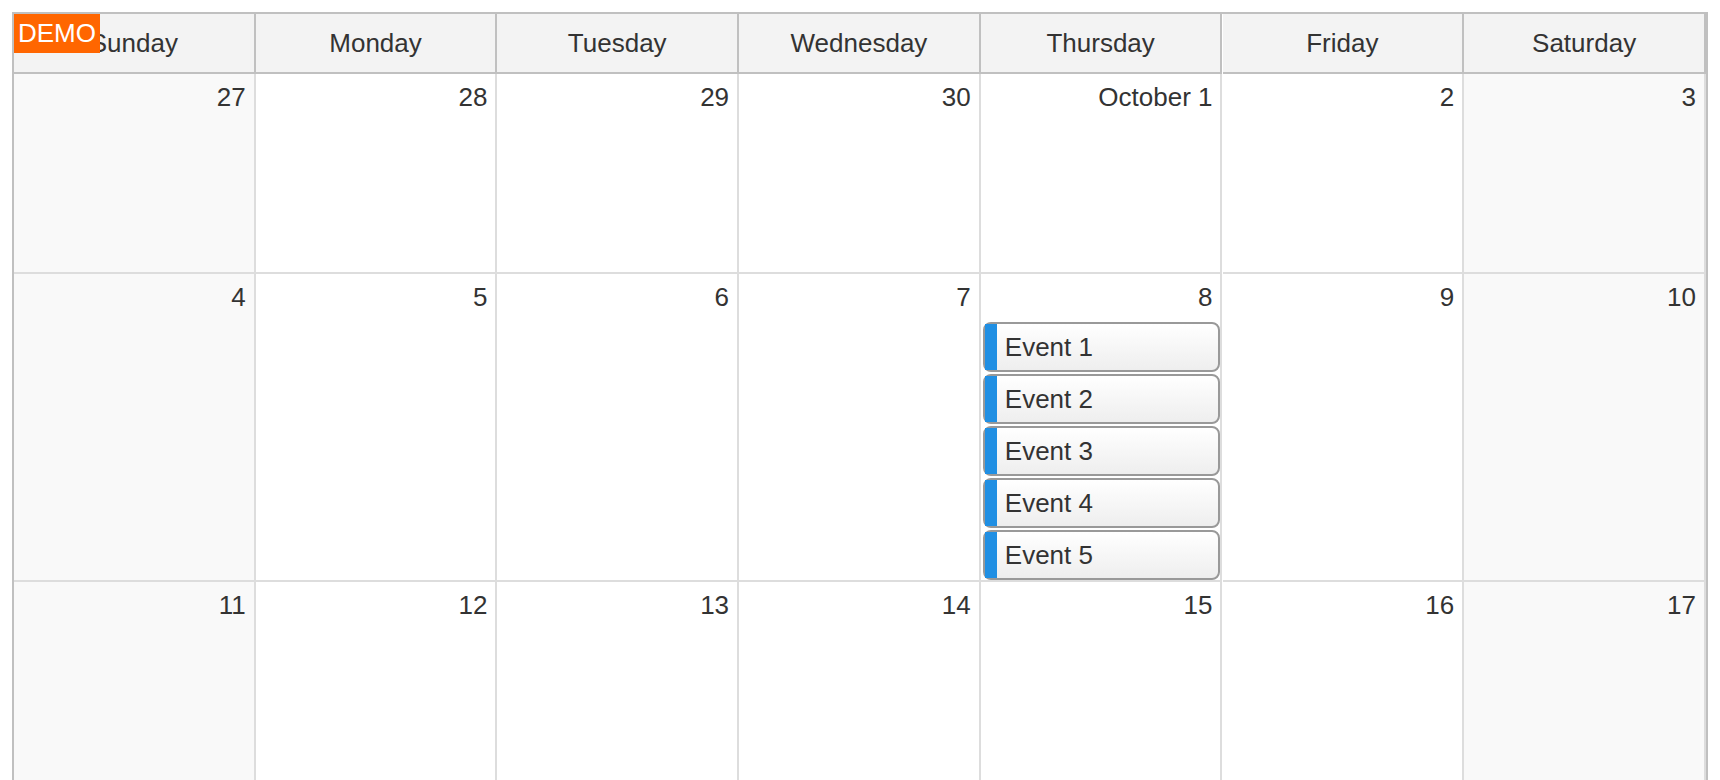
You can use a number instead to set the maximum number of concurrent events for each day:
const month = new DayPilot.Month("month", {
  maxEvents: 3,
  // ...
});
In that case, the monthly calendar displays up to three concurrent events for each day. It respects the current event sorting rule. All events remain loaded. The calendar sorts them for each week and does not render event lines beyond the specified maxEvents limit.
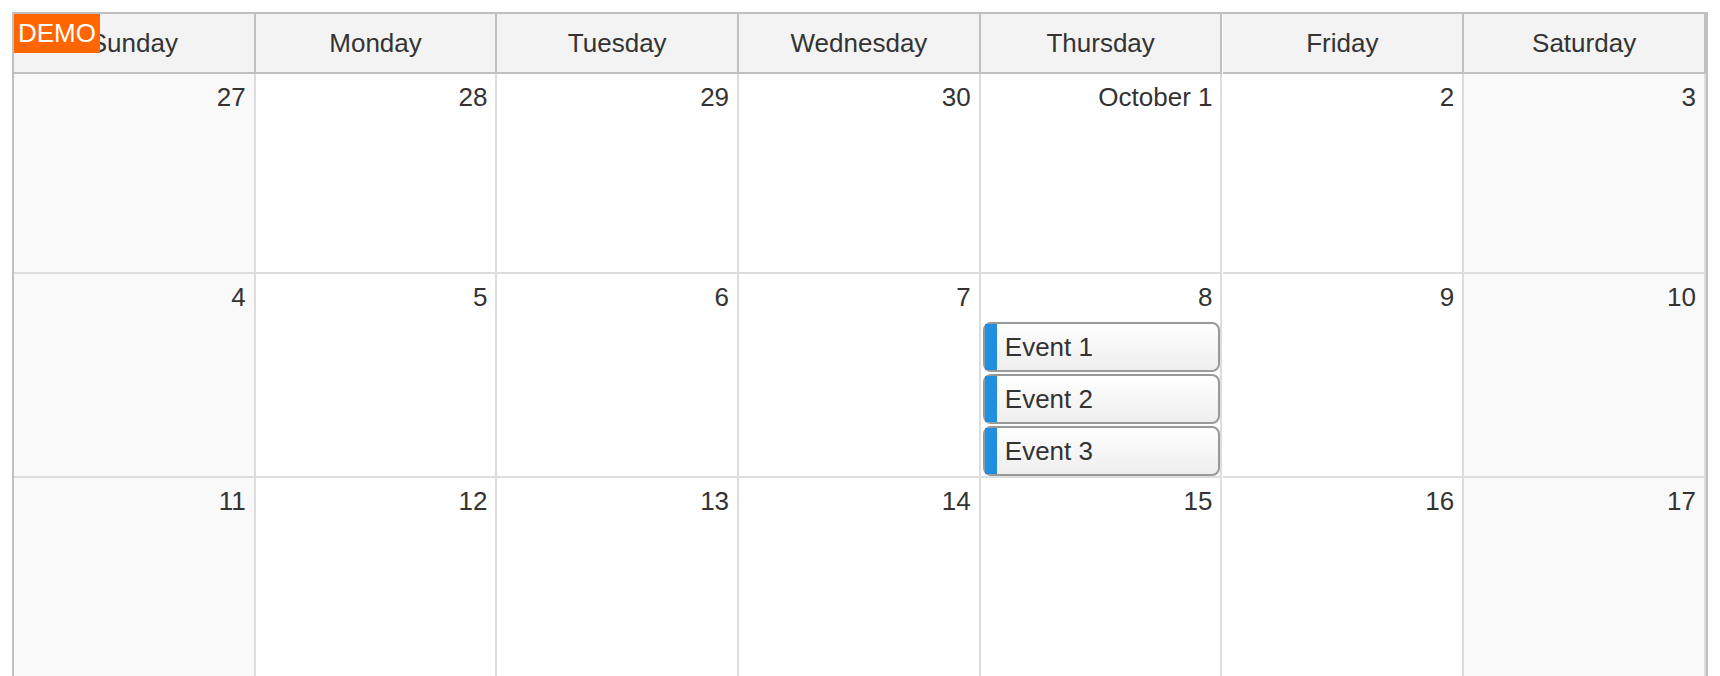
It also works with events spanning multiple days, but use it with care: long events may be visible in some weeks and hidden in others because the limit applies to event positions within each week. The example uses events that start and end on the same day, so the hidden-event count can be calculated directly from the number of events in the cell.
How to Add the Expand Button
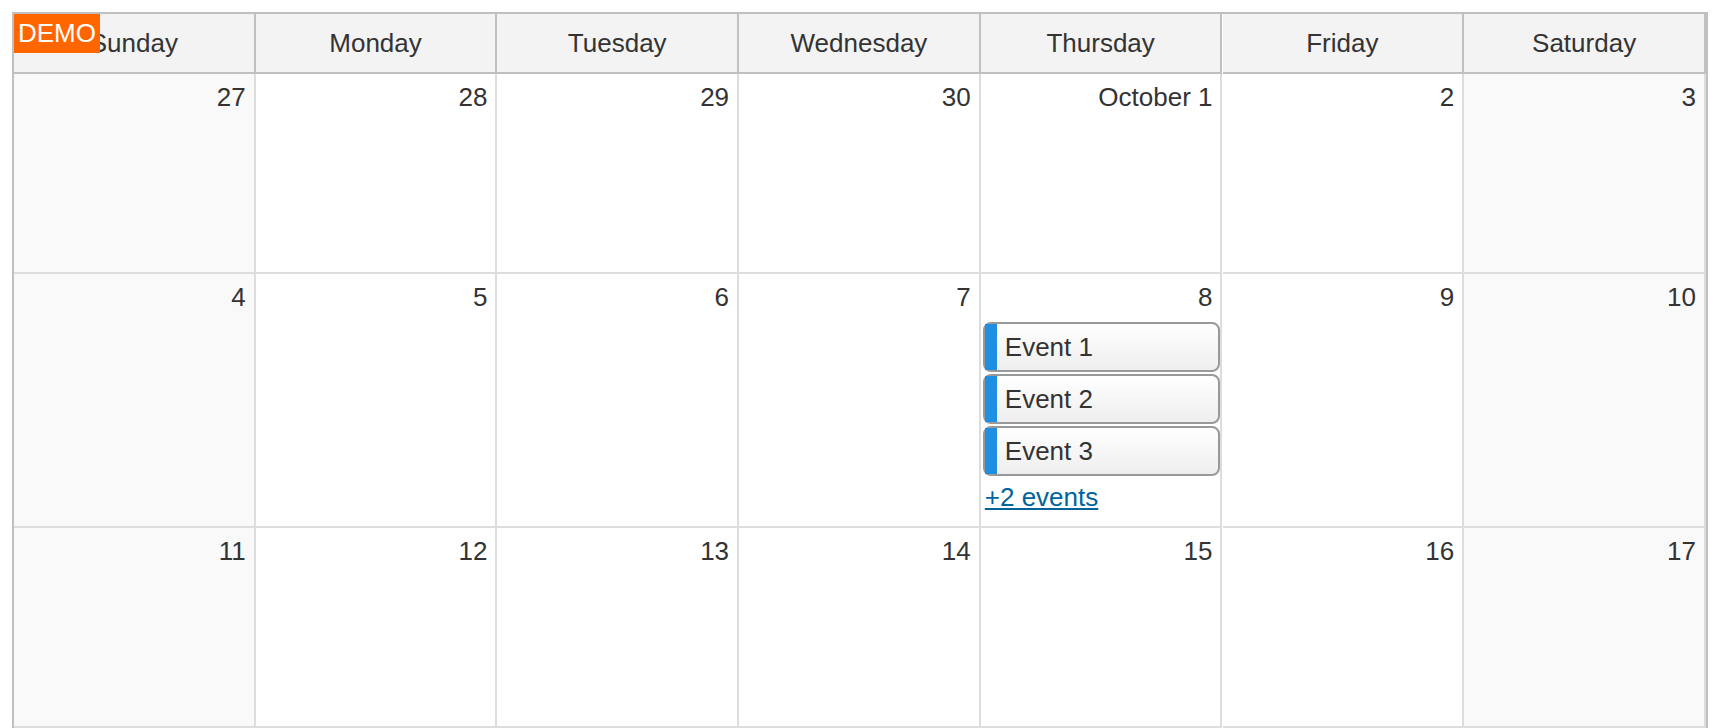
To make the hidden events accessible, we will add a link to the bottom of day cells with extra events.
First, reserve space at the bottom of the day cells for the button using the cellMarginBottom property:
const month = new DayPilot.Month("month", {
  // ...
  cellMarginBottom: 25,
  // ...
});
Now we can add the button using the onBeforeCellRender event.
In the event handler, we load the events that overlap the day cell using the args.cell.events() method. If the number of events is greater than the numeric maxEvents value, we add an active area to args.cell.properties.areas at the bottom of the day cell. The numeric check also ensures that the button disappears when the limit is removed.
const month = new DayPilot.Month("month", {
  // ...
  onBeforeCellRender: args => {
    const events = args.cell.events();
    const maxSpecified = typeof month.maxEvents === "number";
    if (maxSpecified && events.length > month.maxEvents) {
      const more = events.length - month.maxEvents;
      const text = more === 1 ? "+1 event" : `+${more} events`;
      args.cell.properties.areas = [
        {
          bottom: 0,
          left: 0,
          height: 25,
          right: 0,
          action: "None",
          text,
          cssClass: "month-more",
          fontColor: "#00639e",
          padding: 2,
          style: "text-decoration: underline; cursor: pointer; box-sizing: border-box;",
          onClick: () => {
            // ...
          }
        }
      ];
    }
  }
});
The button doesn’t do anything at this point (the onClick handler is empty). Set action: "None" so clicking the area does not start the calendar’s time-range selection. The custom click handler still runs. In the next steps, we will explore some possible actions.
How to Switch to a Daily Calendar
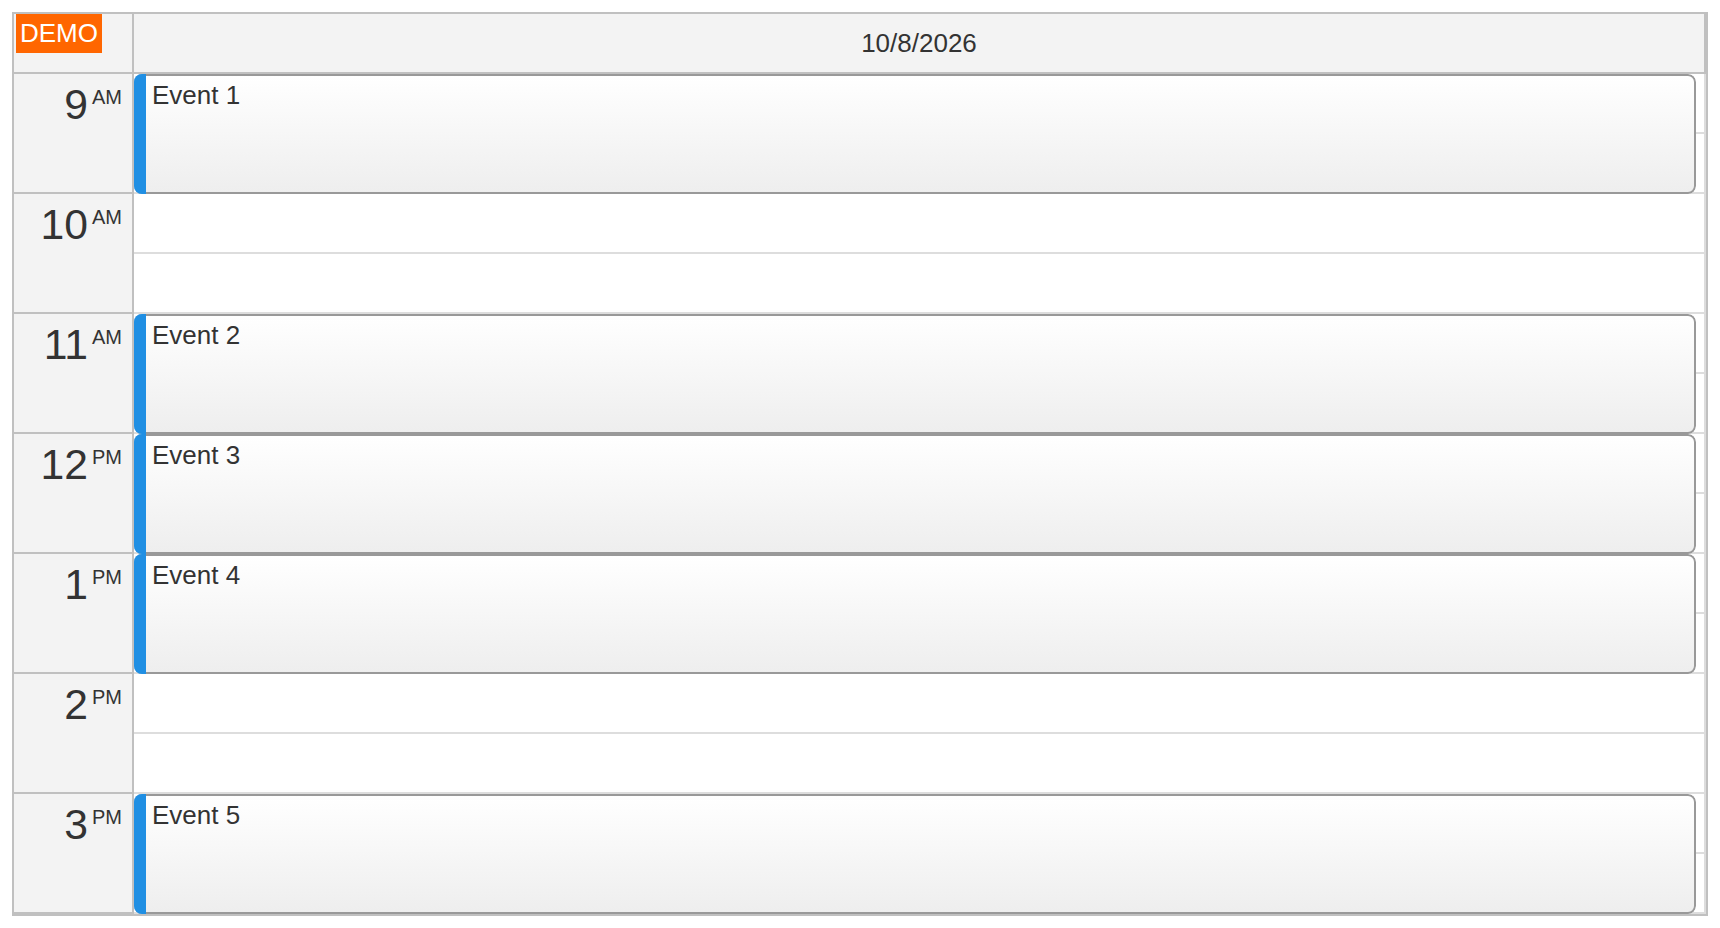
In order to switch to a day view, we need to prepare the daily calendar in advance.
First, add a placeholder to the HTML:
<div id="day"></div>
Then create a new instance of the DayPilot.Calendar class that will display the daily calendar and initialize it. We will add visible: false to the initial configuration. That will keep the day view hidden during the initial page load.
const day = new DayPilot.Calendar("day", {
  viewType: "Day",
  visible: false
});
day.init();
Now we can implement the onClick handler of the active area. The sample’s app.selectedAction() method reads the Action selector, and the switch statement chooses which action to run.
It will hide the month view and display the day view. Set startDate to args.cell.start so the daily calendar shows the clicked day, which may differ from today. The click handler uses args from the surrounding onBeforeCellRender handler. We also reuse the events already loaded for that cell and extract their data objects. This avoids another request; an application that loads day details separately can request them from the server here.
onClick: () => {
  switch (app.selectedAction()) {
    // ...
    case "day":
      month.update({
        visible: false
      });
      day.update({
        startDate: args.cell.start,
        events: events.map(e => e.data),
        visible: true
      });
      break;
  }
}
How to Expand the View to Display All Events
Another possible action would be to modify the month view to display all events when clicking the expand button.
The implementation could look like this:
onClick: () => {
  switch (app.selectedAction()) {
    case "expand":
      month.update({
        maxEvents: "All"
      });
      break;
    // ...
  }
}
We call the update() method of the month view component and remove the maxEvents limitation. This will update the view and display all events in all rows.
How to Display a Modal Dialog with All Events
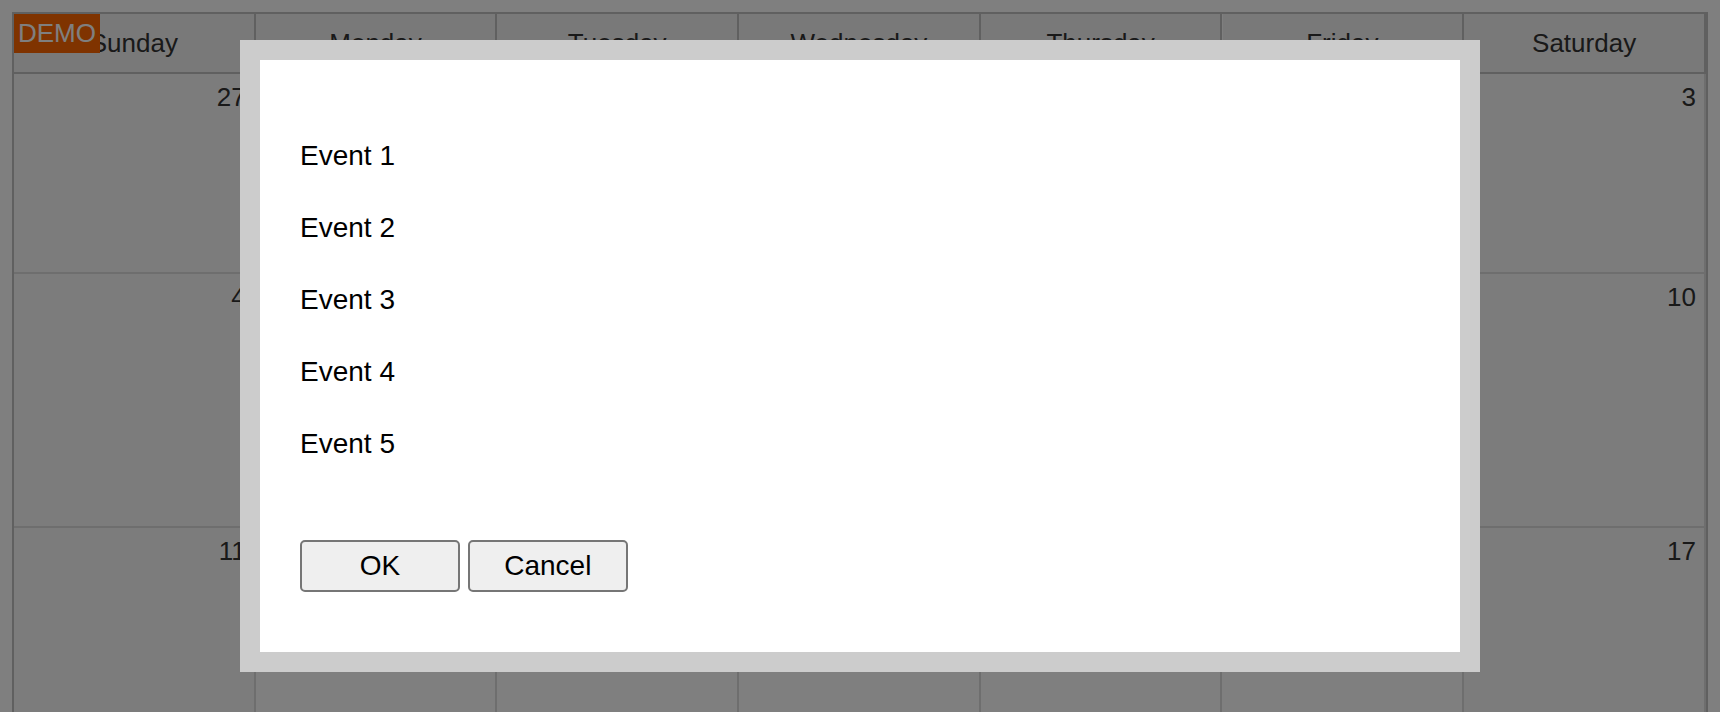
You can also display a list of all events for a given day using a modal dialog.
onClick: () => {
  switch (app.selectedAction()) {
    // ...
    case "modal": {
      const form = events.map(e => ({text: e.text()}));
      DayPilot.Modal.form(form);
      break;
    }
    // ...
  }
}
We build one static text item per event and display the list using the DayPilot.Modal.form() method. Using text keeps event names from being interpreted as HTML. The list includes the hidden events as well as those visible in the month view. Closing the dialog leaves the month view and its event limit unchanged.