")
Overview
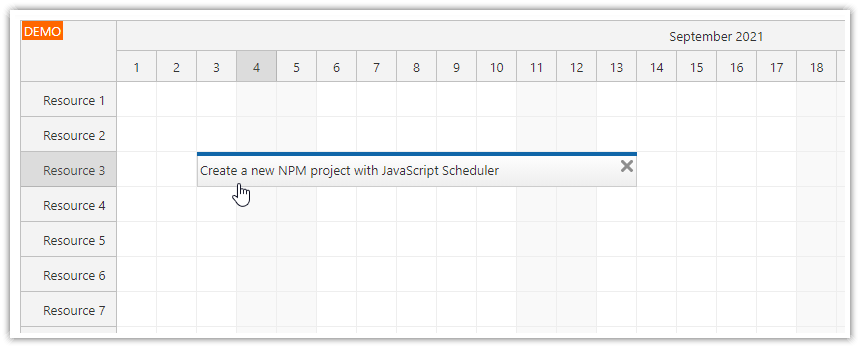
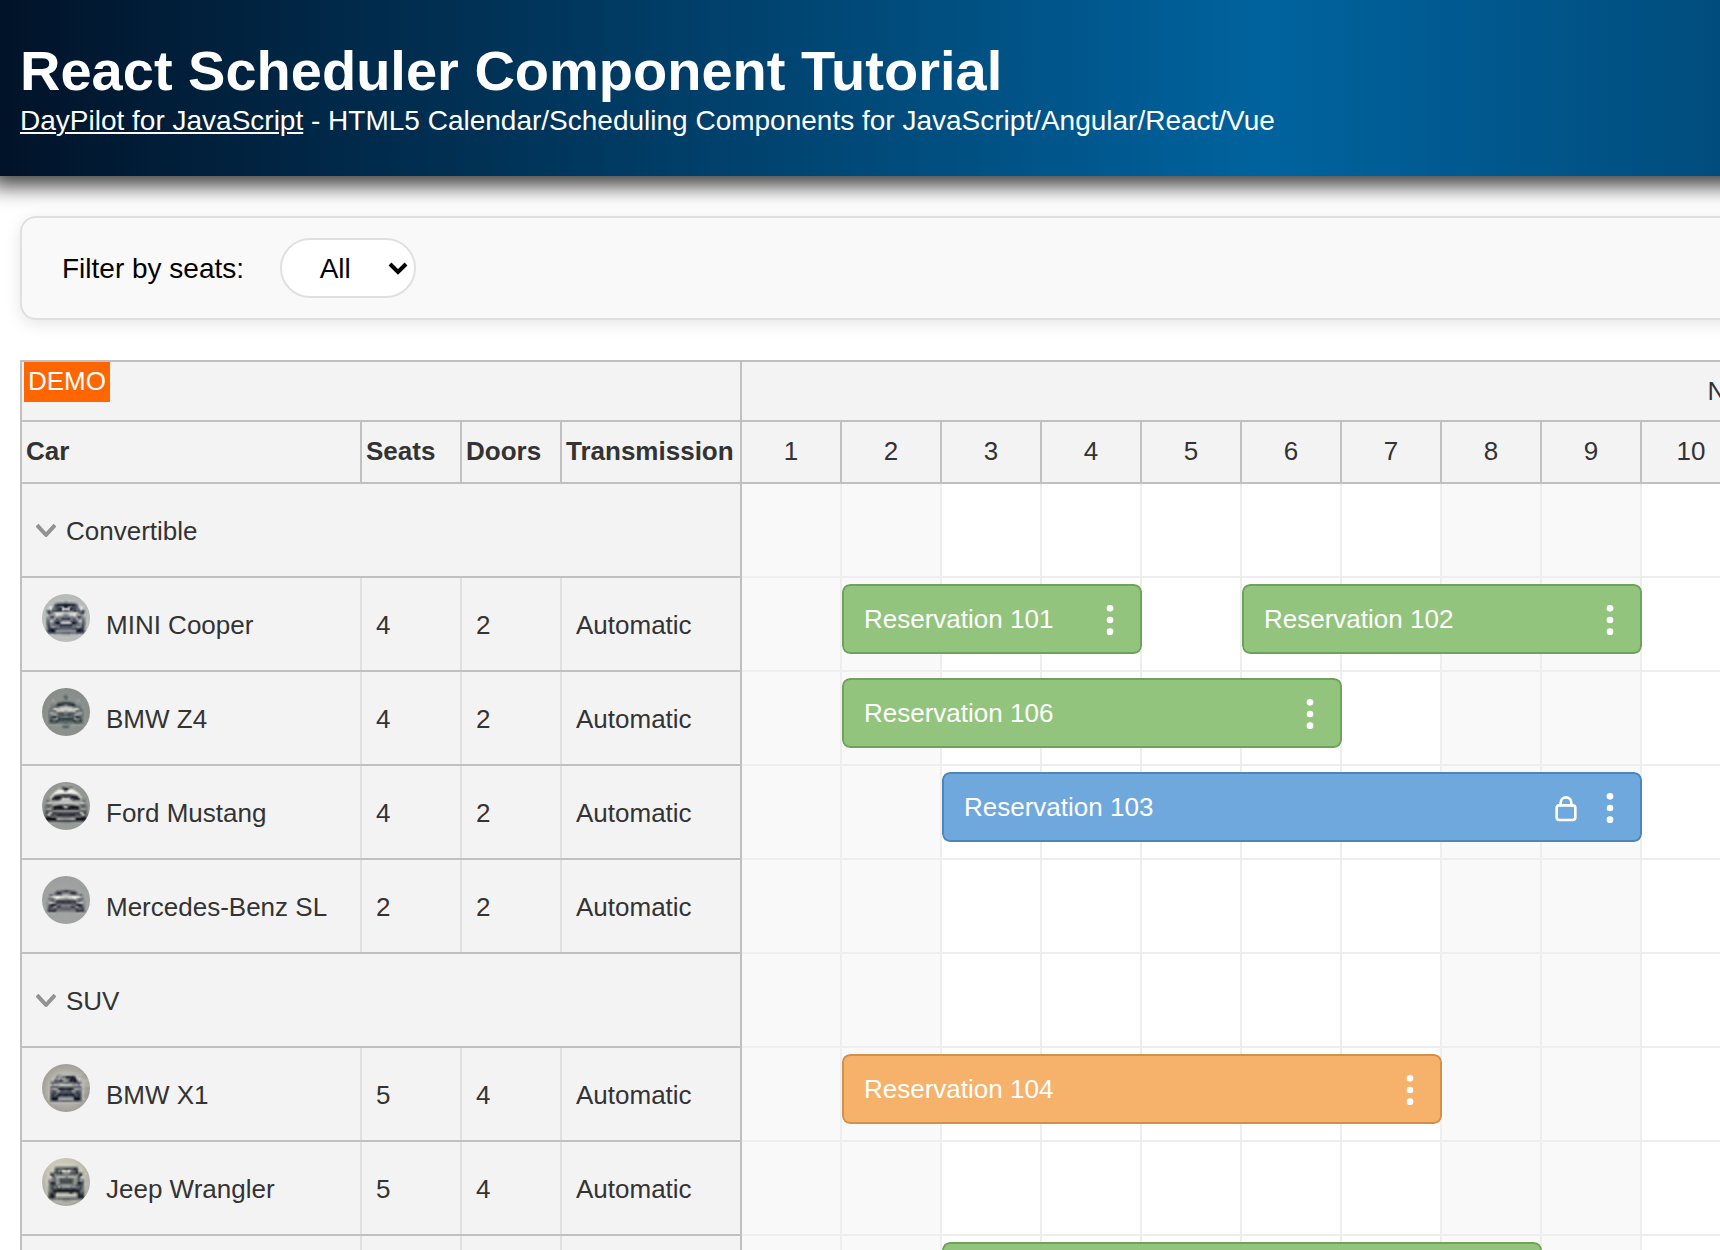
How to create a Salesforce LWC component that uses the DayPilot JavaScript Scheduler to display a planning grid.
Generate a project, create a Lightning component, add a DayPilot reference, create a DayPilot.Scheduler instance.
Make sure all compatibility settings are properly configured.
Includes a trial version of DayPilot Pro for JavaScript (see License below).
License
Licensed for testing and evaluation purposes. Please see the license agreement included in the sample project. You can use the source code of the tutorial if you are a licensed user of DayPilot Pro for JavaScript. Buy a license.
1. Enable Lightning Web Security (LWS) in Your Org
In Setup > Session Settings, make sure that “Lightning Web Security” is enabled.

2. Upload DayPilot Library as a Static Resource
In Setup > Static Resources, upload the DayPilot Pro zip file. You can download the full bundle and upload it as it is.
Set the resource name to DayPilotPro.

The required file in the zip package is scripts/daypilot-all-min.js. We will use this path later to load the script dynamically in our LWC component.
3. Create a new Salesforce Project and Scheduler Component
Create a new project using the Salesforce CLI:
sf generate project --name SchedulerLwcProjectIn the project directory, create a new component:
sf lightning generate component --name myScheduler --type lwc --output-dir force-app/main/default/lwc4. Reference DayPilot from the LWC Component
In the LWC Scheduler component source file (force-app/main/default/lwc/myScheduler/myScheduler.js), import the static resource using the specified name (DayPilotPro).
import daypilot from '@salesforce/resourceUrl/DayPilotPro';Now you can load the DayPilot library dynamically in renderedCallback().
import { LightningElement } from 'lwc';
import { loadScript } from 'lightning/platformResourceLoader';
import daypilot from '@salesforce/resourceUrl/DayPilotPro';

export default class MyScheduler extends LightningElement {
    schedulerInitialized = false;

    static renderMode = 'light';

    renderedCallback() {
        if (this.schedulerInitialized) {
            return;
        }

        this.schedulerInitialized = true;

        loadScript(this, `${daypilot}/scripts/daypilot-all.min.js`)
            .then(() => {
                this.initializeScheduler();
            })
            .catch(error => {
                console.error('Error loading DayPilot script:', error);
            });
    }

    // ...
}
Note that the renderMode must be set to 'light':
renderMode = 'light';4. Add a Placeholder Element to the LWC Template
DayPilot Scheduler requires a placeholder element to be present in the DOM where the UI will be rendered.
It should be a block element, e.g. a
<div>element.It must use the
lwc:dom="manual"attribute.Salesforce is only able to lookup the element using a CSS class (and not id).
<template>
    <div class="scheduler-container" lwc:dom="manual"></div>
</template>
6. Initialize the Scheduler Component

Now we can initialize the Scheduler component.
Use
this.querySelector()to get a reference to the placeholder<div>element.Pass the element object to the DayPilot.Scheduler constuctor.
Then you can initialize the component as usual (see the HTML5 Scheduler tutorial for an introduction to Scheduler configuration).
initializeScheduler() {
    const placeholder = this.querySelector('.scheduler-container');
    const scheduler = new DayPilot.Scheduler(placeholder, {
        startDate: "2025-01-01",
        days: DayPilot.Date.today().daysInYear(),
        scale: "Day",
        timeHeaders: [
            { groupBy: "Month", format: "MMMM yyyy" },
            { groupBy: "Day", format: "d" }
        ],
    });

    scheduler.init();
    scheduler.scrollTo("2025-01-01");

    const events = [
        { id: 1, start: "2025-01-02T00:00:00", end: "2025-01-04T00:00:00", text: "Event 1", resource: "R2" }
    ];

    const resources = [
        { id: "R1", name: "Resource 1" },
        { id: "R2", name: "Resource 2" },
        { id: "R3", name: "Resource 3" },
        { id: "R4", name: "Resource 4" },
        { id: "R5", name: "Resource 5" },
        { id: "R6", name: "Resource 6" },
        { id: "R7", name: "Resource 7" },
        { id: "R8", name: "Resource 8" },
        { id: "R9", name: "Resource 9" },
        { id: "R10", name: "Resource 10" }
    ];

    scheduler.update({ events: events, resources: resources });
}
7. Mark the LWC Component as Exposed in Metadata
Before publishing the LWC Scheduler component, it is necessary to update the myScheduler.js-meta.xml file and make the component publicly available.
This is the generated metadata file:
<?xml version="1.0" encoding="UTF-8"?>
<LightningComponentBundle xmlns="http://soap.sforce.com/2006/04/metadata">
    <apiVersion>61.0</apiVersion>
    <isExposed>false</isExposed>
</LightningComponentBundle>
Update it as follows:
Make sure
<isExposed>is set to true.Add the supported
<targets>.
<?xml version="1.0" encoding="UTF-8"?>
<LightningComponentBundle xmlns="http://soap.sforce.com/2006/04/metadata">
    <apiVersion>61.0</apiVersion>
    <isExposed>true</isExposed>
    <masterLabel>My Scheduler</masterLabel>
    <description>Custom scheduler component using DayPilot Scheduler</description>
    <targets>
        <target>lightning__AppPage</target>
        <target>lightning__RecordPage</target>
        <target>lightning__HomePage</target>
    </targets>
</LightningComponentBundle>
7. Deploy the Salesforce Project
Publish the project:
sf project deploy start --source-dir force-app --target-org MyOrg8. Use the Scheduler LWC Component in a Salesforce Tab
1. Create an app (using Setup > Lightning App Builder).
2. Select “App Page”.
3. Type “My Scheduler” as the Label.
4. Select the layout (e.g., “One Region”).
5. Drag the component to the content panel (you can find it under “Custom” components on the left side).
6. Save the app page.