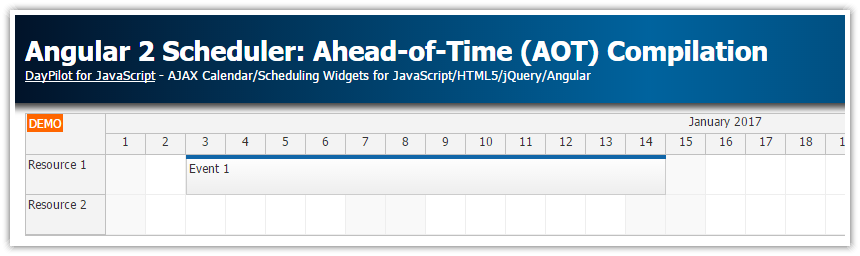
This tutorial shows how to add DayPilot Scheduler to an Angular 2 project created using Angular CLI.
It uses a trial version of DayPilot Pro for JavaScript/Angular2
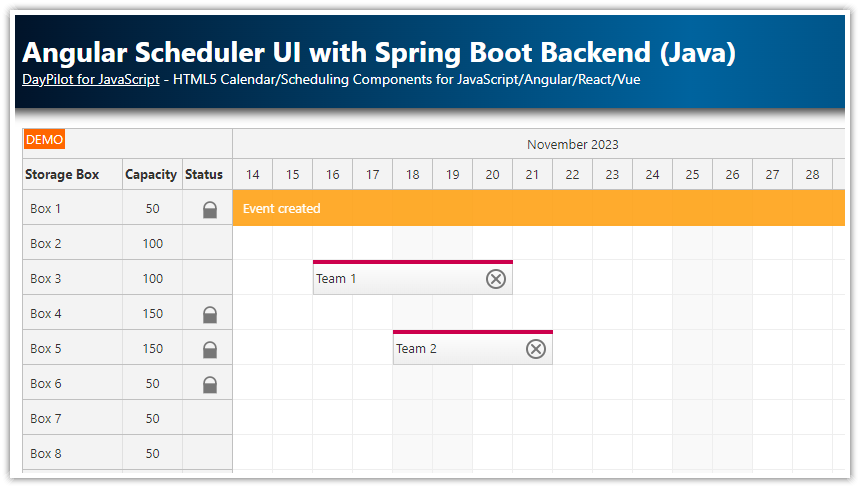
Simple Scheduler setup with static configuration (resources, events).
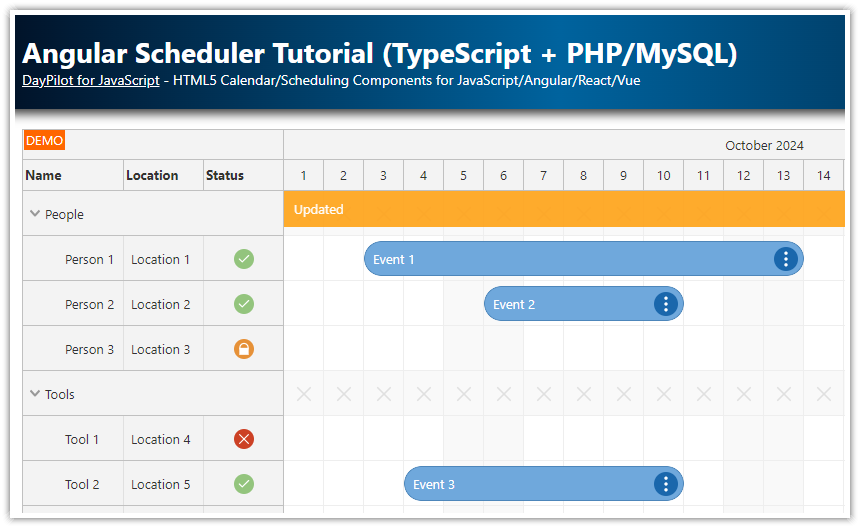
See also the Angular 2 Scheduler Tutorial which shows how to create a new Angular 2 project manually. It also includes dynamically-loaded resources and events and a sample PHP backend.
License
Licensed for testing and evaluation purposes. Please see the license agreement included in the sample project. You can use the source code of the tutorial if you are a licensed user of DayPilot Pro for JavaScript.
Update
[April 6, 2017]
This tutorial uses an older syntax for importing DayPilot components (DayPilot.Angular.* namespace) that is not compatible with AOT compilation.
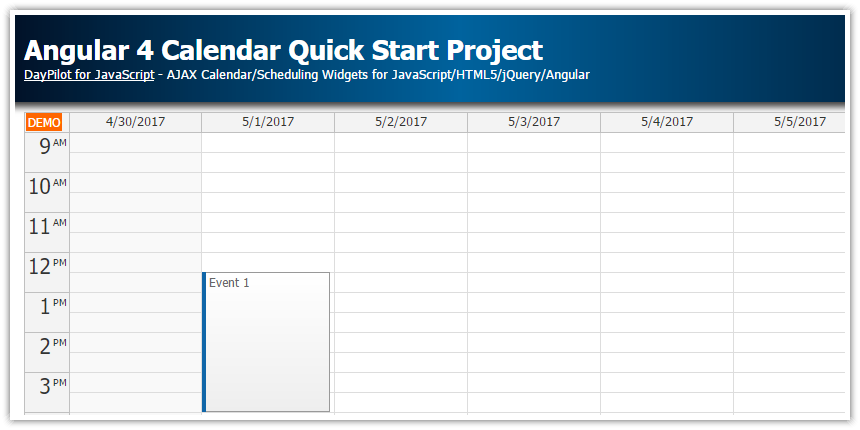
For an example that uses Angular CLI 1.0, Angular 4 and supports AOT compilation please see the following tutorial:
Prerequisites
Angular CLI requires Node.js 4.x with NPM 3.x installed.
Installing Angular CLI:
npm install -g angular-cliNew Angular 2 Project
Create a new Angular 2 project using Angular CLI:
ng new tutorial-angular-2-cli-schedulerAdd DayPilot Pro Angular 2 Module
Install the DayPilot Pro module from npm.daypilot.org using the following npm command:
npm install https://npm.daypilot.org/daypilot-pro-angular/trial/8.3.2450.tar.gz --saveThis will add the dependecy to package.json and download the DayPilot Pro module to node_modules/daypilot-pro-angular:
{
  "name": "tutorial-angular-2-cli-scheduler",
  "version": "1.0.1",
  "private": true,
  "angular-cli": {},
  "scripts": {
    "start": "ng serve",
    "lint": "tslint \"src/**/*.ts\"",
    "test": "ng test",
    "pree2e": "webdriver-manager update",
    "e2e": "protractor"
  },
  "private": true,
  "dependencies": {
    "@angular/common": "2.0.0",
    "@angular/compiler": "2.0.0",
    "@angular/core": "2.0.0",
    "@angular/forms": "2.0.0",
    "@angular/http": "2.0.0",
    "@angular/platform-browser": "2.0.0",
    "@angular/platform-browser-dynamic": "2.0.0",
    "@angular/router": "3.0.0",
    "core-js": "^2.4.1",
    "daypilot-pro-angular": "daypilot-pro-angular": "https://npm.daypilot.org/daypilot-pro-angular/trial/8.3.2450.tar.gz",
    "rxjs": "5.0.0-beta.12",
    "ts-helpers": "^1.1.1",
    "zone.js": "^0.6.23"
  },
  "devDependencies": {
    "@types/jasmine": "^2.2.30",
    "angular-cli": "1.0.0-beta.15",
    "codelyzer": "~0.0.26",
    "jasmine-core": "2.4.1",
    "jasmine-spec-reporter": "2.5.0",
    "karma": "1.2.0",
    "karma-chrome-launcher": "^2.0.0",
    "karma-cli": "^1.0.1",
    "karma-jasmine": "^1.0.2",
    "karma-remap-istanbul": "^0.2.1",
    "protractor": "4.0.5",
    "ts-node": "1.2.1",
    "tslint": "3.13.0",
    "typescript": "2.0.2"
  }
}
Adding Scheduler Reference to App Module
Add the Scheduler reference to the "declarations" section of src/app.module.ts (don't forget to import DayPilot namespace from 'daypilot-pro-angular' package):
import { BrowserModule } from '@angular/platform-browser';
import { NgModule } from '@angular/core';
import { FormsModule } from '@angular/forms';
import { HttpModule } from '@angular/http';
import { DayPilot } from "daypilot-pro-angular";

import { AppComponent } from './app.component';

@NgModule({
  declarations: [
    AppComponent,
    DayPilot.Angular.Scheduler
  ],
  imports: [
    BrowserModule,
    FormsModule,
    HttpModule
  ],
  providers: [],
  bootstrap: [AppComponent]
})
export class AppModule { }
Adding Scheduler to the App Component

Now you can add the Scheduler to the main application component using <daypilot-scheduler> element:
app.component.html:
<h1>{{title}}</h1>
<daypilot-scheduler [events]="events" [config]="config" #scheduler1></daypilot-scheduler>
<button (click)="add()">Add event</button>
app.component.ts:
import {Component, ViewChild} from '@angular/core';
import {DayPilot} from "daypilot-pro-angular";

@Component({
  selector: 'app-root',
  templateUrl: './app.component.html',
  styleUrls: ['./app.component.css']
})
export class AppComponent {
  title = "Scheduler";
  last: number = 1;
  @ViewChild('scheduler1') scheduler1: DayPilot.Angular.Scheduler;

  events: any[] = [
    {start: "2016-09-09", end: "2016-09-10", id: 1, text: "Event 1", resource: "R1"}
  ];

  config: any = {
    scale: "Day",
    startDate: "2016-09-01",
    days: new DayPilot.Date("2016-09-09").daysInMonth(),
    timeHeaders: [
      {groupBy: "Month"},
      {groupBy: "Day", format: "d"}
    ],
    cellWidthSpec: "Auto",
    resources: [
      {name: "R1", id: "R1"},
      {name: "R2", id: "R2"},
      {name: "R3", id: "R3"},
    ],
    onTimeRangeSelected: args => {
      alert("start: " + args.start);
    },
    onEventClicked: args => {
      alert("clicked: " + args.e.text());
    },
    onEventMoved: args => {
      this.scheduler1.control.message("Moved");
    },
    onEventResized: args => {
      this.scheduler1.control.message("Moved");
    }
  };

  add() {
    this.last += 1;
    this.events.push({start: "2016-09-09", end: "2016-09-10", id: this.last, text: "Event " + this.last, resource: "R1"});
    this.scheduler1.control.message("Added");
  }
}
Building the Angular 2 CLI Project
Now you can build the project using ng build:
ng buildOr run it using ng serve:
ng serveThis command will start a web server at http://localhost:4200/. You can specify custom host and port if needed:
ng serve --host 0.0.0.0 --port 8081Sample Angular 2 CLI Project Download
The sample project download includes a blank project with modified package.json, app.module.ts, app.component.html, and app.component.ts.
The module dependencies are not included. You can download them by running:
npm install