Features
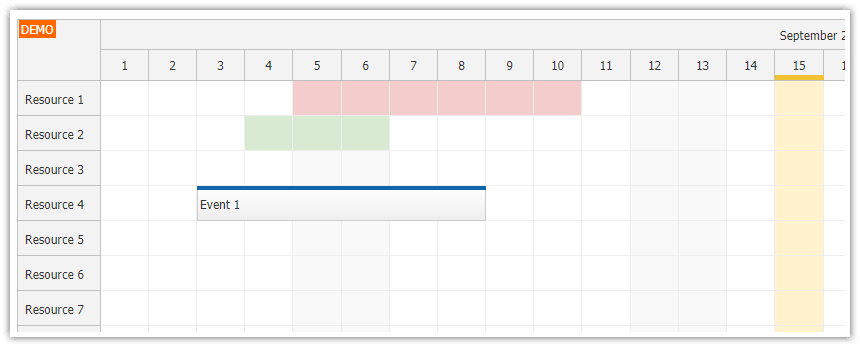
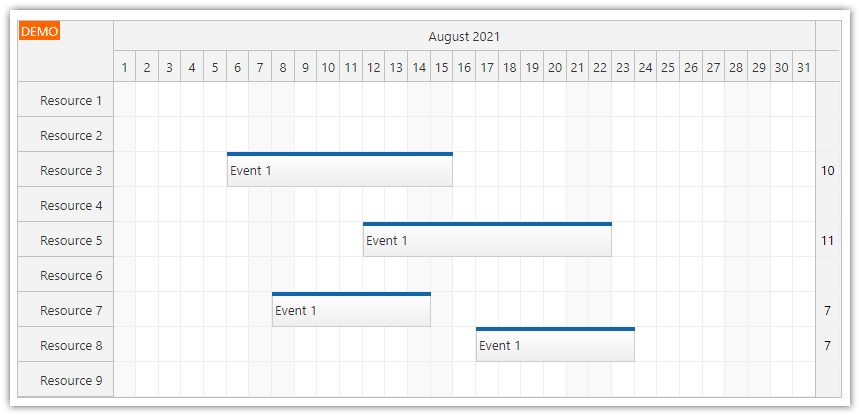
This project uses Angular Scheduler component that displays a timeline for multiple resources.
If none of the predefined Scheduler timeline scale options meet your needs you can generate your own timeline by defining the individual cells.
You can use custom cell duration (anything starting from 1 second).
The Angular Scheduler supports a non-continuous timeline (certain time ranges are hidden).
License
Licensed for testing and evaluation purposes. Please see the license agreement included in the sample project. You can use the source code of the tutorial if you are a licensed user of DayPilot Pro for JavaScript.
Scheduler with 30-Second Cells
This example uses config.timeline property to specify a custom timeline. This property is used if the Scheduler is switched to manual scale mode (scale: "Manual").
config: DayPilot.SchedulerConfig = {
  scale: "Manual",
  timeline: this.getTimeline(),
  // ...
};
The timeline is generated using getTimeline() method. It returns an array of timeline cells. The array items specify start and end of each timeline cell.
The following method generates a timeline for the specified date (today is used if the target date is not set). Each cell has a duration of 30 seconds (that makes 2880 cells per day).
getTimeline(date?: DayPilot.Date | string): any[] {
  const day = new DayPilot.Date(date).getDatePart();
  const timeline = [];

  for (let i = 0; i < 2880; i++) {
    const start = day.addSeconds(i * 30);
    timeline.push({
      start: start,
      end: start.addSeconds(30)
    });
  }

  return timeline;
};
Source Code
Here is the full source code for our Angular Scheduler component, which defines a custom timeline using 30-second time slots.
import {Component, ViewChild, AfterViewInit} from '@angular/core';
import {DayPilot, DayPilotModule, DayPilotSchedulerComponent} from 'daypilot-pro-angular';
import {DataService} from './data.service';

@Component({
  selector: 'scheduler-component',
  standalone: true,
  imports: [DayPilotModule],
  providers: [DataService],
  template: `
    <div style="display: flex">
      <div style="margin-right: 10px;">
        <daypilot-navigator [config]="navConfig"></daypilot-navigator>
      </div>
      <div style="flex-grow: 1;">
        <daypilot-scheduler [config]="config" [events]="events" (viewChange)="schedulerViewChange()" #scheduler></daypilot-scheduler>
      </div>
    </div>
  `,
  styles: [``]
})
export class SchedulerComponent implements AfterViewInit {

  @ViewChild('scheduler')
  scheduler!: DayPilotSchedulerComponent;

  events: DayPilot.EventData[] = [];

  config: DayPilot.SchedulerConfig = {
    timeHeaders: [
      {groupBy: "Day", format: "d MMMM, yyyy"},
      {groupBy: "Hour"},
      {groupBy: "Minute", format: "mm:00"}
    ],
    scale: "Manual",
    timeline: this.getTimeline(),
    timeRangeSelectedHandling: "Enabled",
    onTimeRangeSelected: async (args) => {
      const scheduler = args.control;
      const modal = await DayPilot.Modal.prompt("Create a new event:", "Event 1");
      scheduler.clearSelection();
      if (modal.canceled) { return; }
      scheduler.events.add({
        start: args.start,
        end: args.end,
        id: DayPilot.guid(),
        resource: args.resource,
        text: modal.result
      });
    },
    onBeforeEventRender: args => {
      args.data.backColor = args.data.tags.color;
      args.data.borderColor = "darker";
      args.data.fontColor = "#fff";
    },
    treeEnabled: true,
    durationBarVisible: false,
  };

  navConfig: DayPilot.NavigatorConfig = {
    showMonths: 3,
    onTimeRangeSelected: args => {
      this.config.timeline = this.getTimeline(args.day);
    }
  };

  constructor(private ds: DataService) {
  }

  ngAfterViewInit(): void {
    this.ds.getResources().subscribe(result => this.config.resources = result);

    const from = this.scheduler.control.visibleStart();
    const to = this.scheduler.control.visibleEnd();
    this.ds.getEvents(from, to).subscribe(result => {
      this.events = result;
    });
  }

  schedulerViewChange() {
    const from = this.scheduler.control.visibleStart();
    const to = this.scheduler.control.visibleEnd();
    this.ds.getEvents(from, to).subscribe(result => {
      this.events = result;
    });
  }

  getTimeline(date?: DayPilot.Date | string): any[] {
    const day = new DayPilot.Date(date).getDatePart();
    const timeline = [];

    for (let i = 0; i < 2880; i++) {
      const start = day.addSeconds(i * 30);
      timeline.push({
        start: start,
        end: start.addSeconds(30)
      });
    }

    return timeline;
  };

}